
All
Website Design
Logo Design
Design Work
All
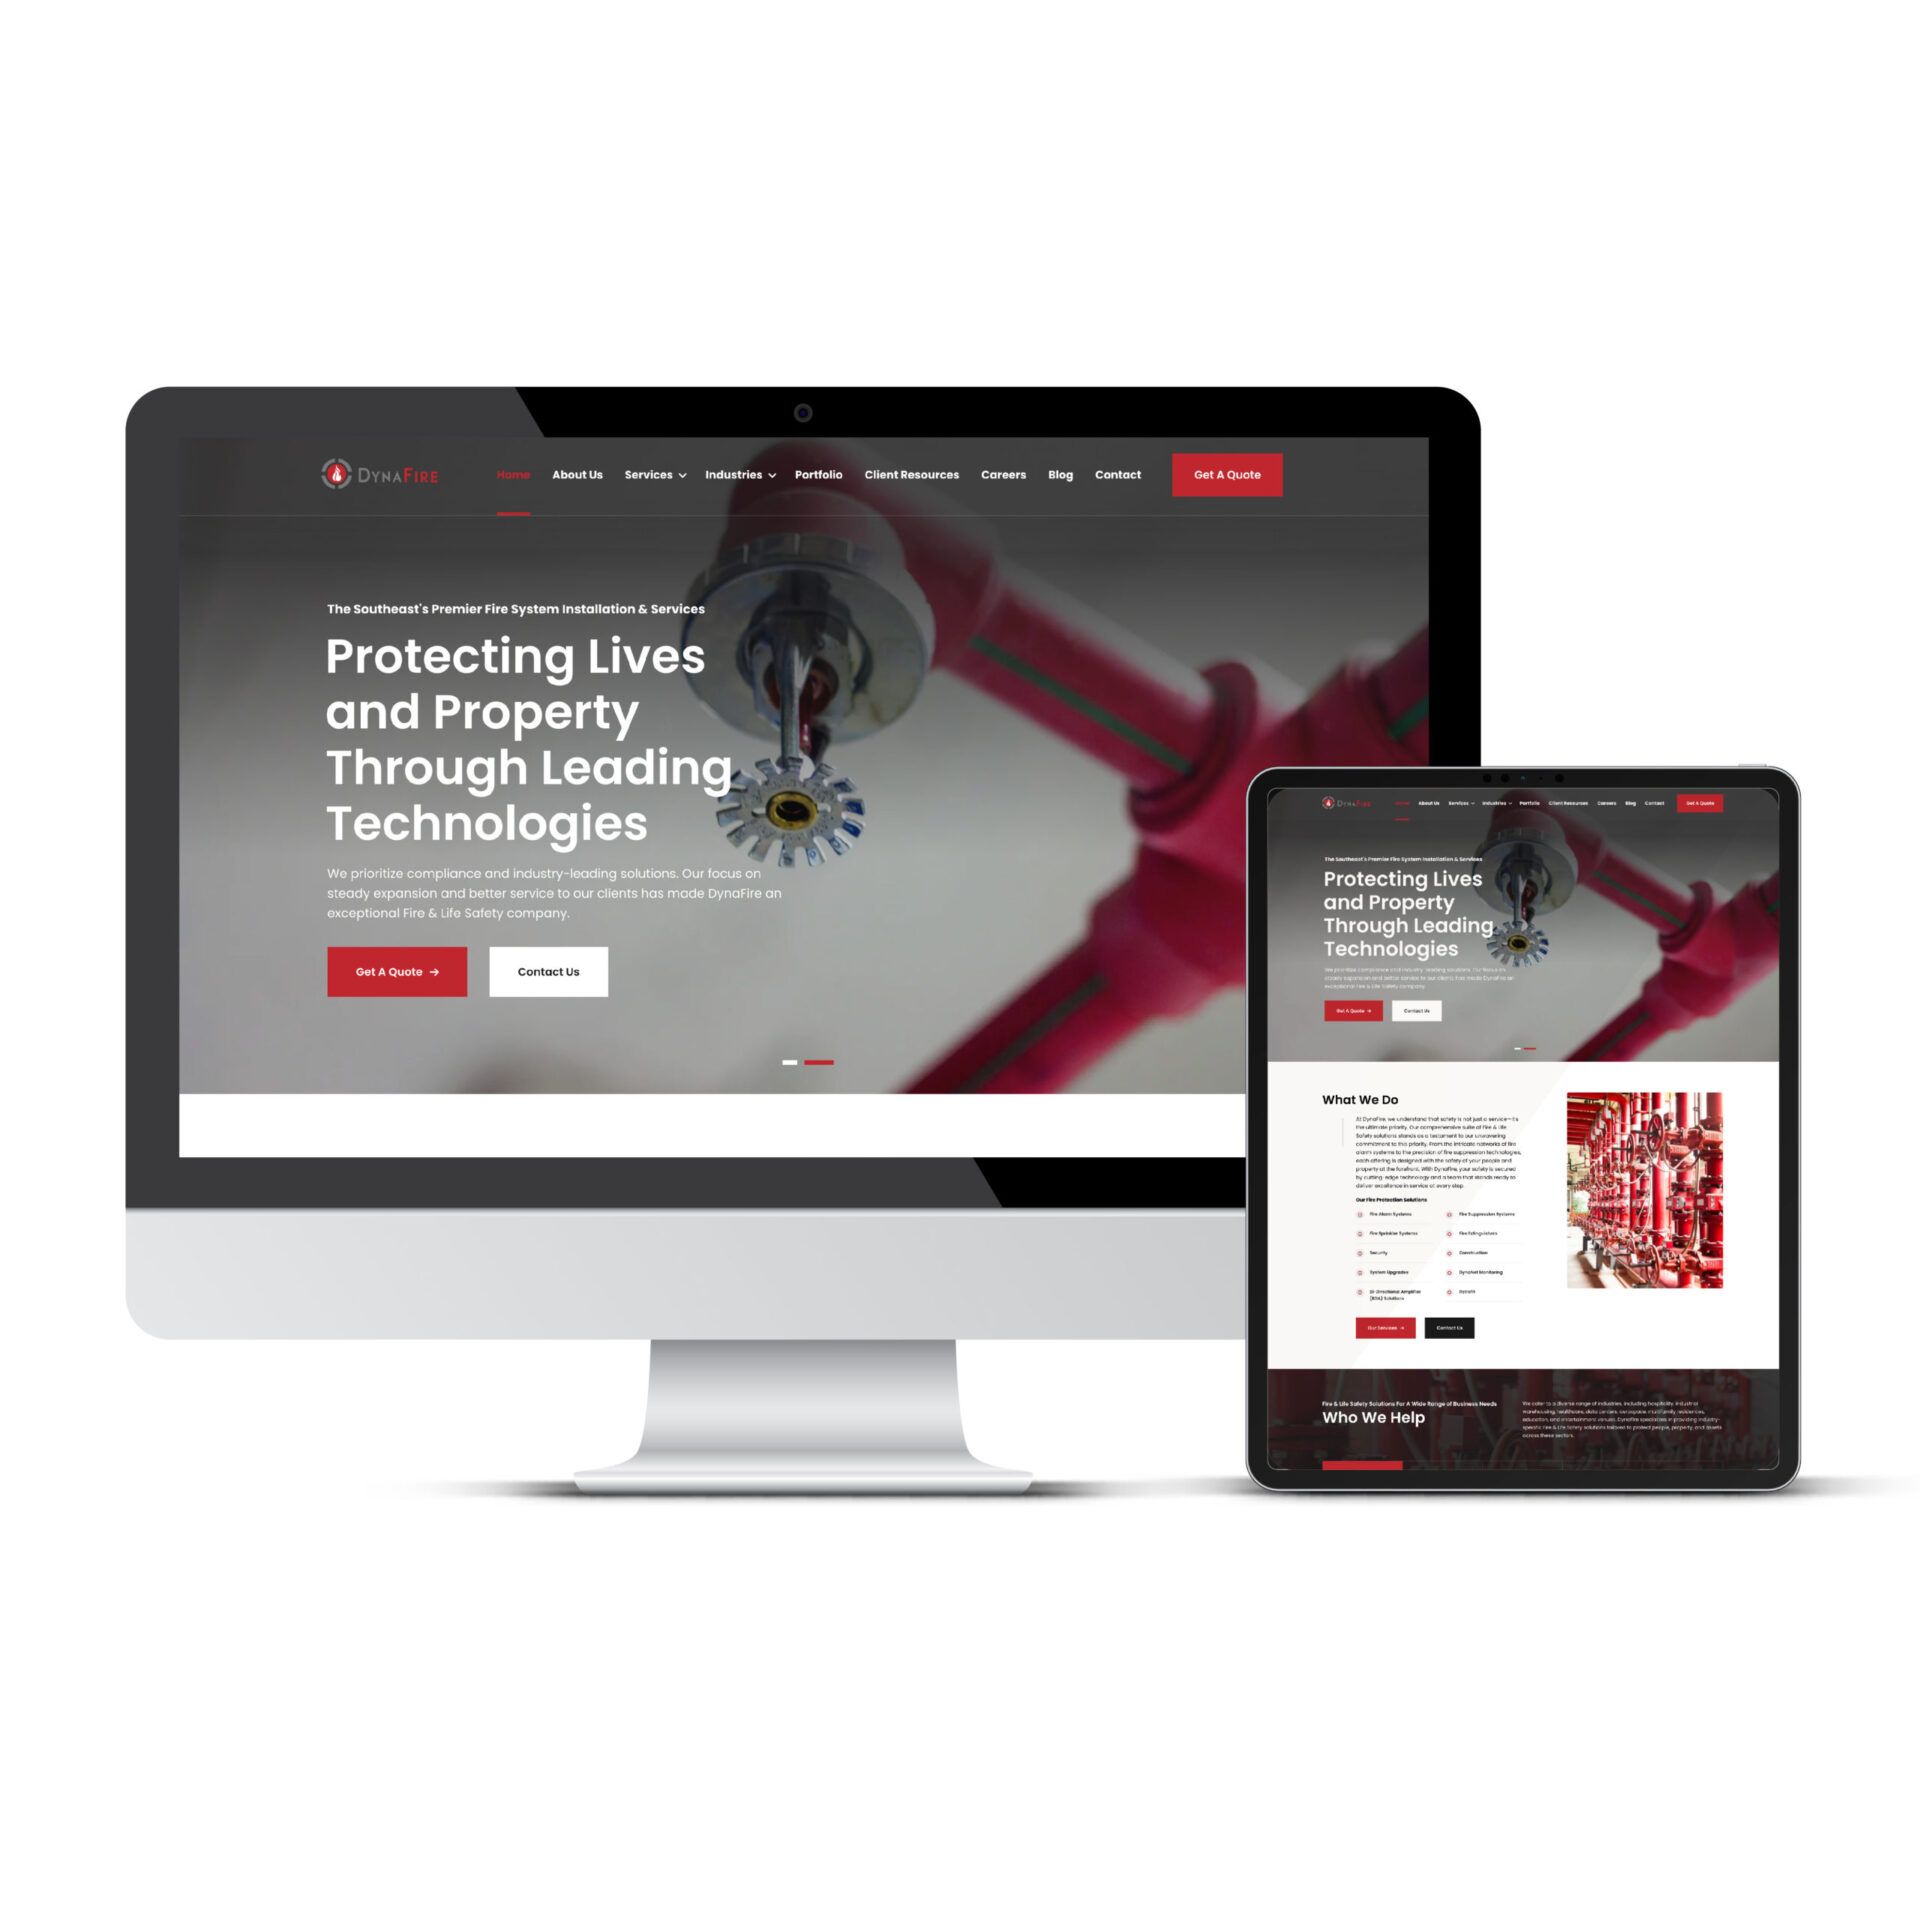
DynaFire
Office Assets, LLC
Website Design Services Portfolio MockUp for Office Assets, LLC

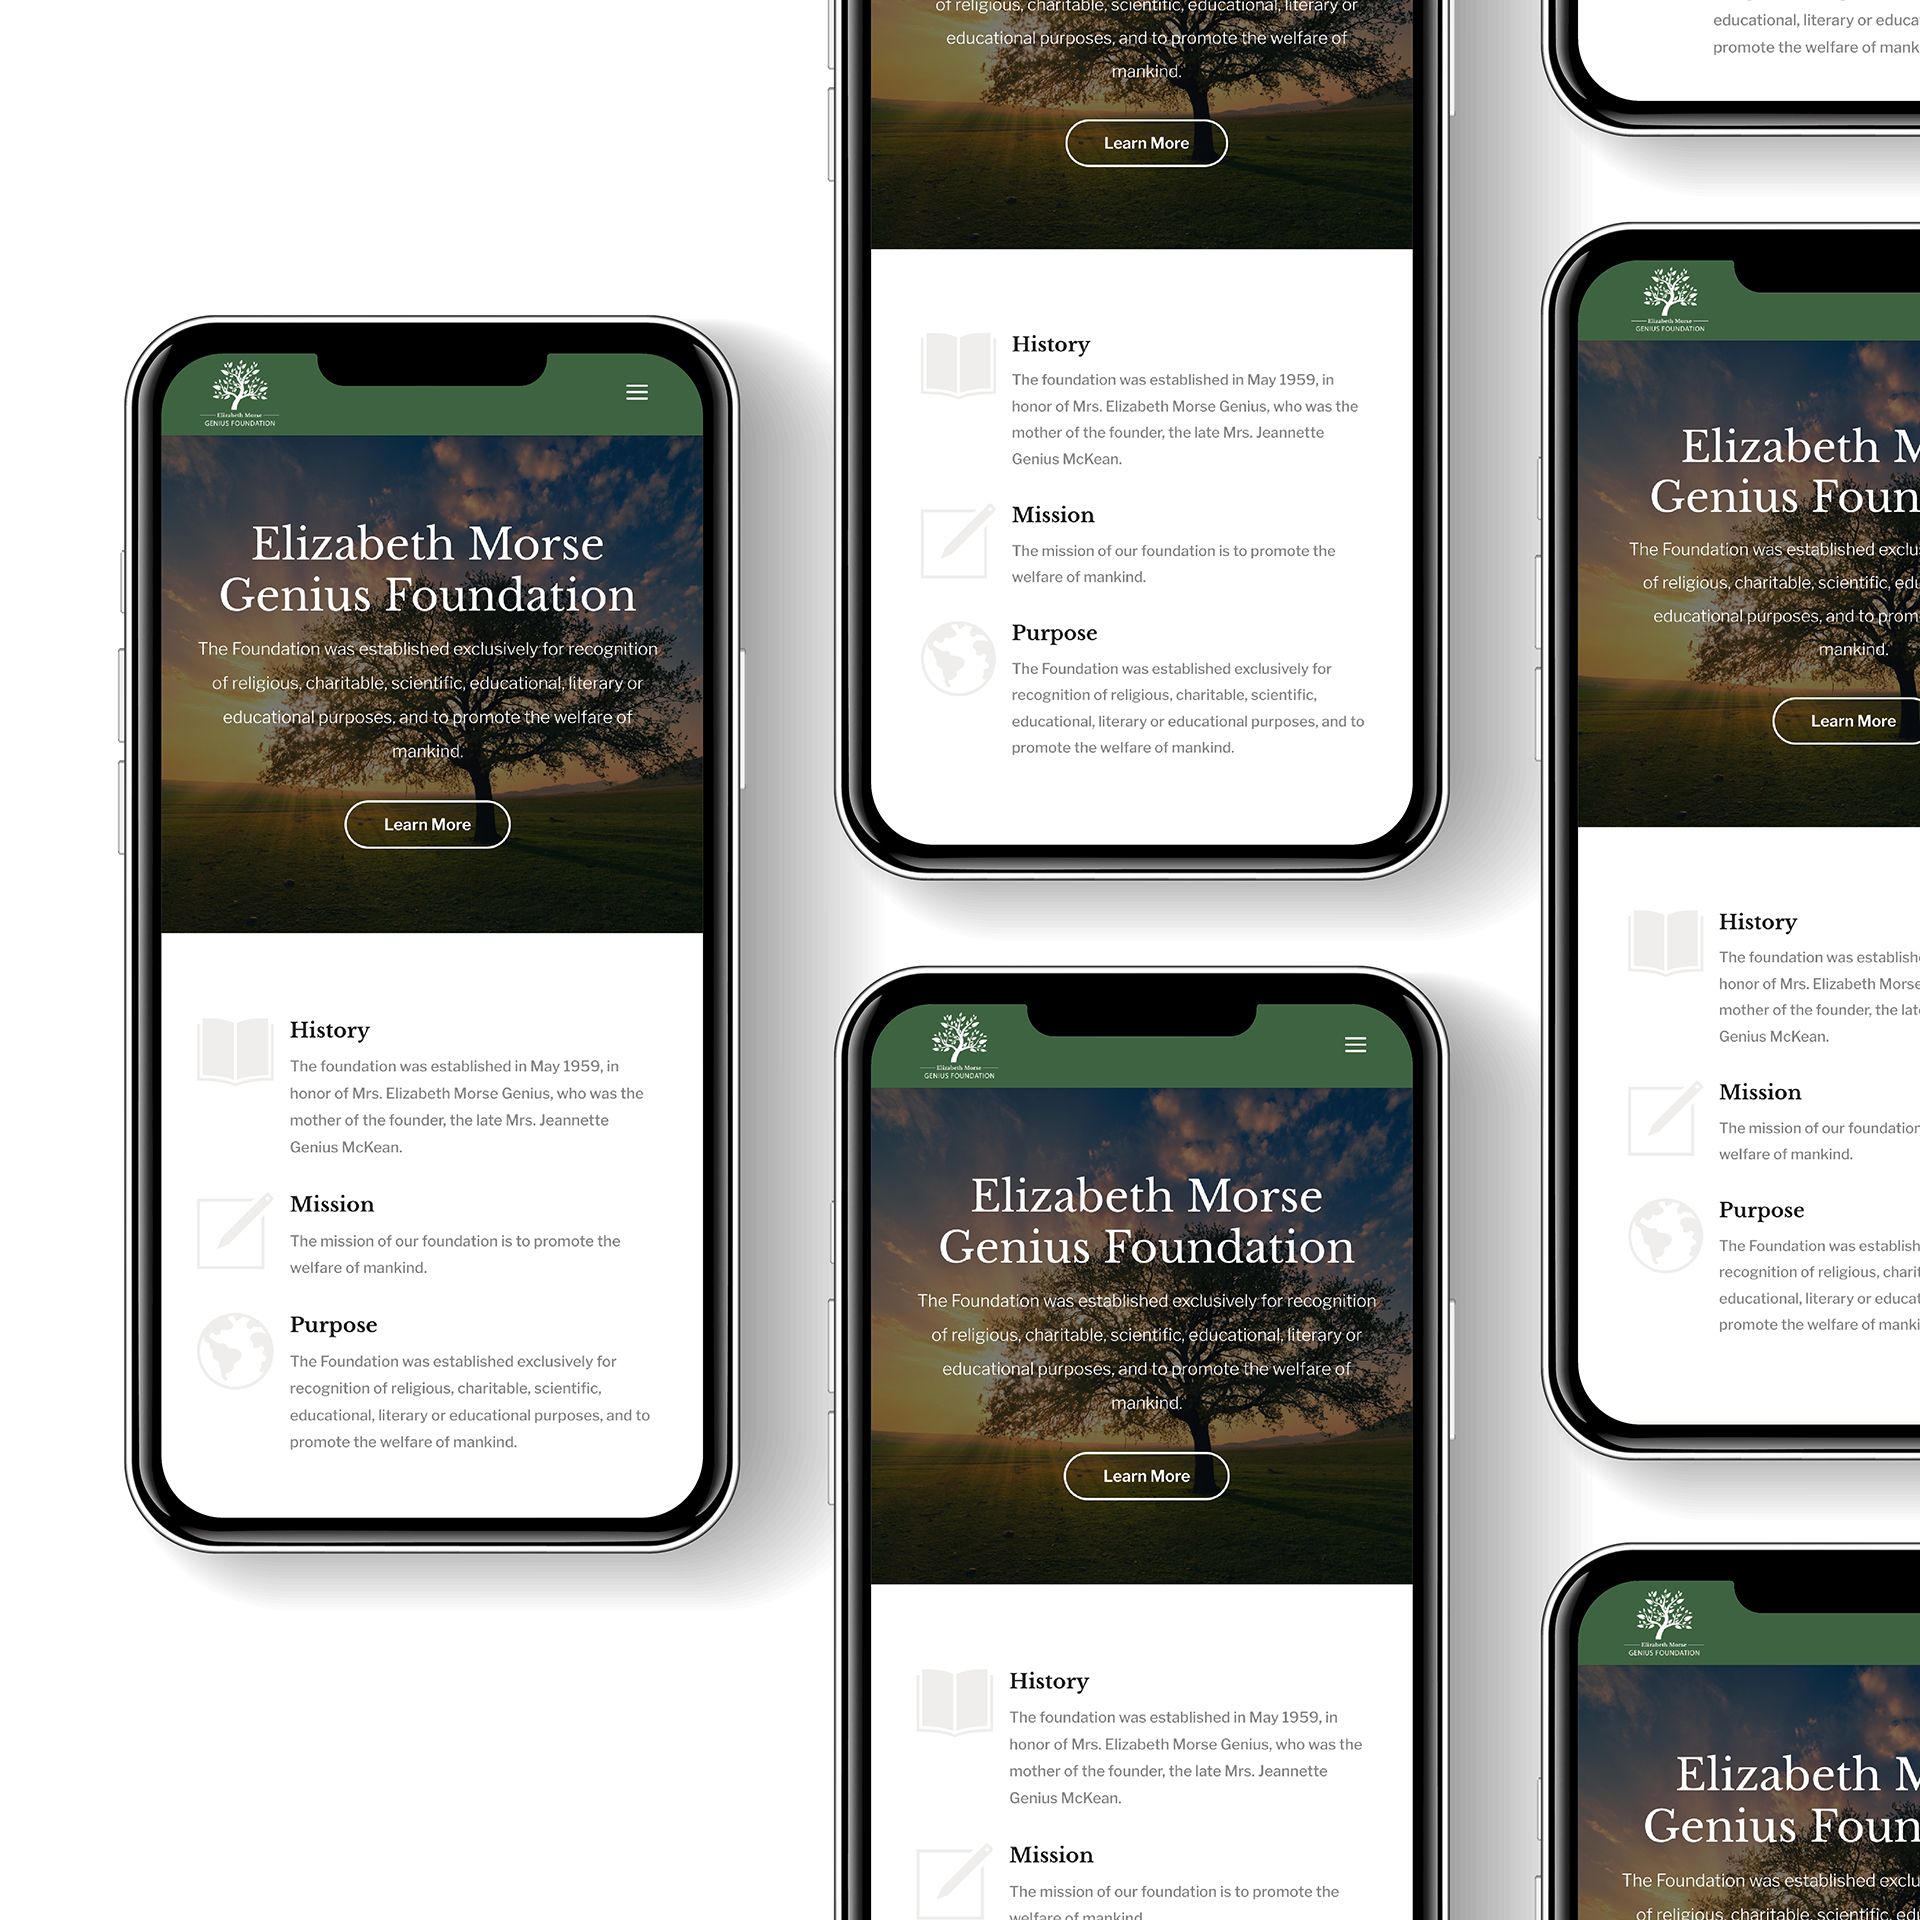
Elizabeth Morse Genius Foundation
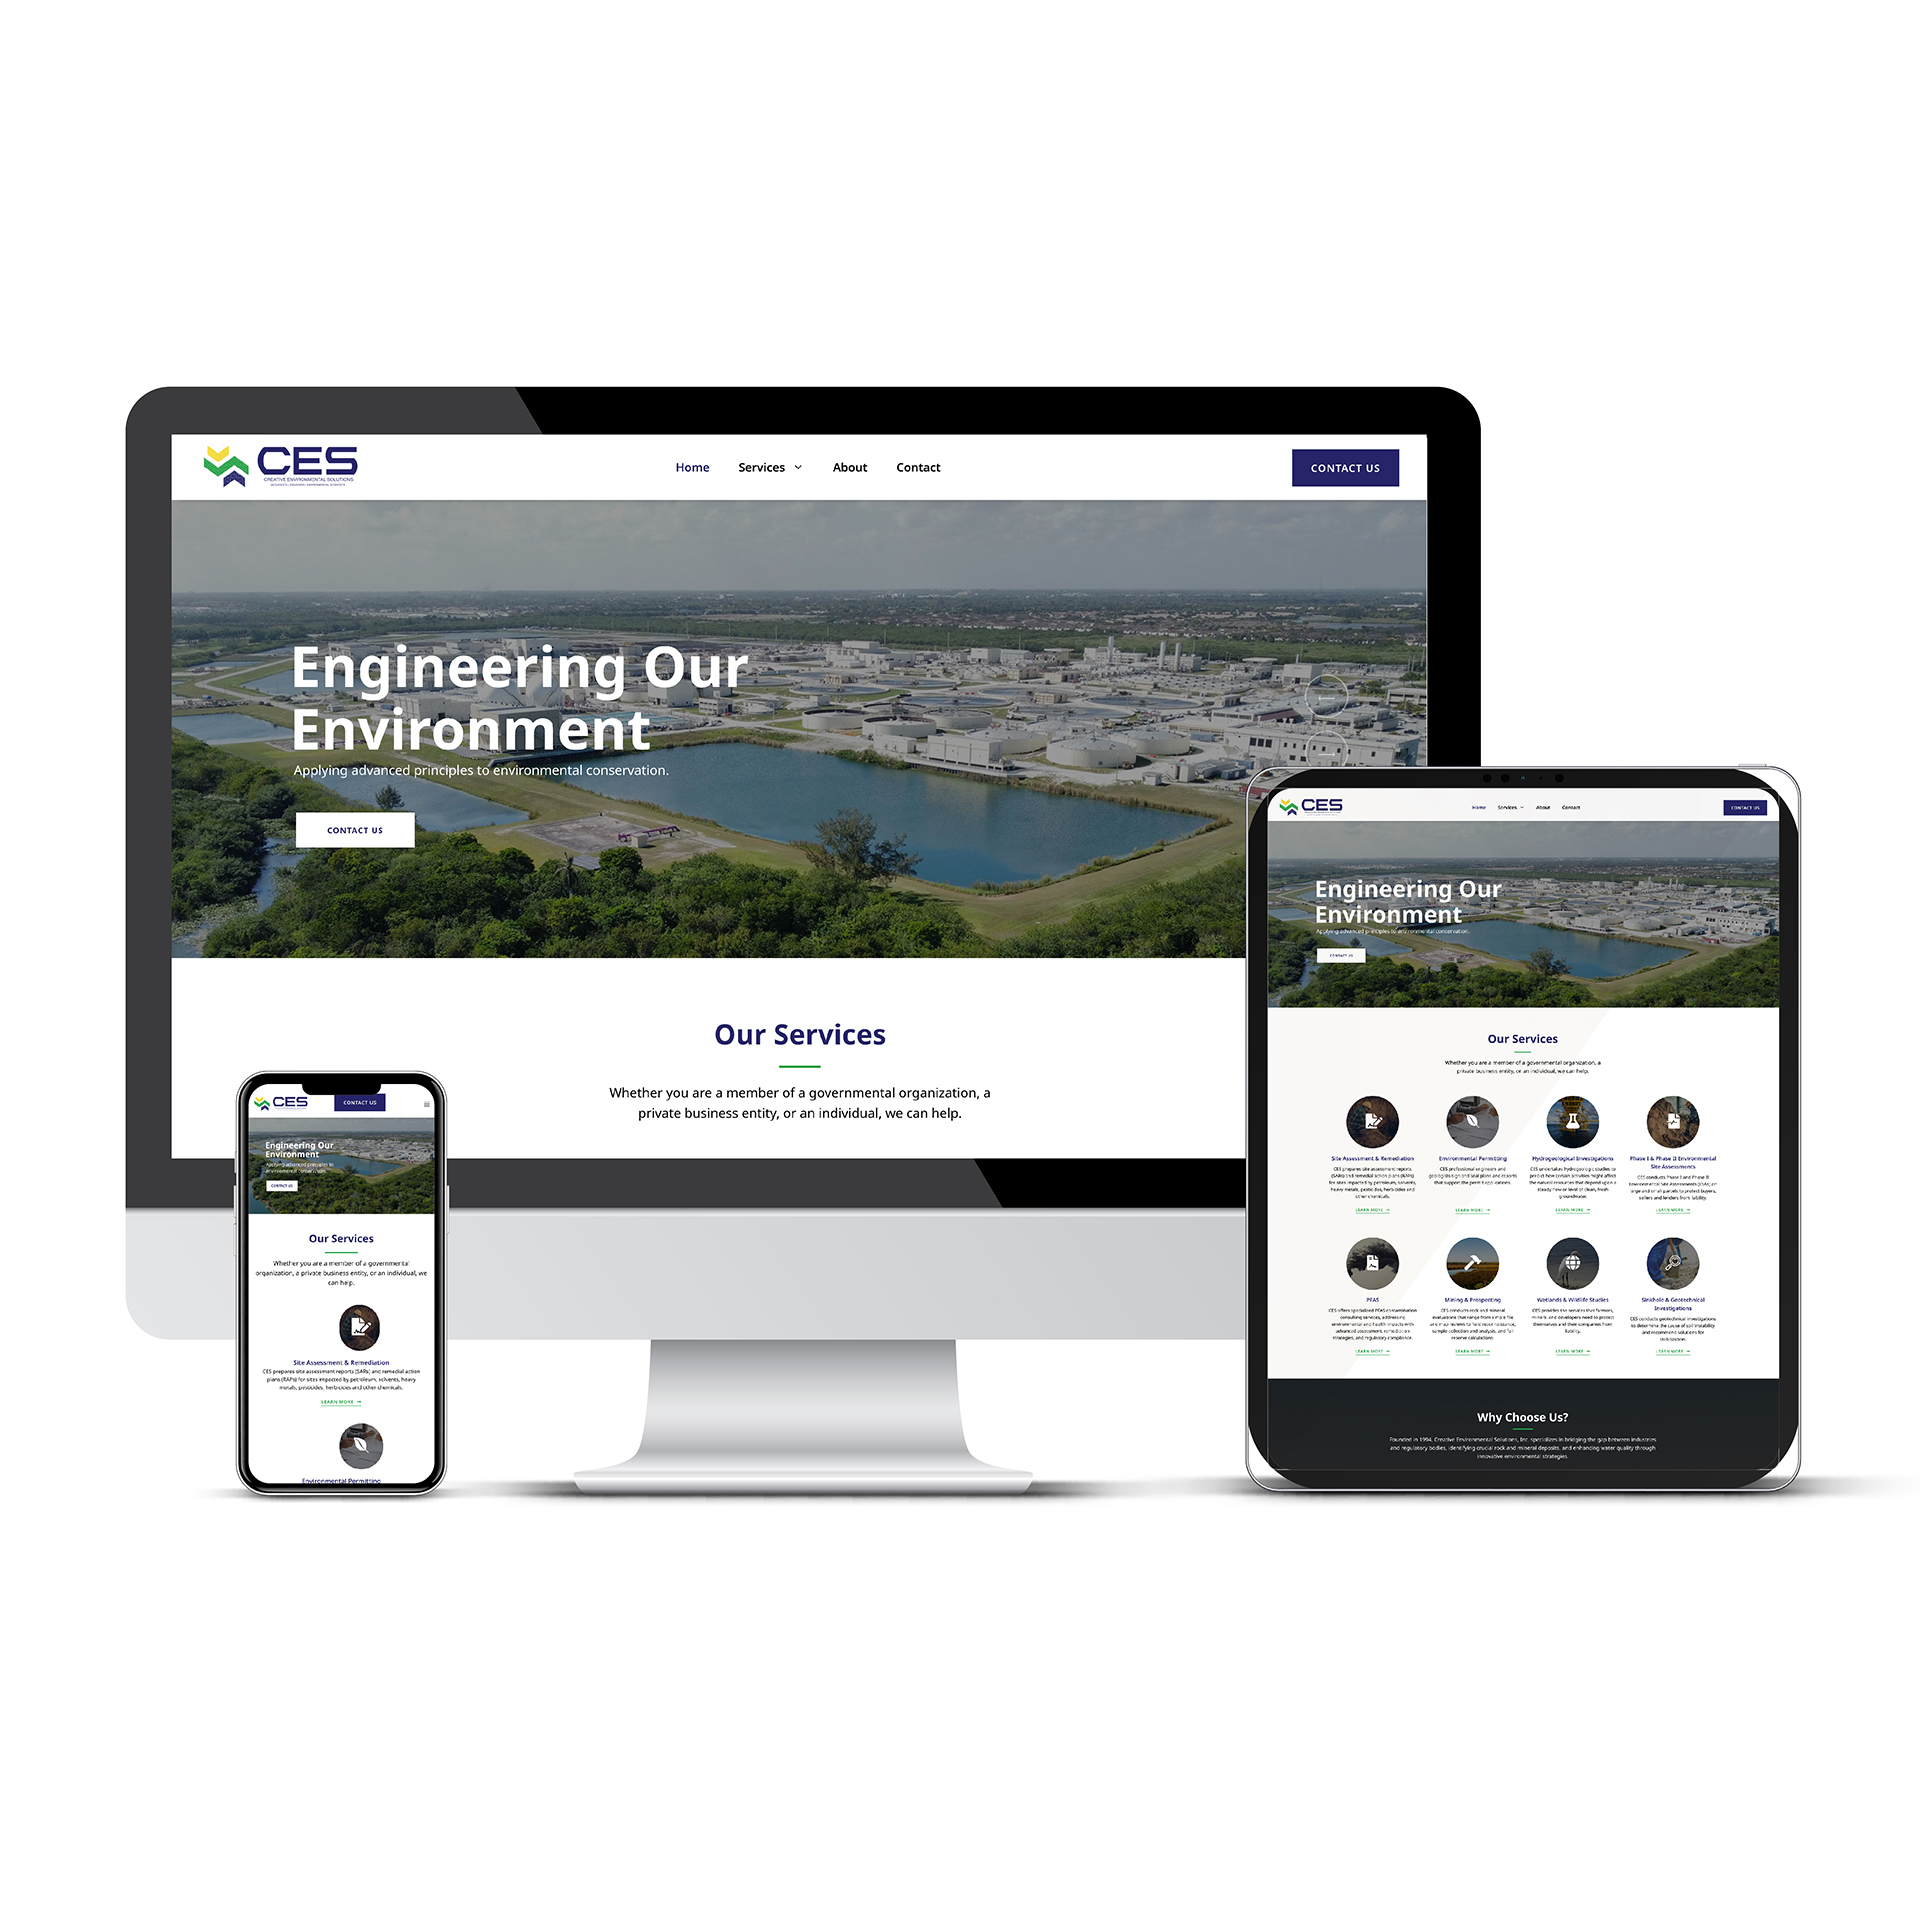
Creative Environmental Solutions
Website Design Services Portfolio MockUp for Creative Environmental Solutions
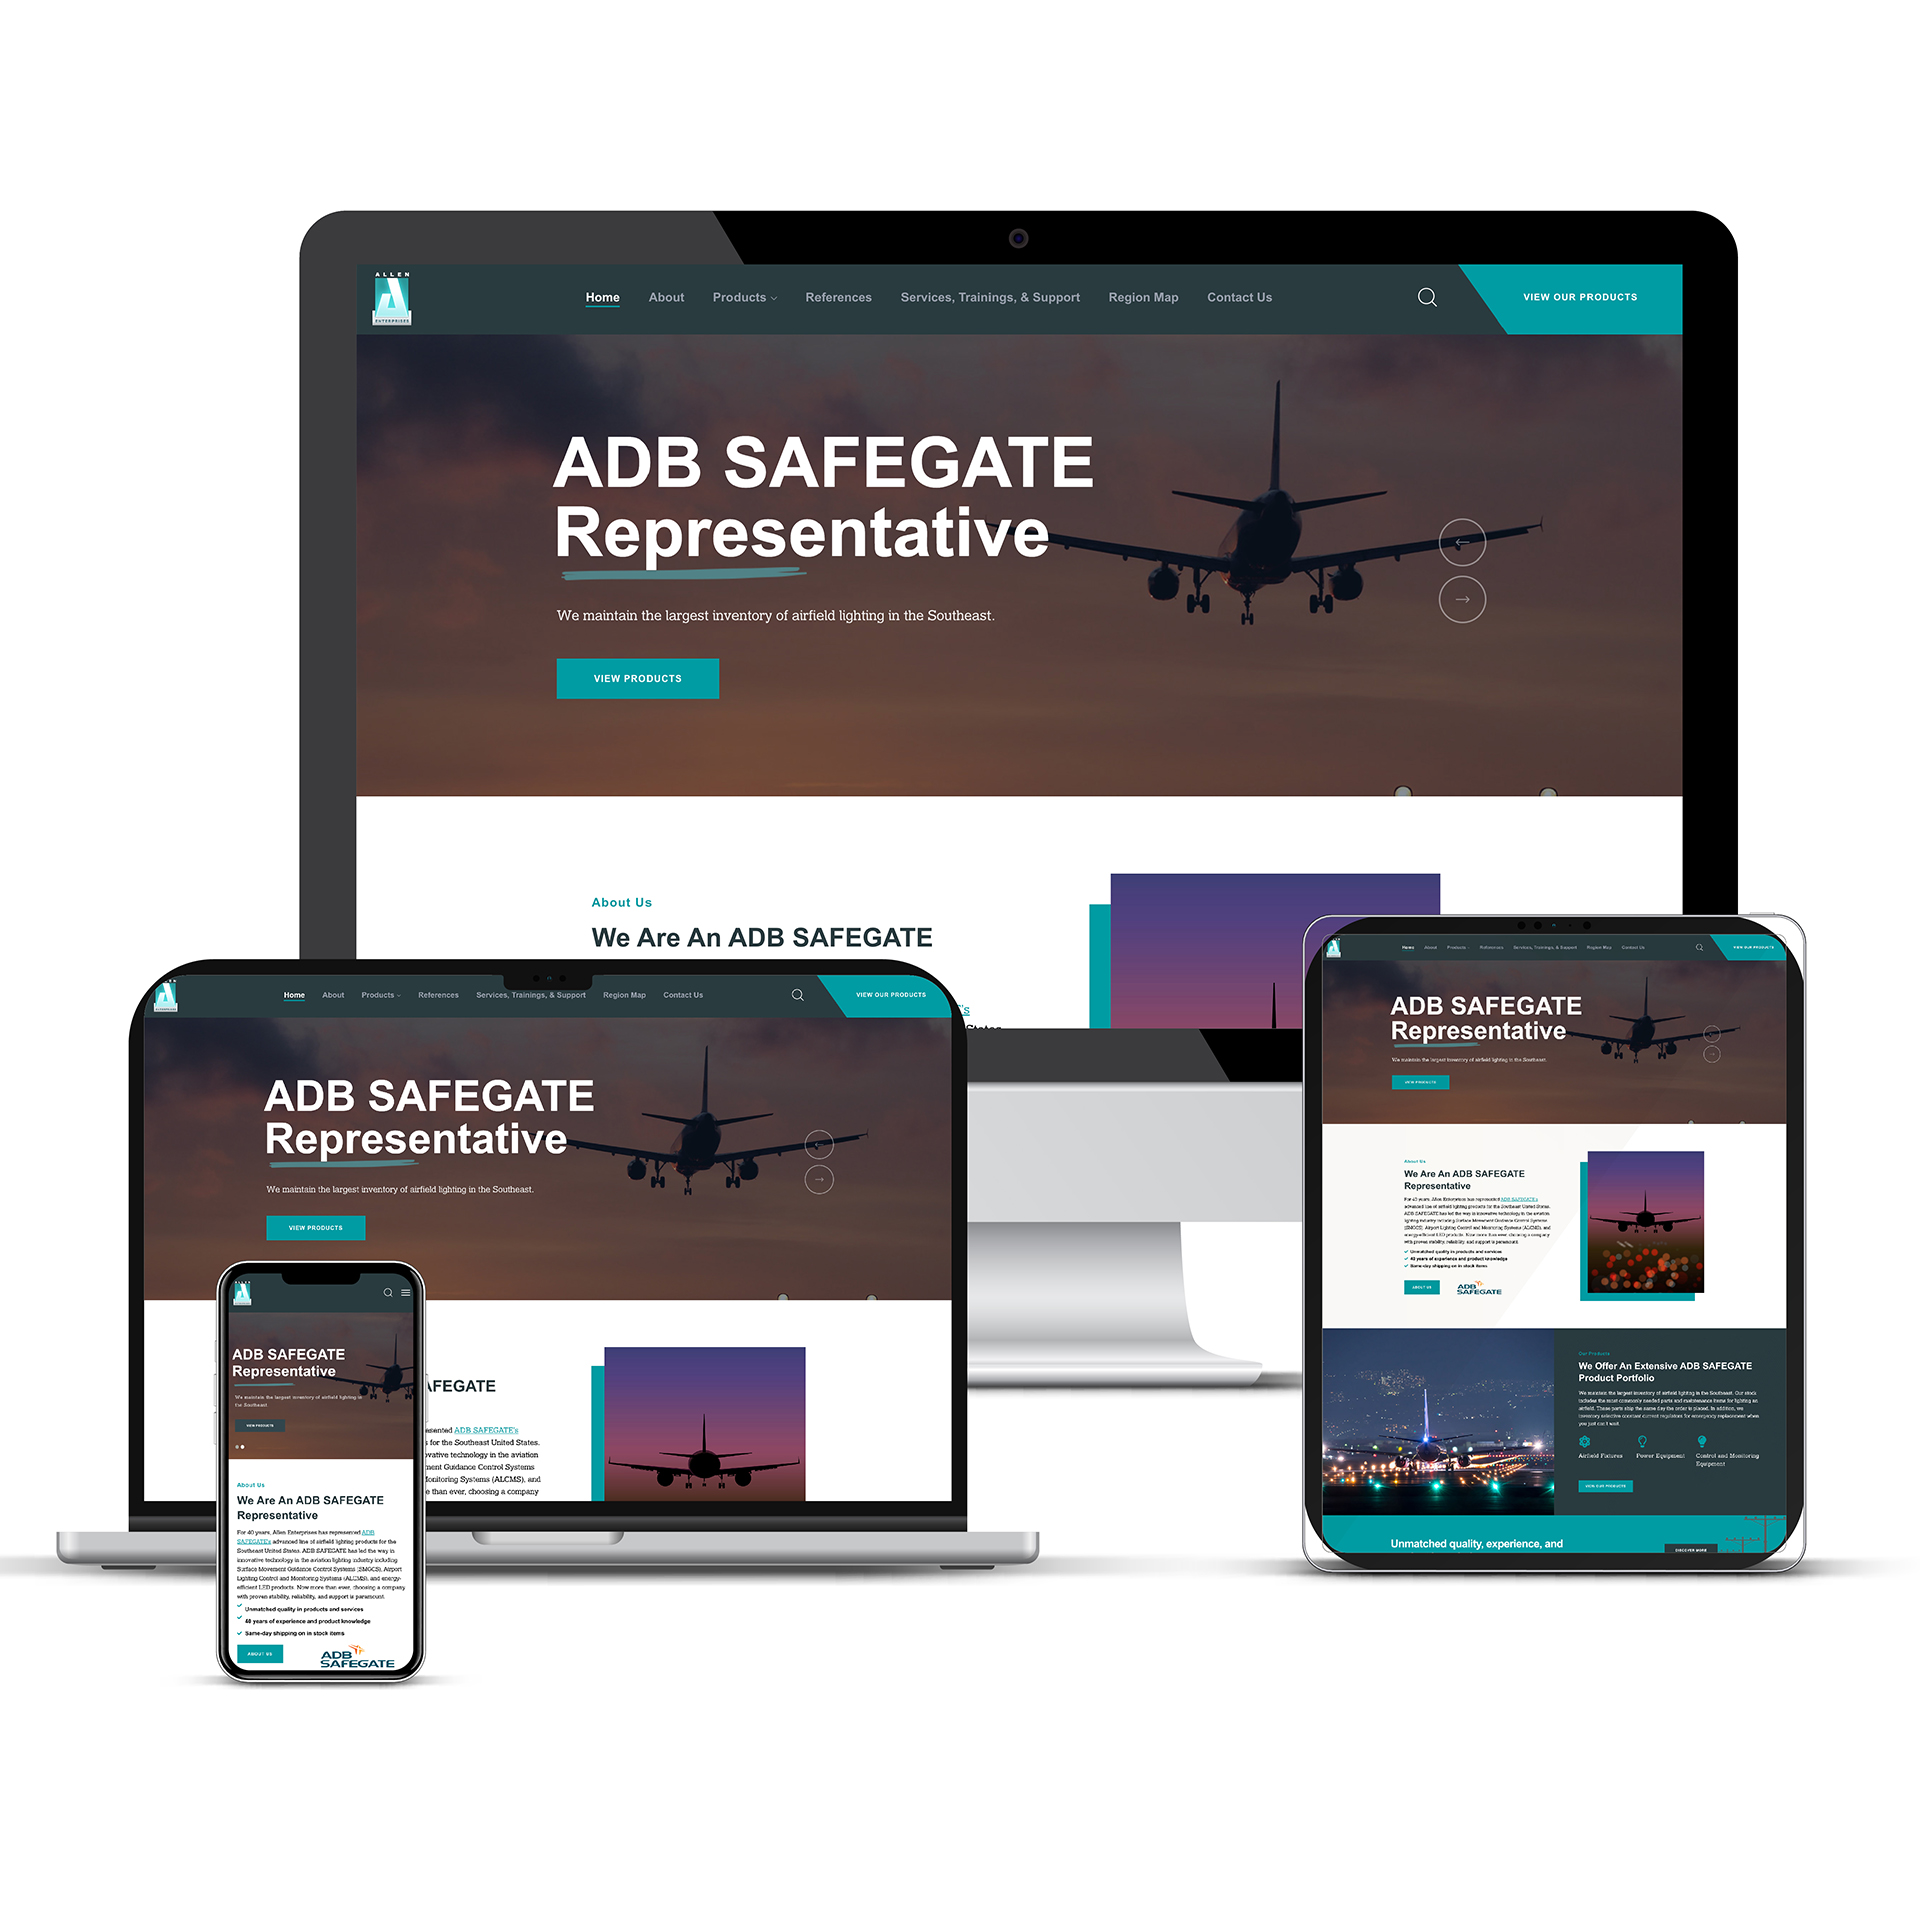
Airport Lights
Website Design Services Portfolio MockUp for Airport Lights
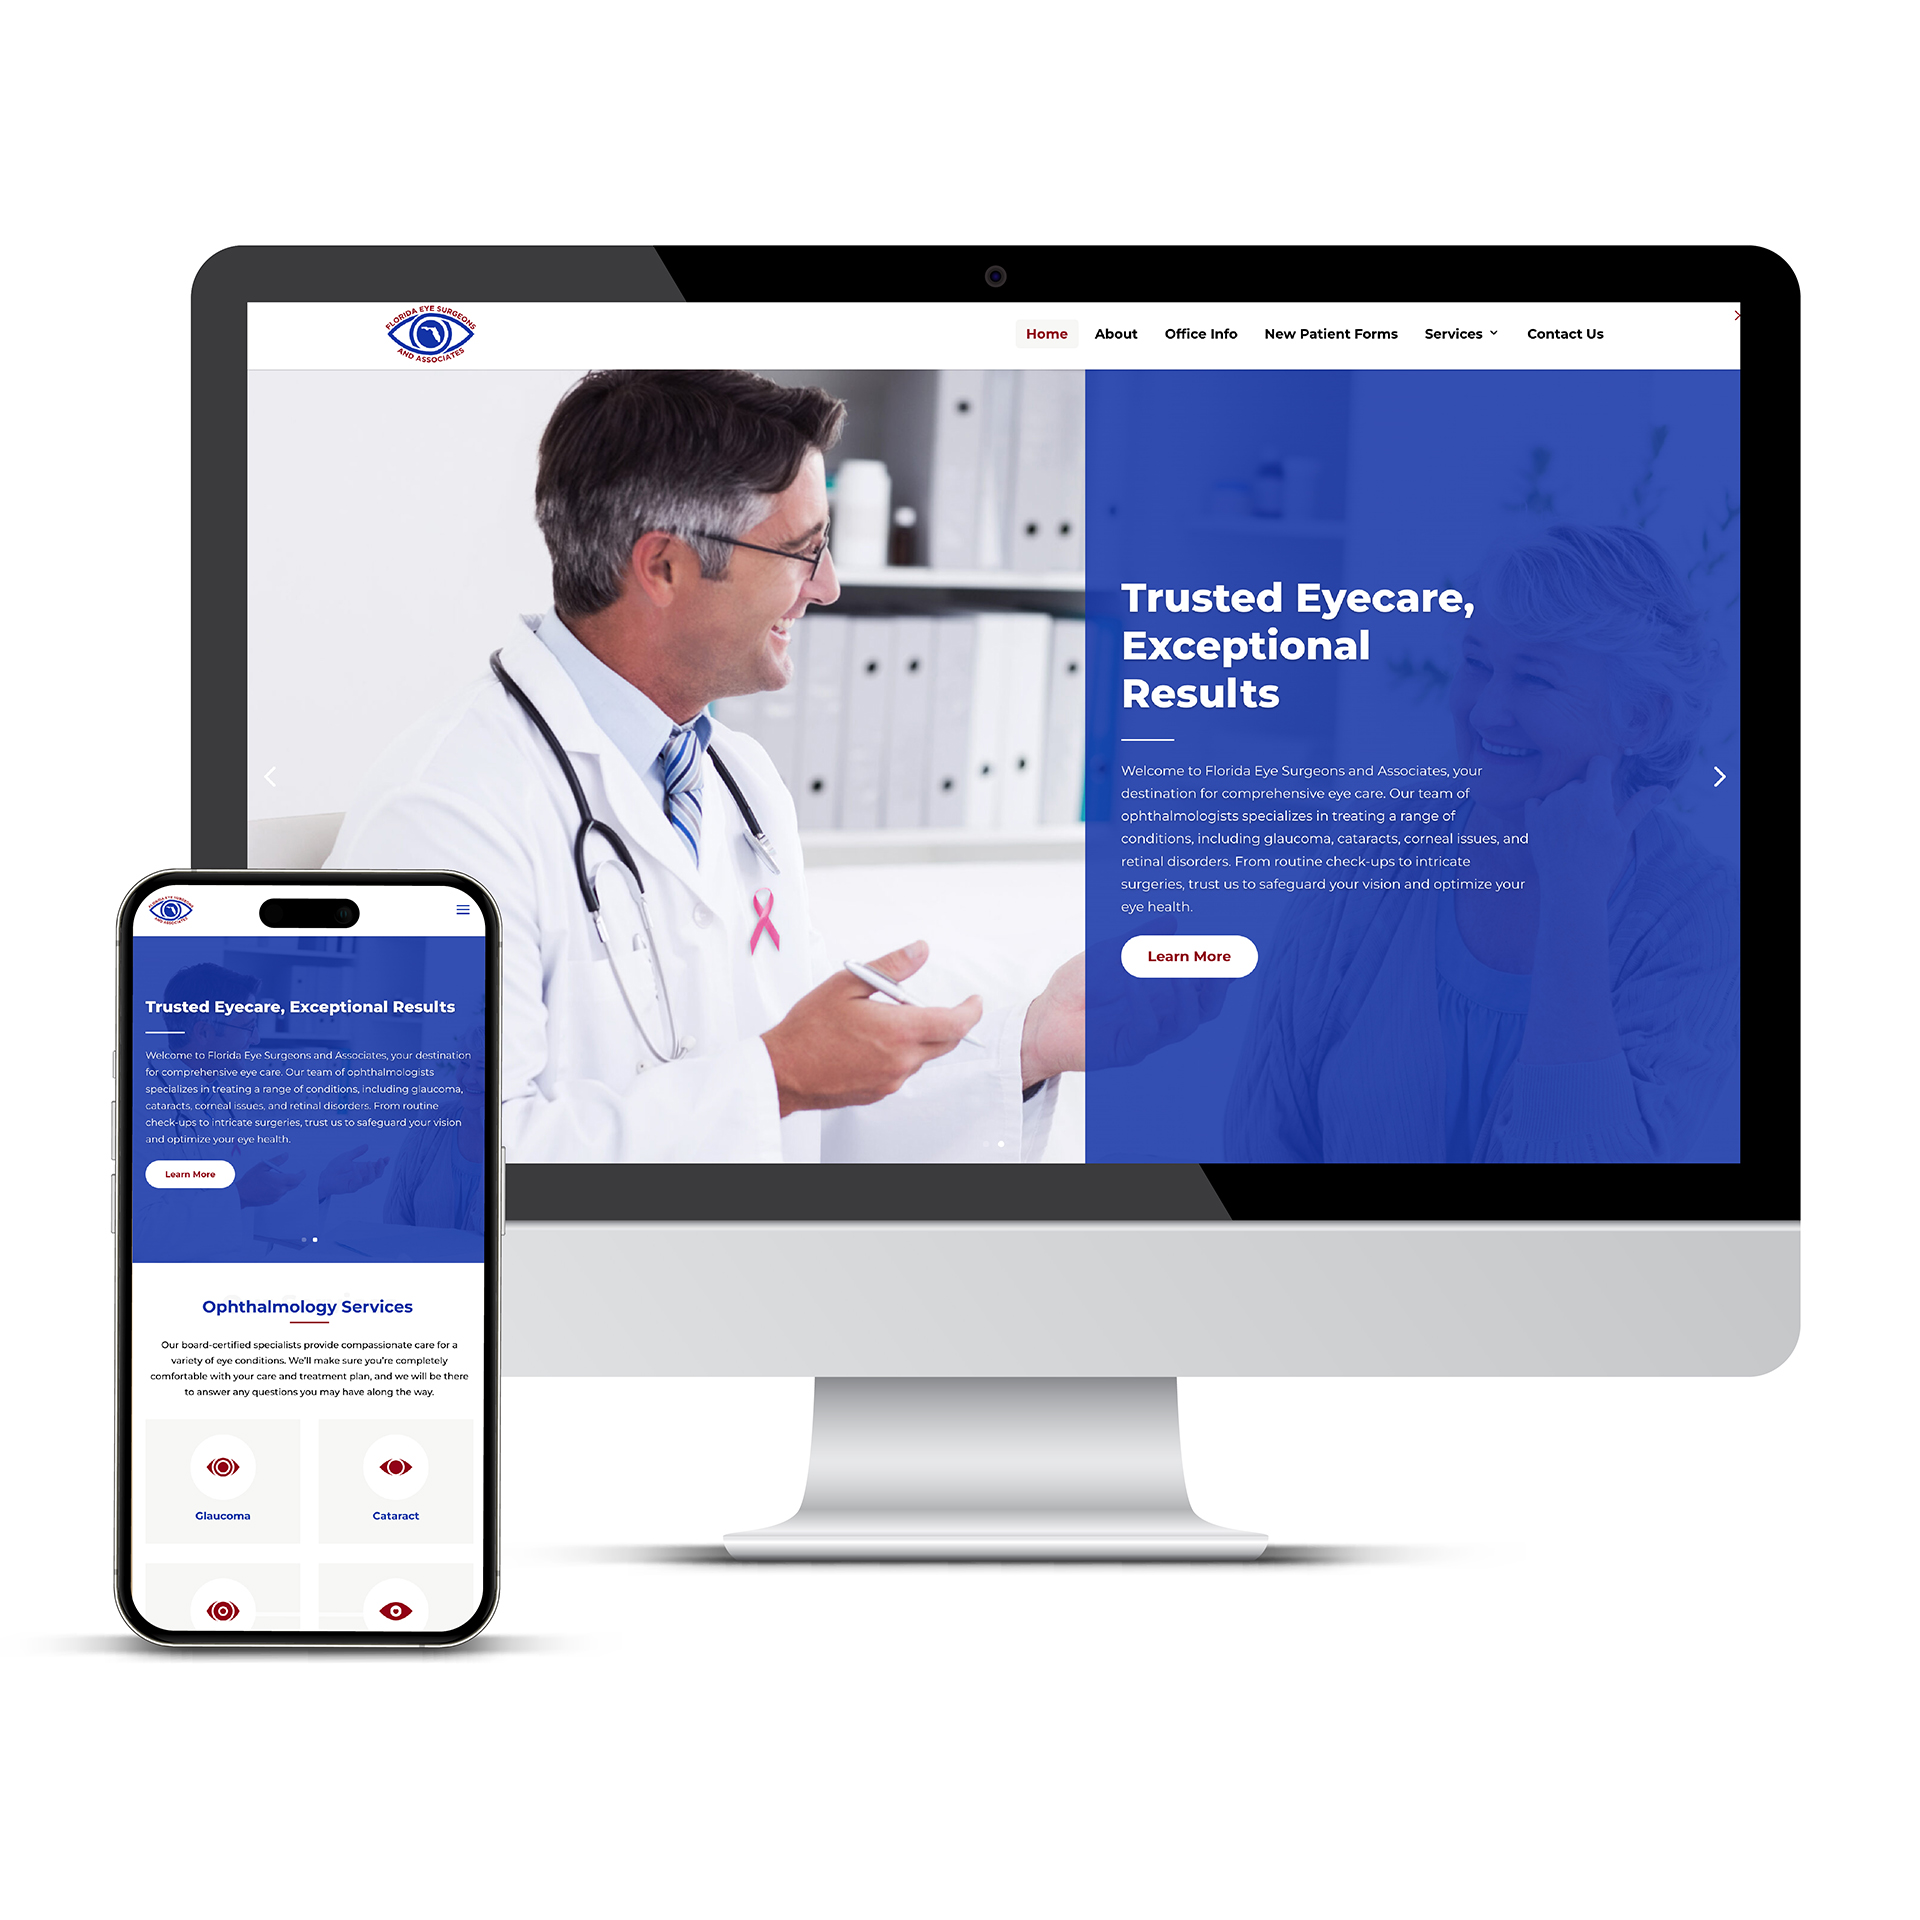
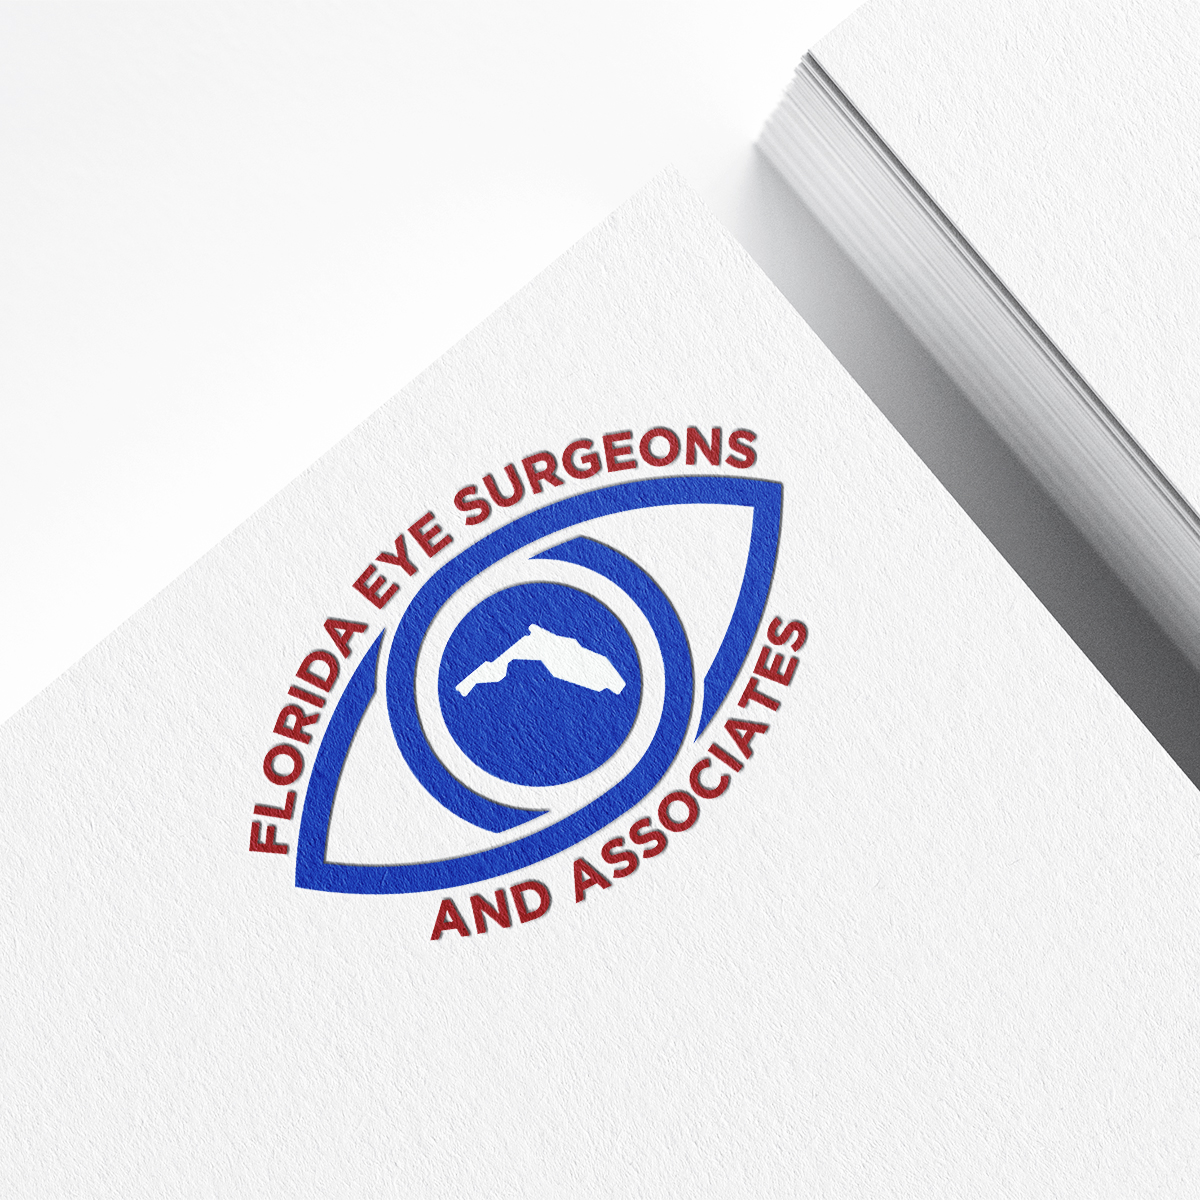
Florida Eye Surgeons And Associates
Website Design Services Portfolio MockUp for Florida Eye Surgeons And Associates
Load & Go Dumpsters
Website Design Services Portfolio MockUp for Load & Go Dumpsters

Meinhart Homes
Website Design Services Portfolio MockUp for Meinhart Homes

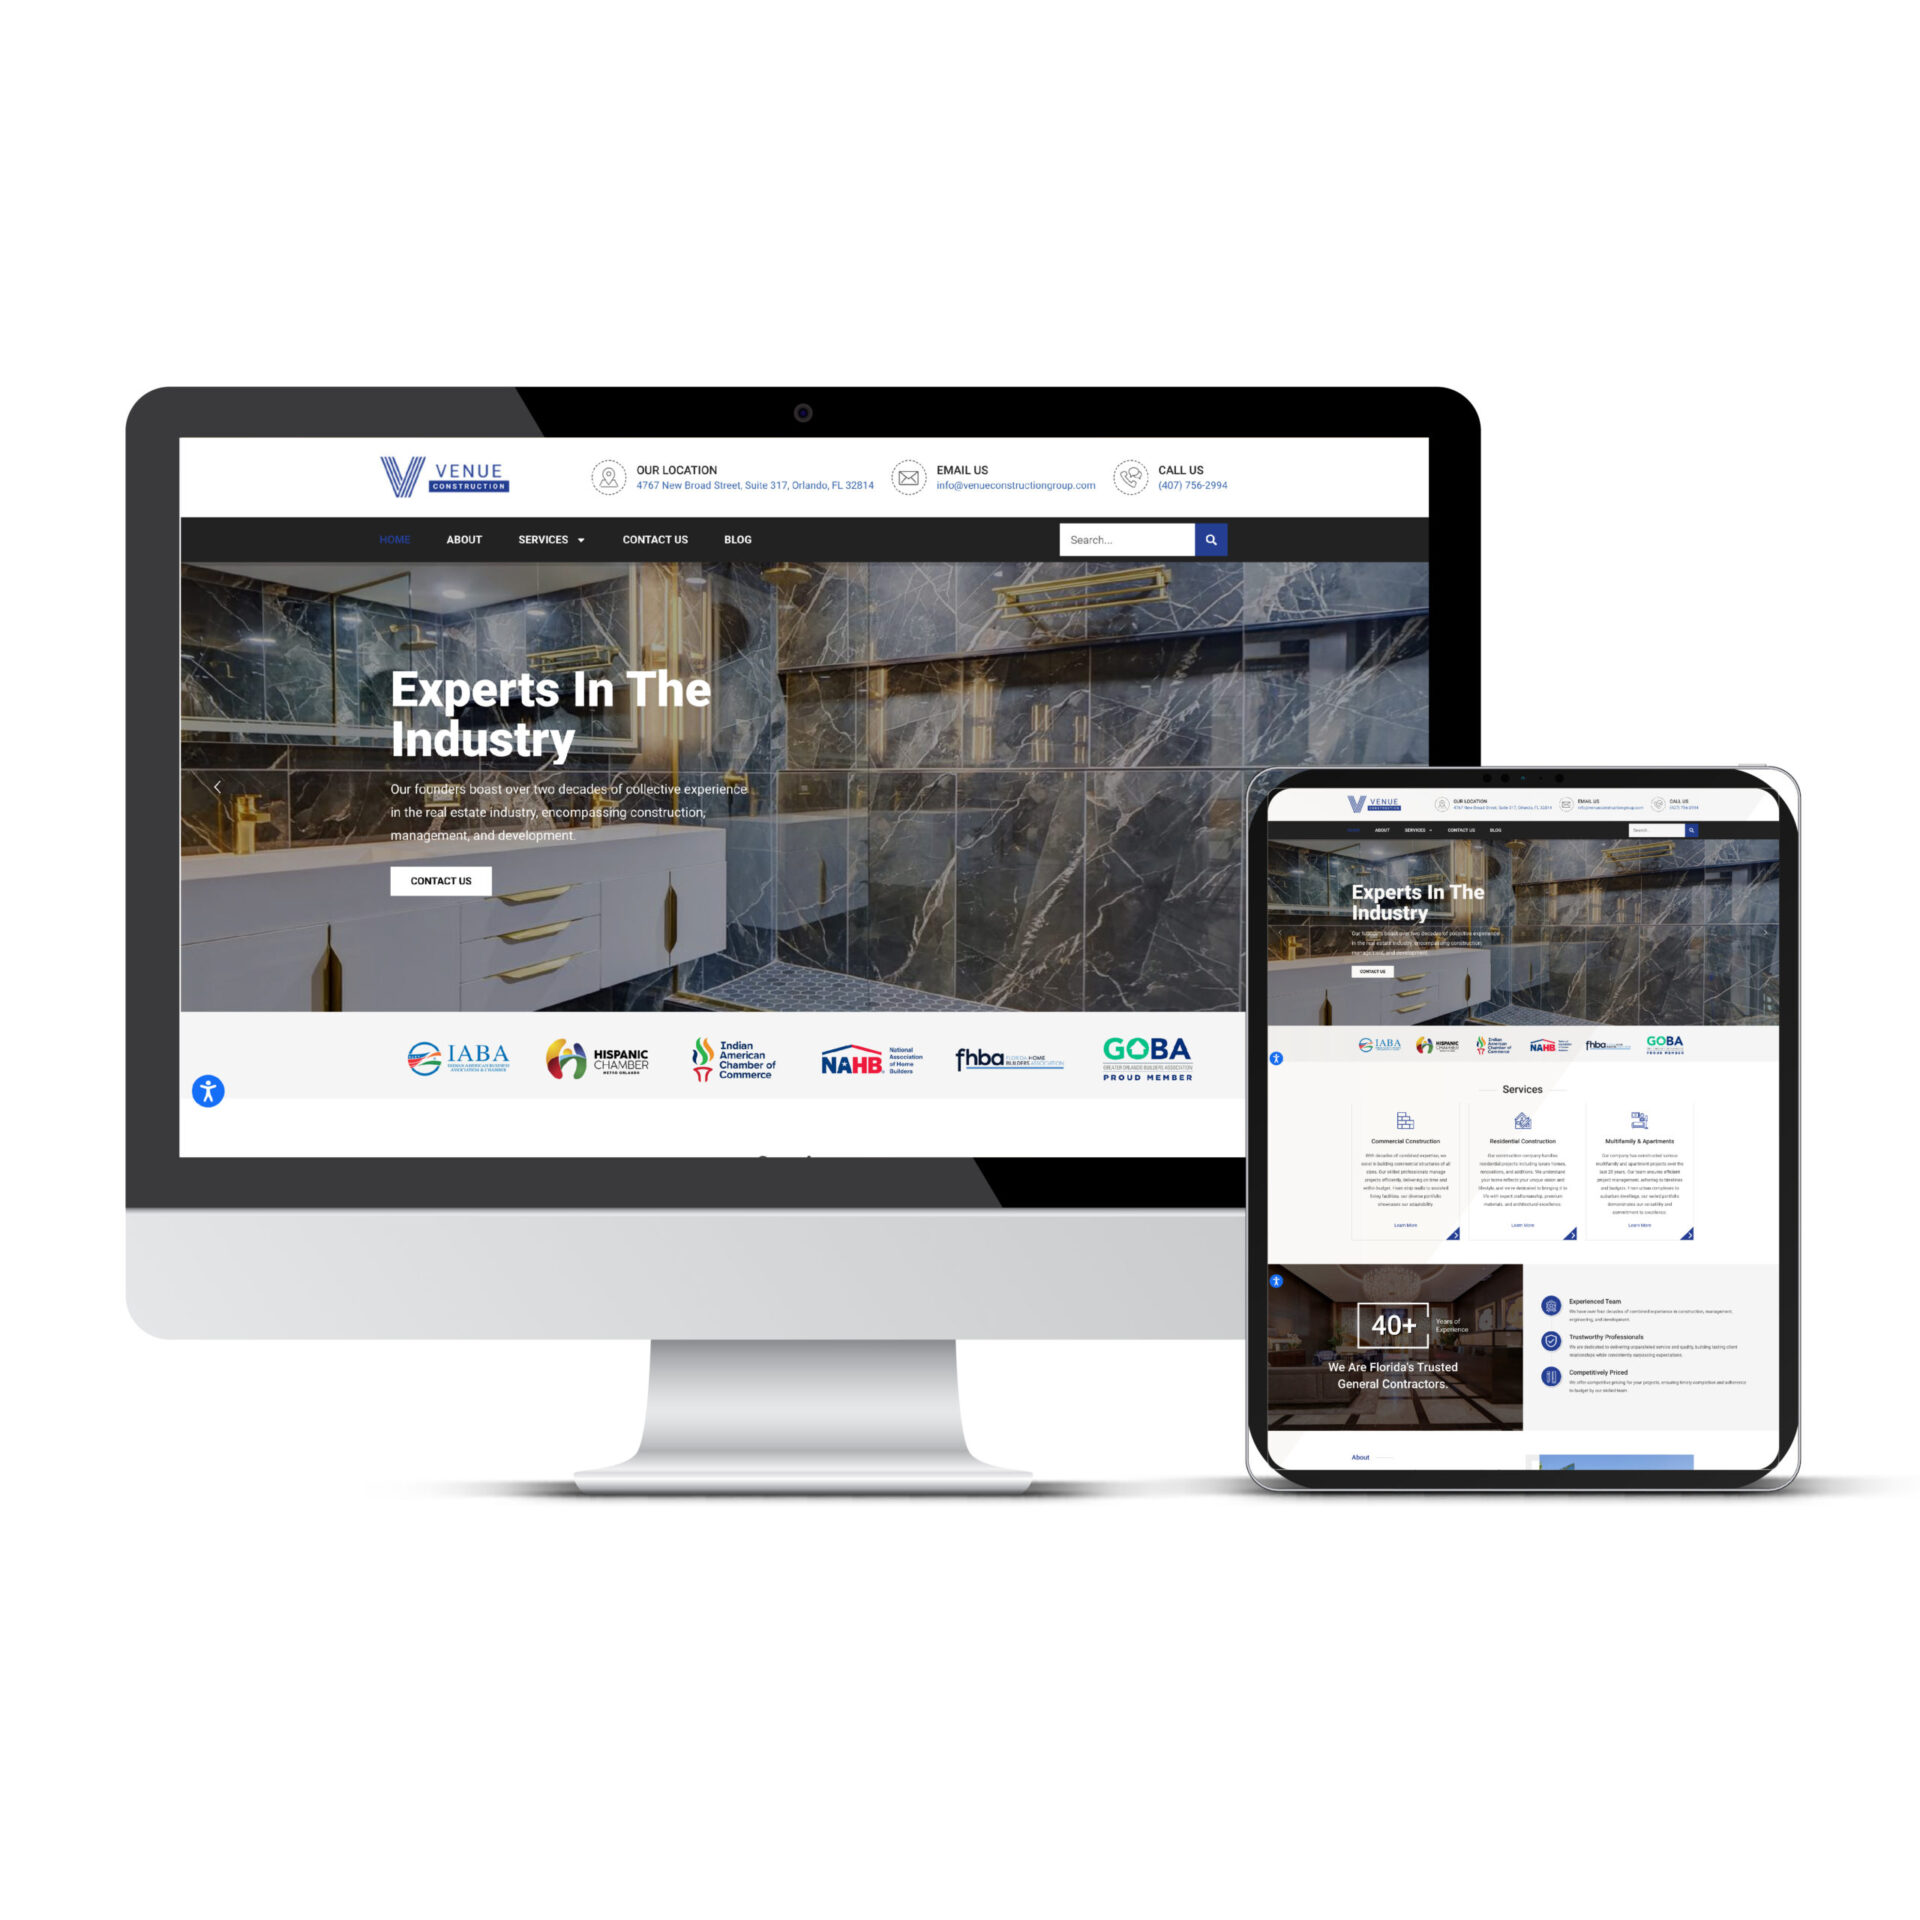
Venue Construction Group
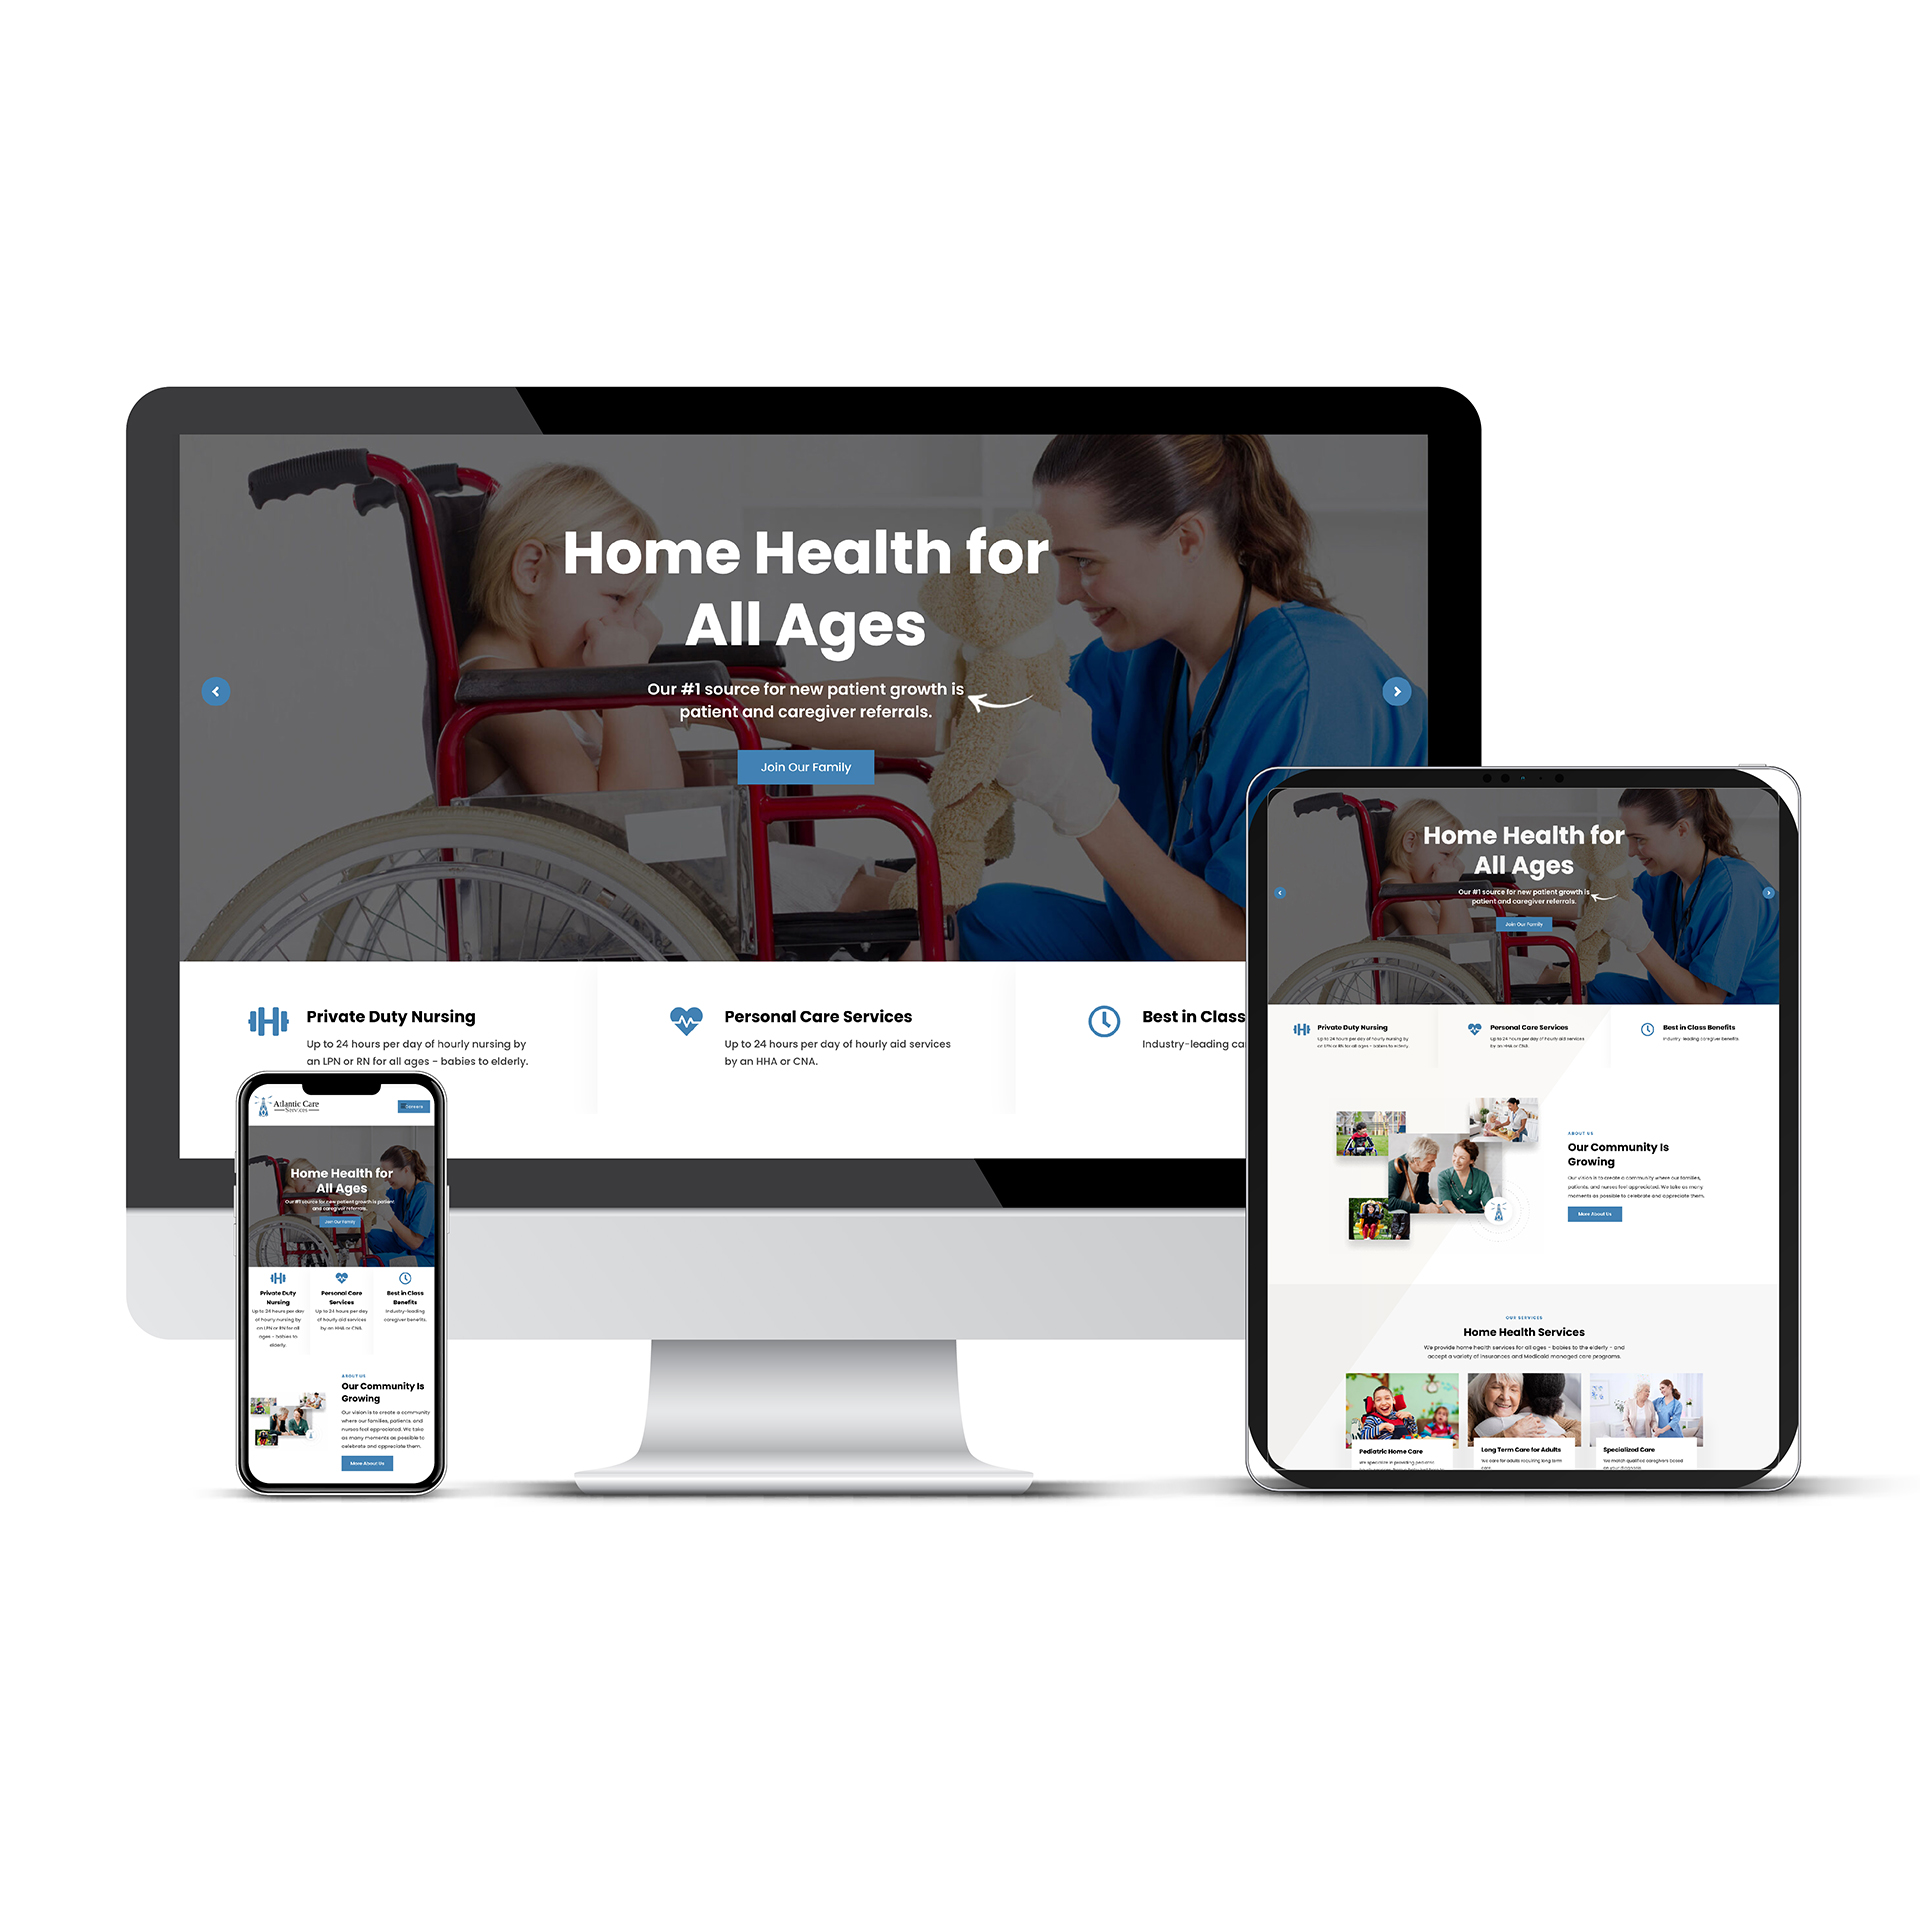
Atlantic Care Services
Website Design Services Portfolio MockUp for Atlantic Care Services
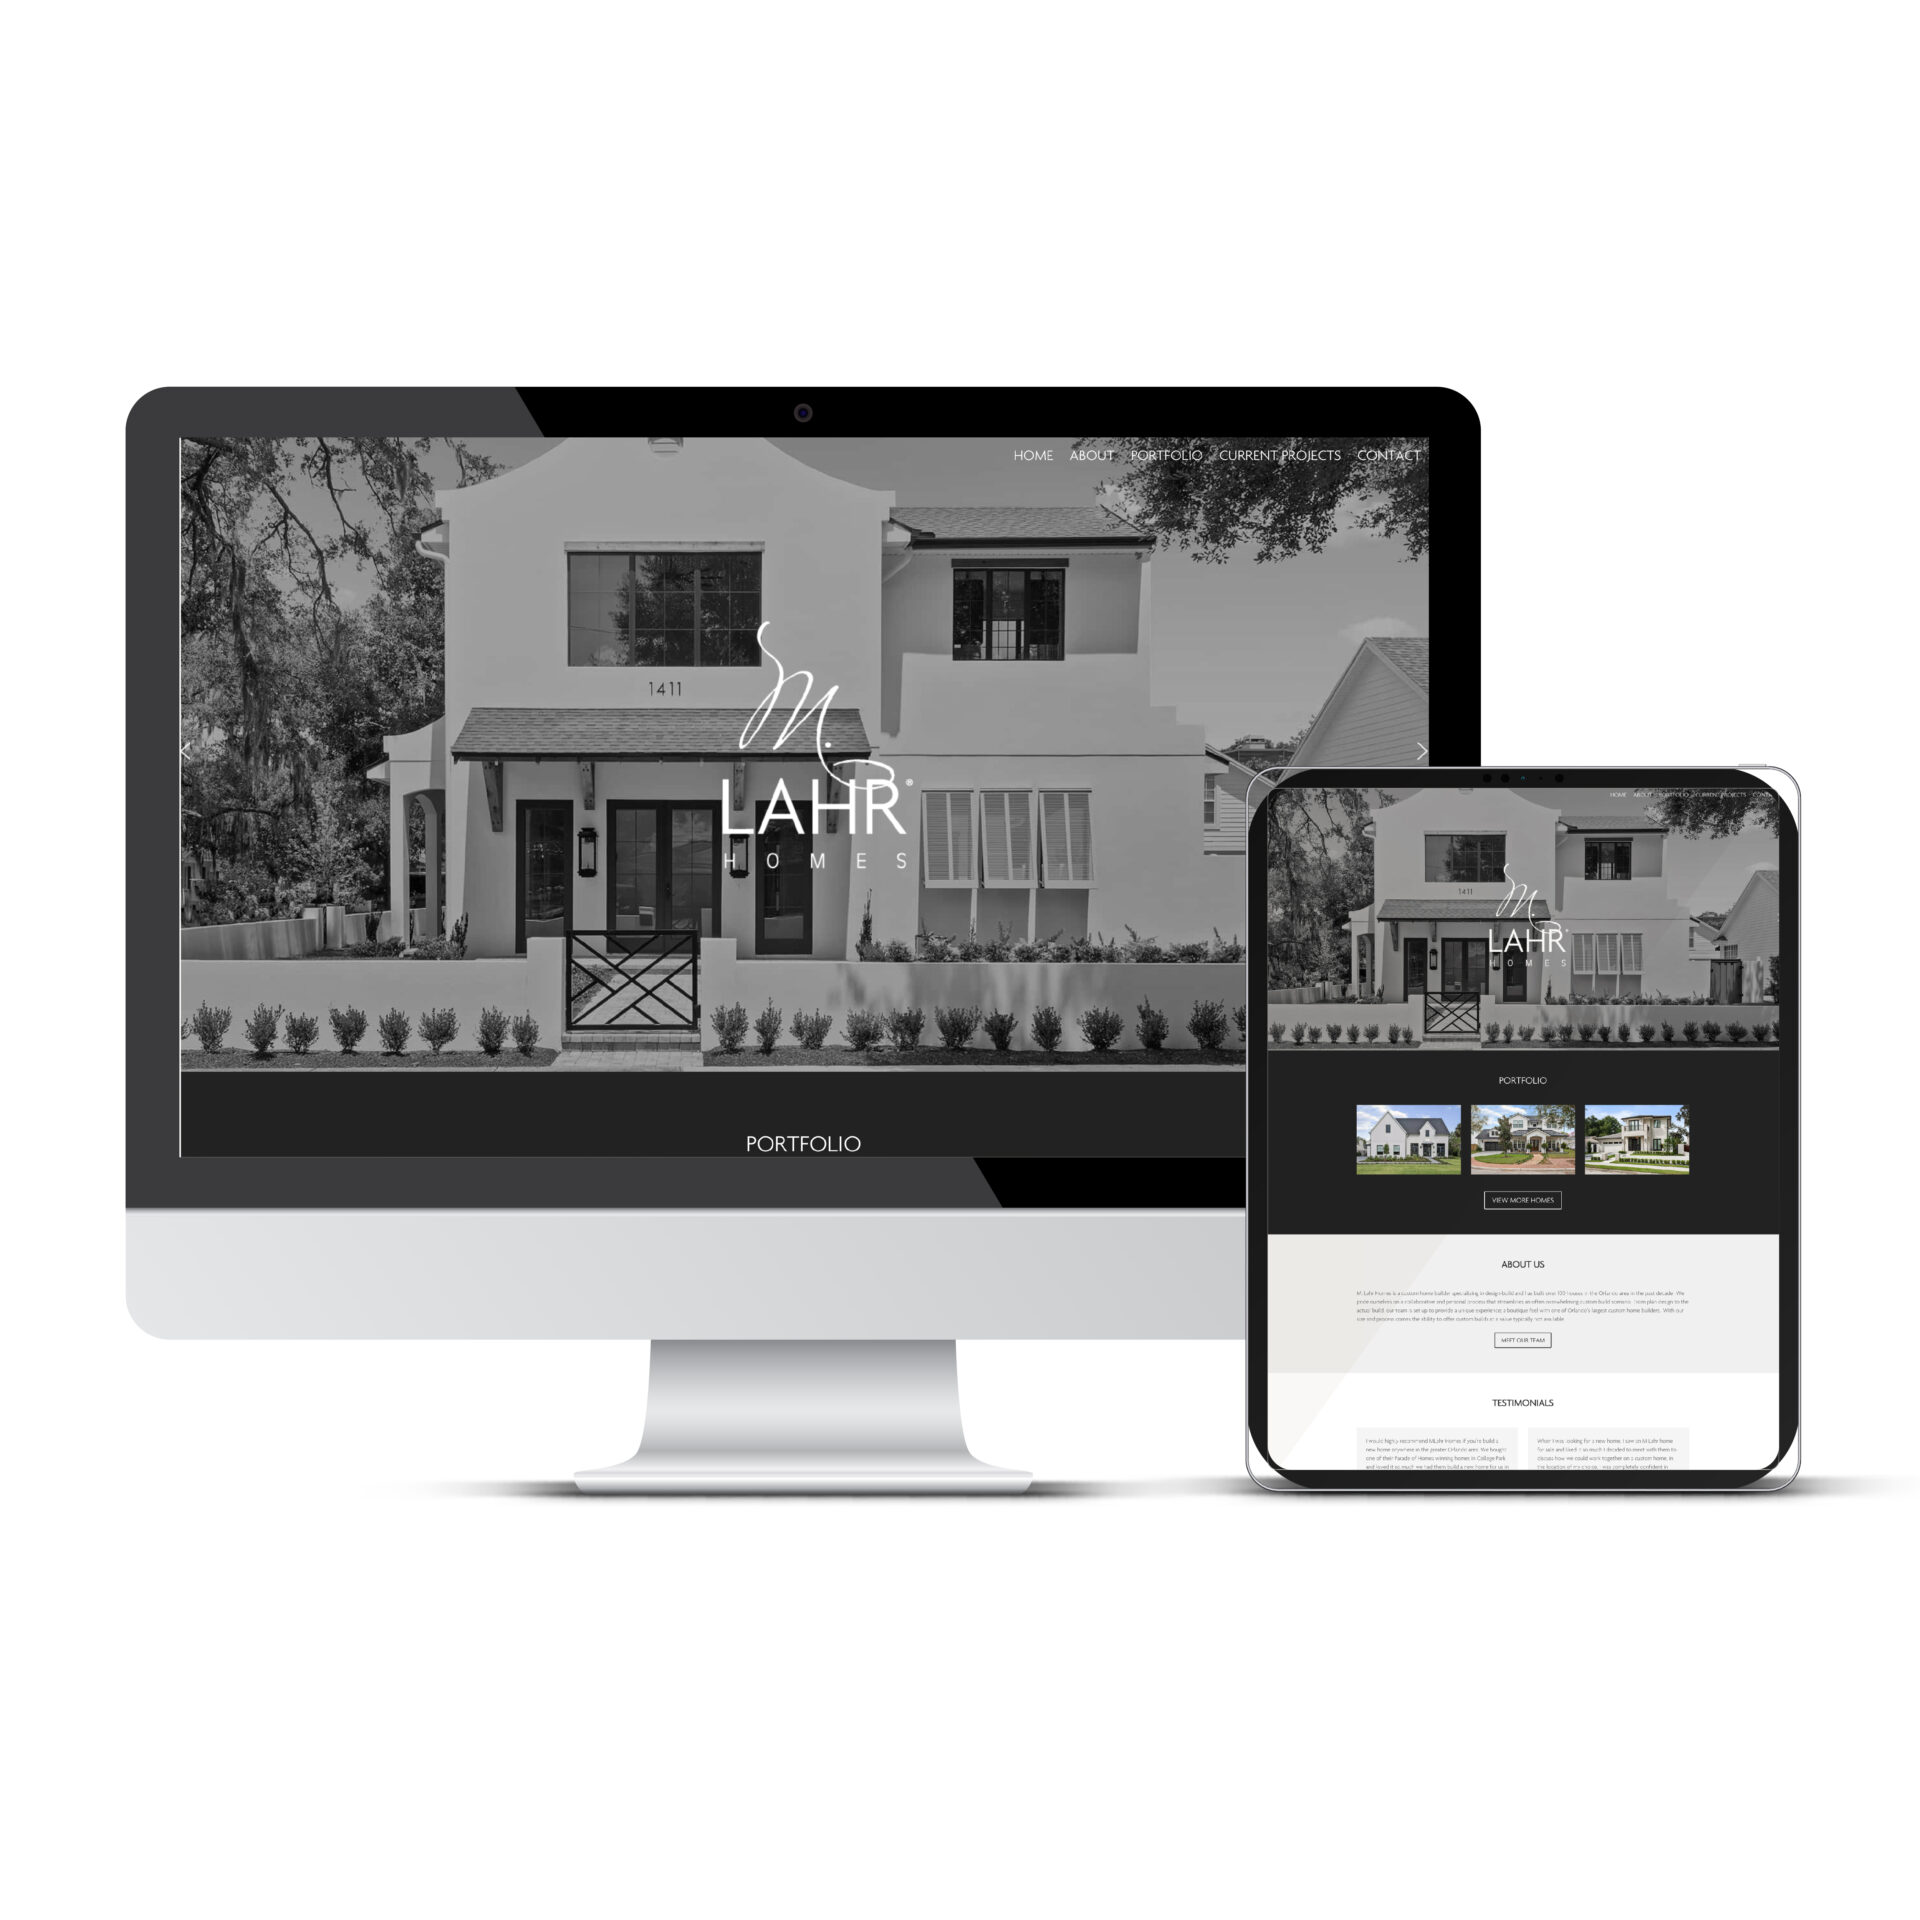
M. Lahr Homes
Website Design Services Portfolio MockUp for M. Lahr Homes
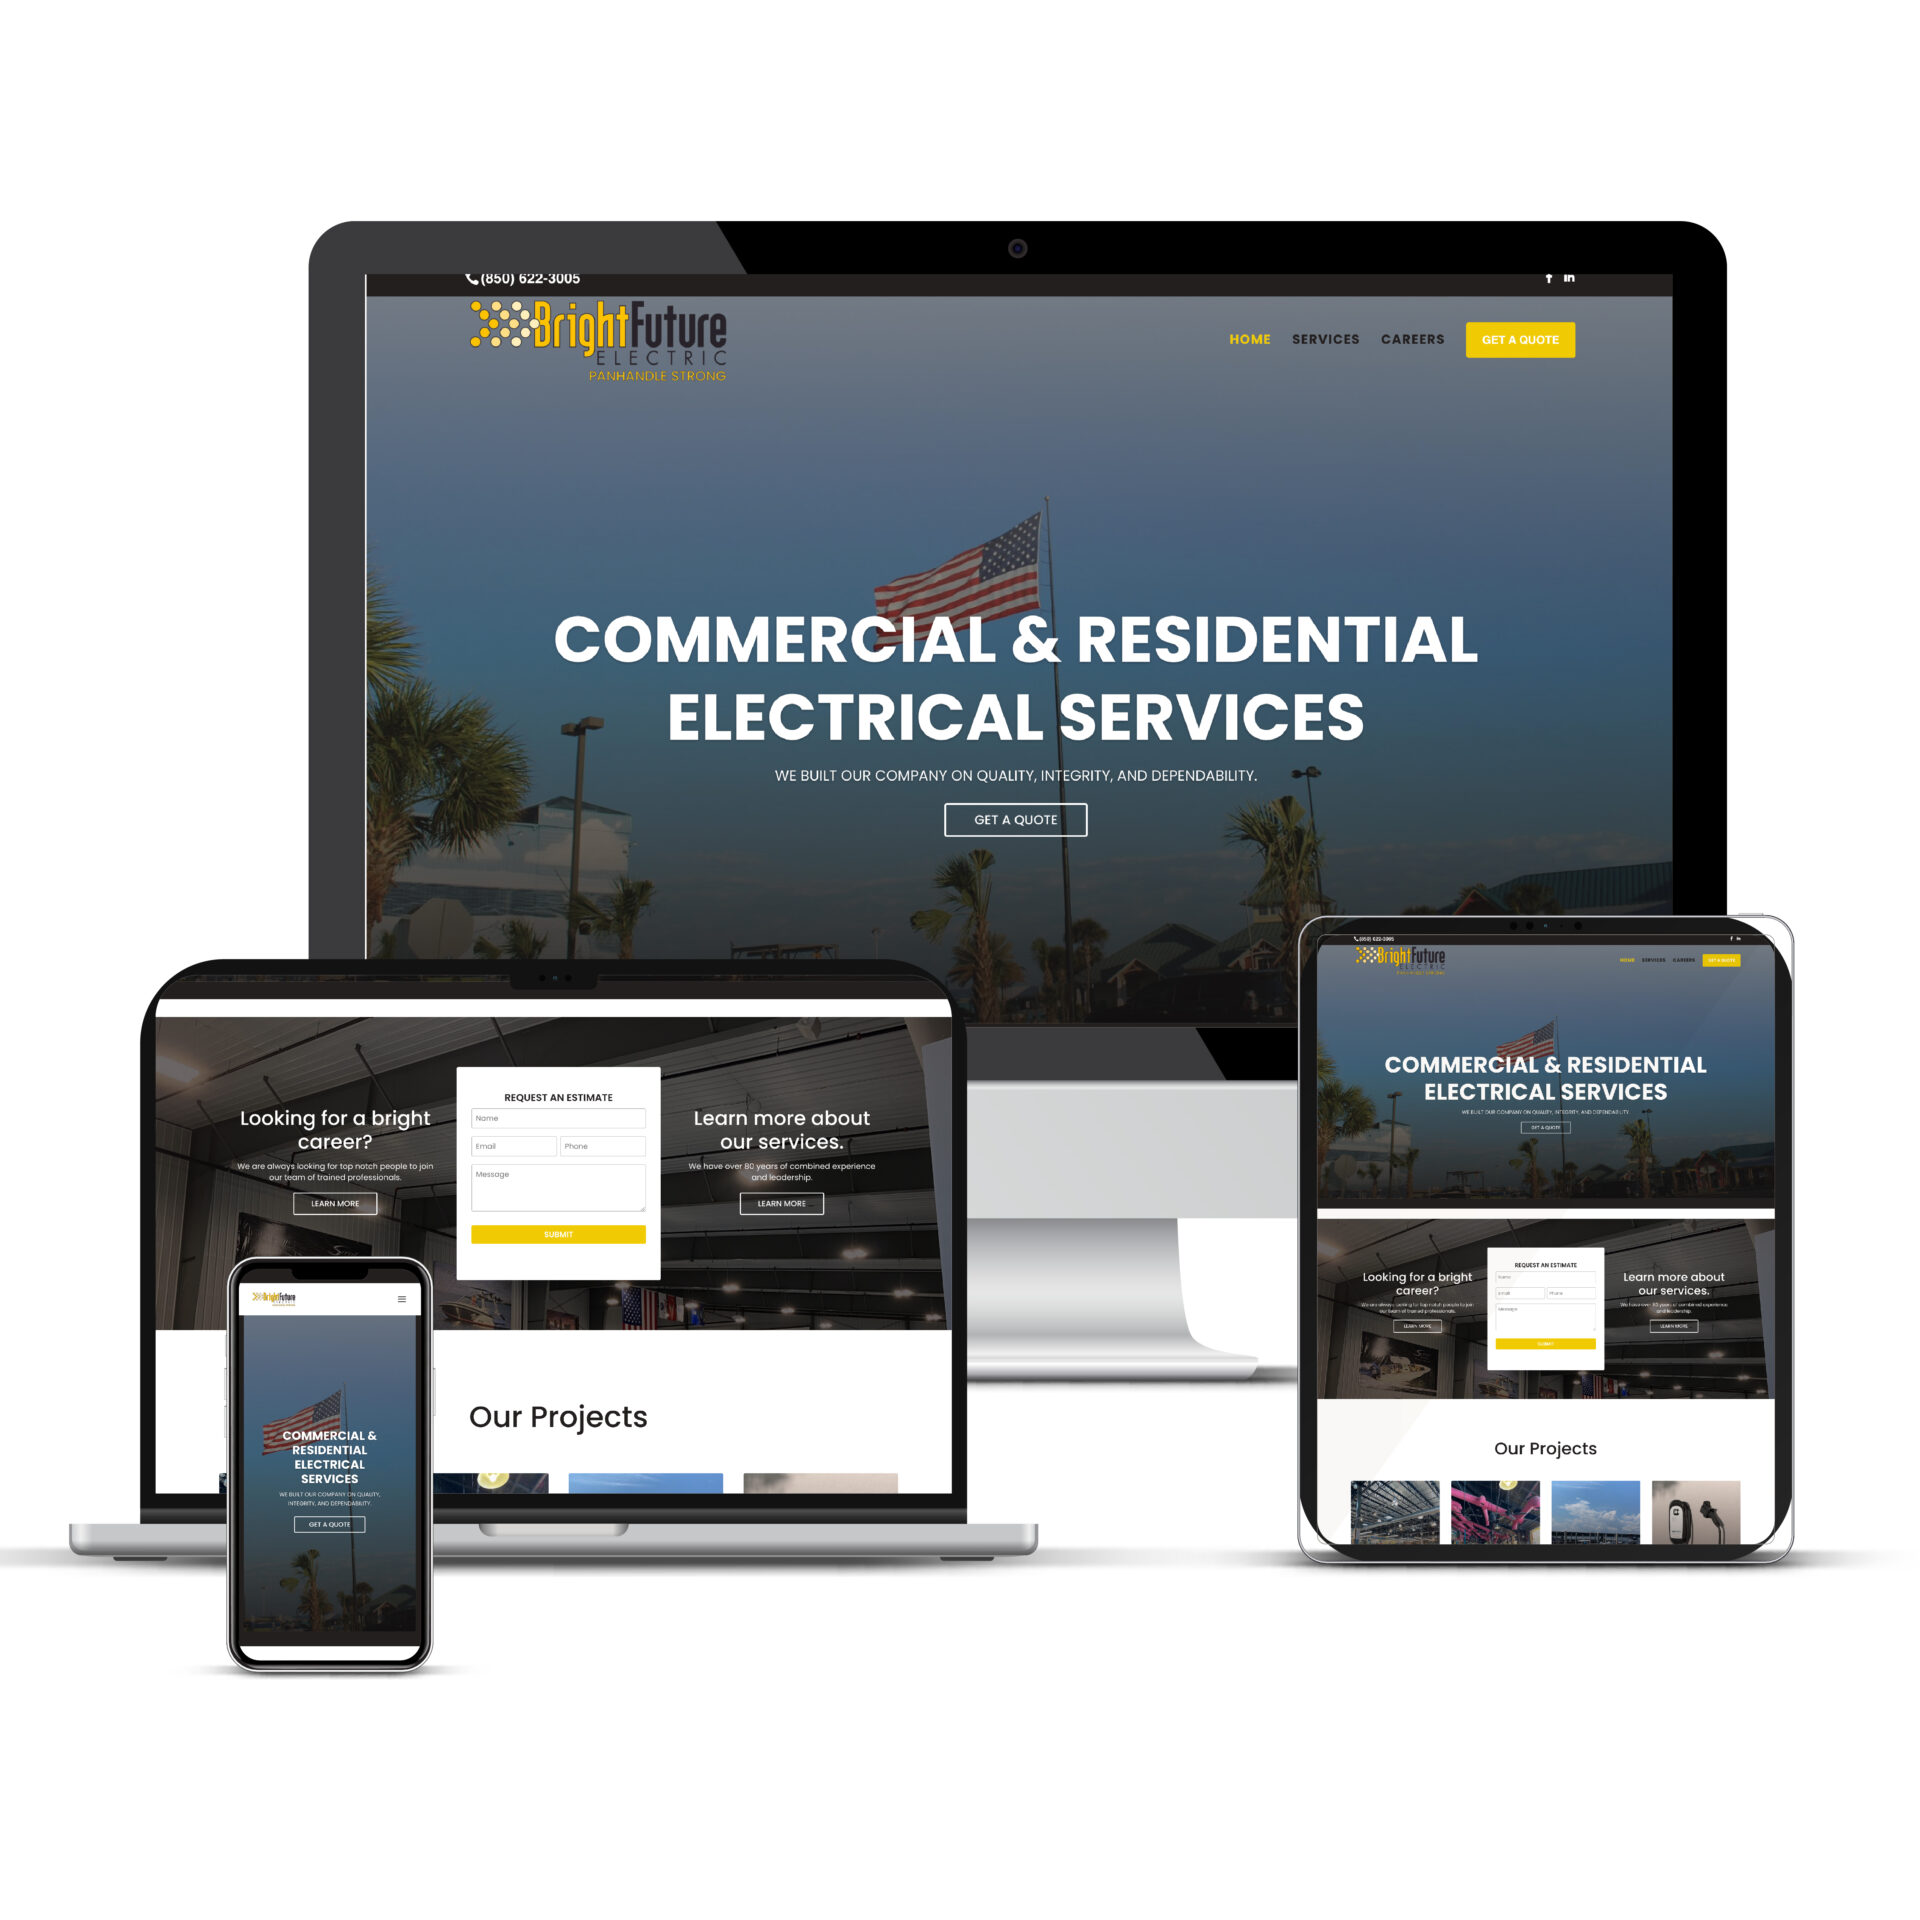
Bright Future Electric Panhandle
Website Design Services Portfolio MockUp for Bright Future Electric Panhandle
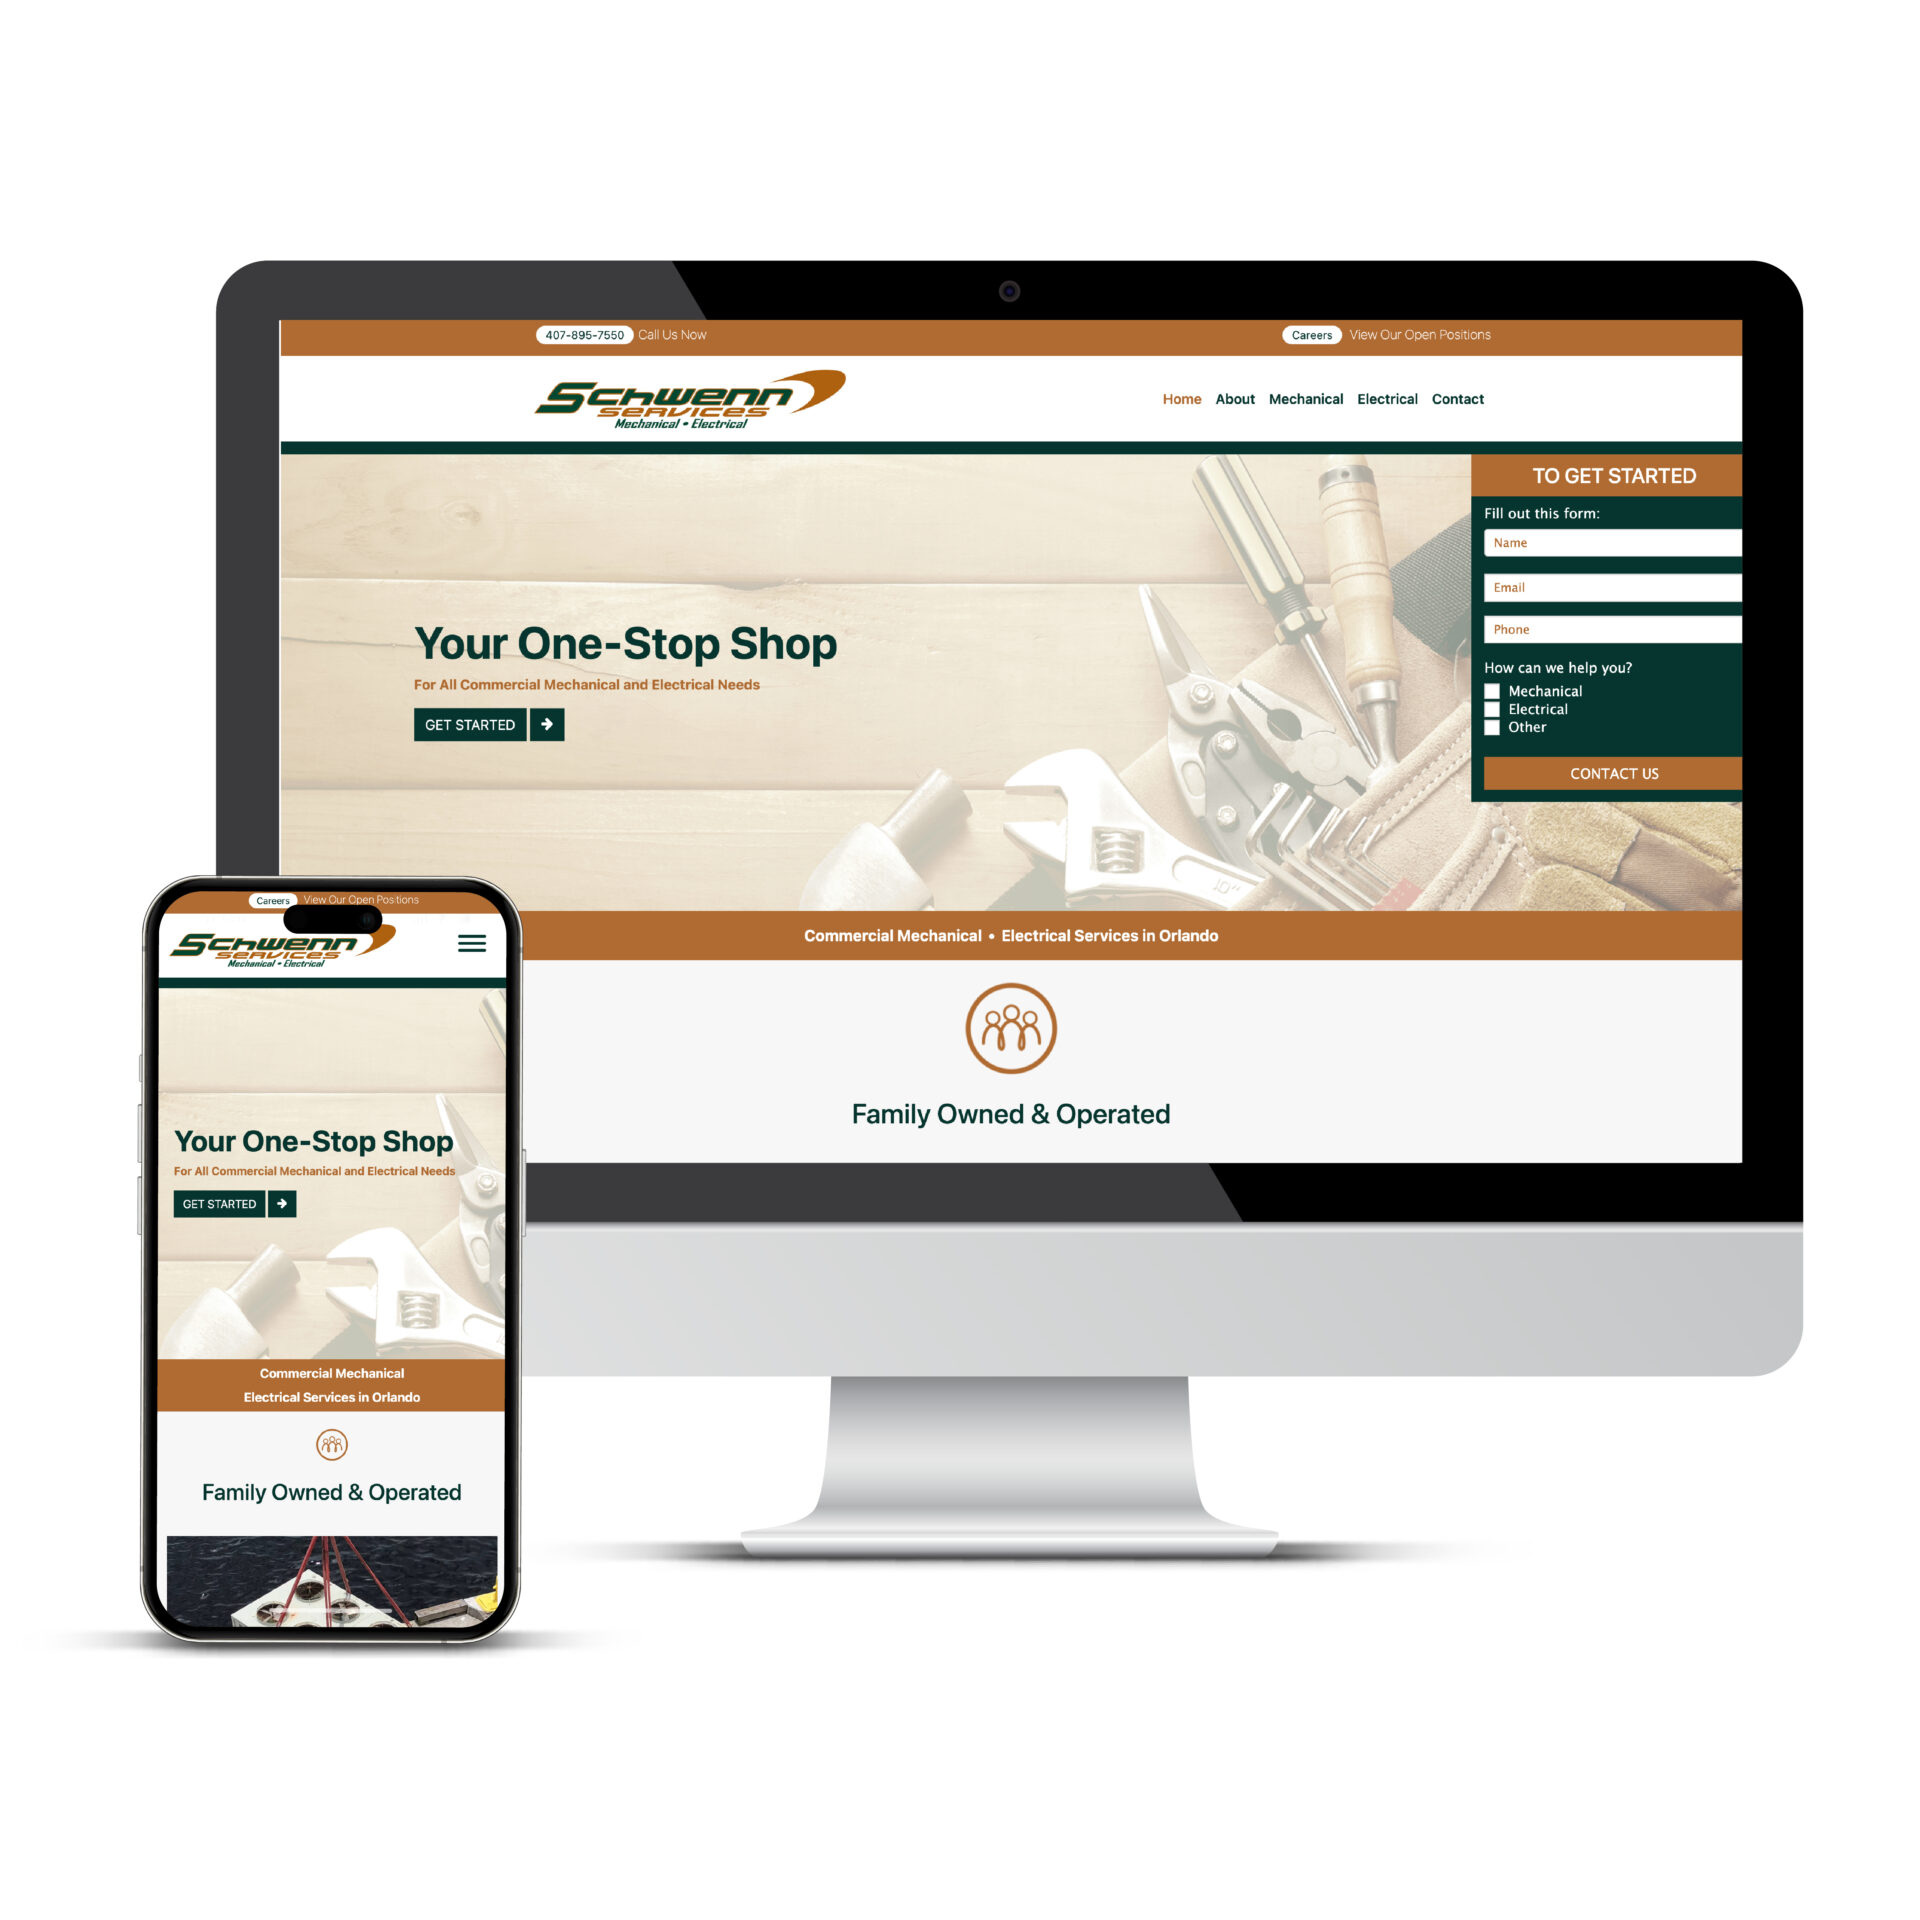
Schwenn Services
Website Design Services Portfolio MockUp for Schwenn Services
Advantage Roofing
Website Design Services Portfolio MockUp for Advantage Roofing

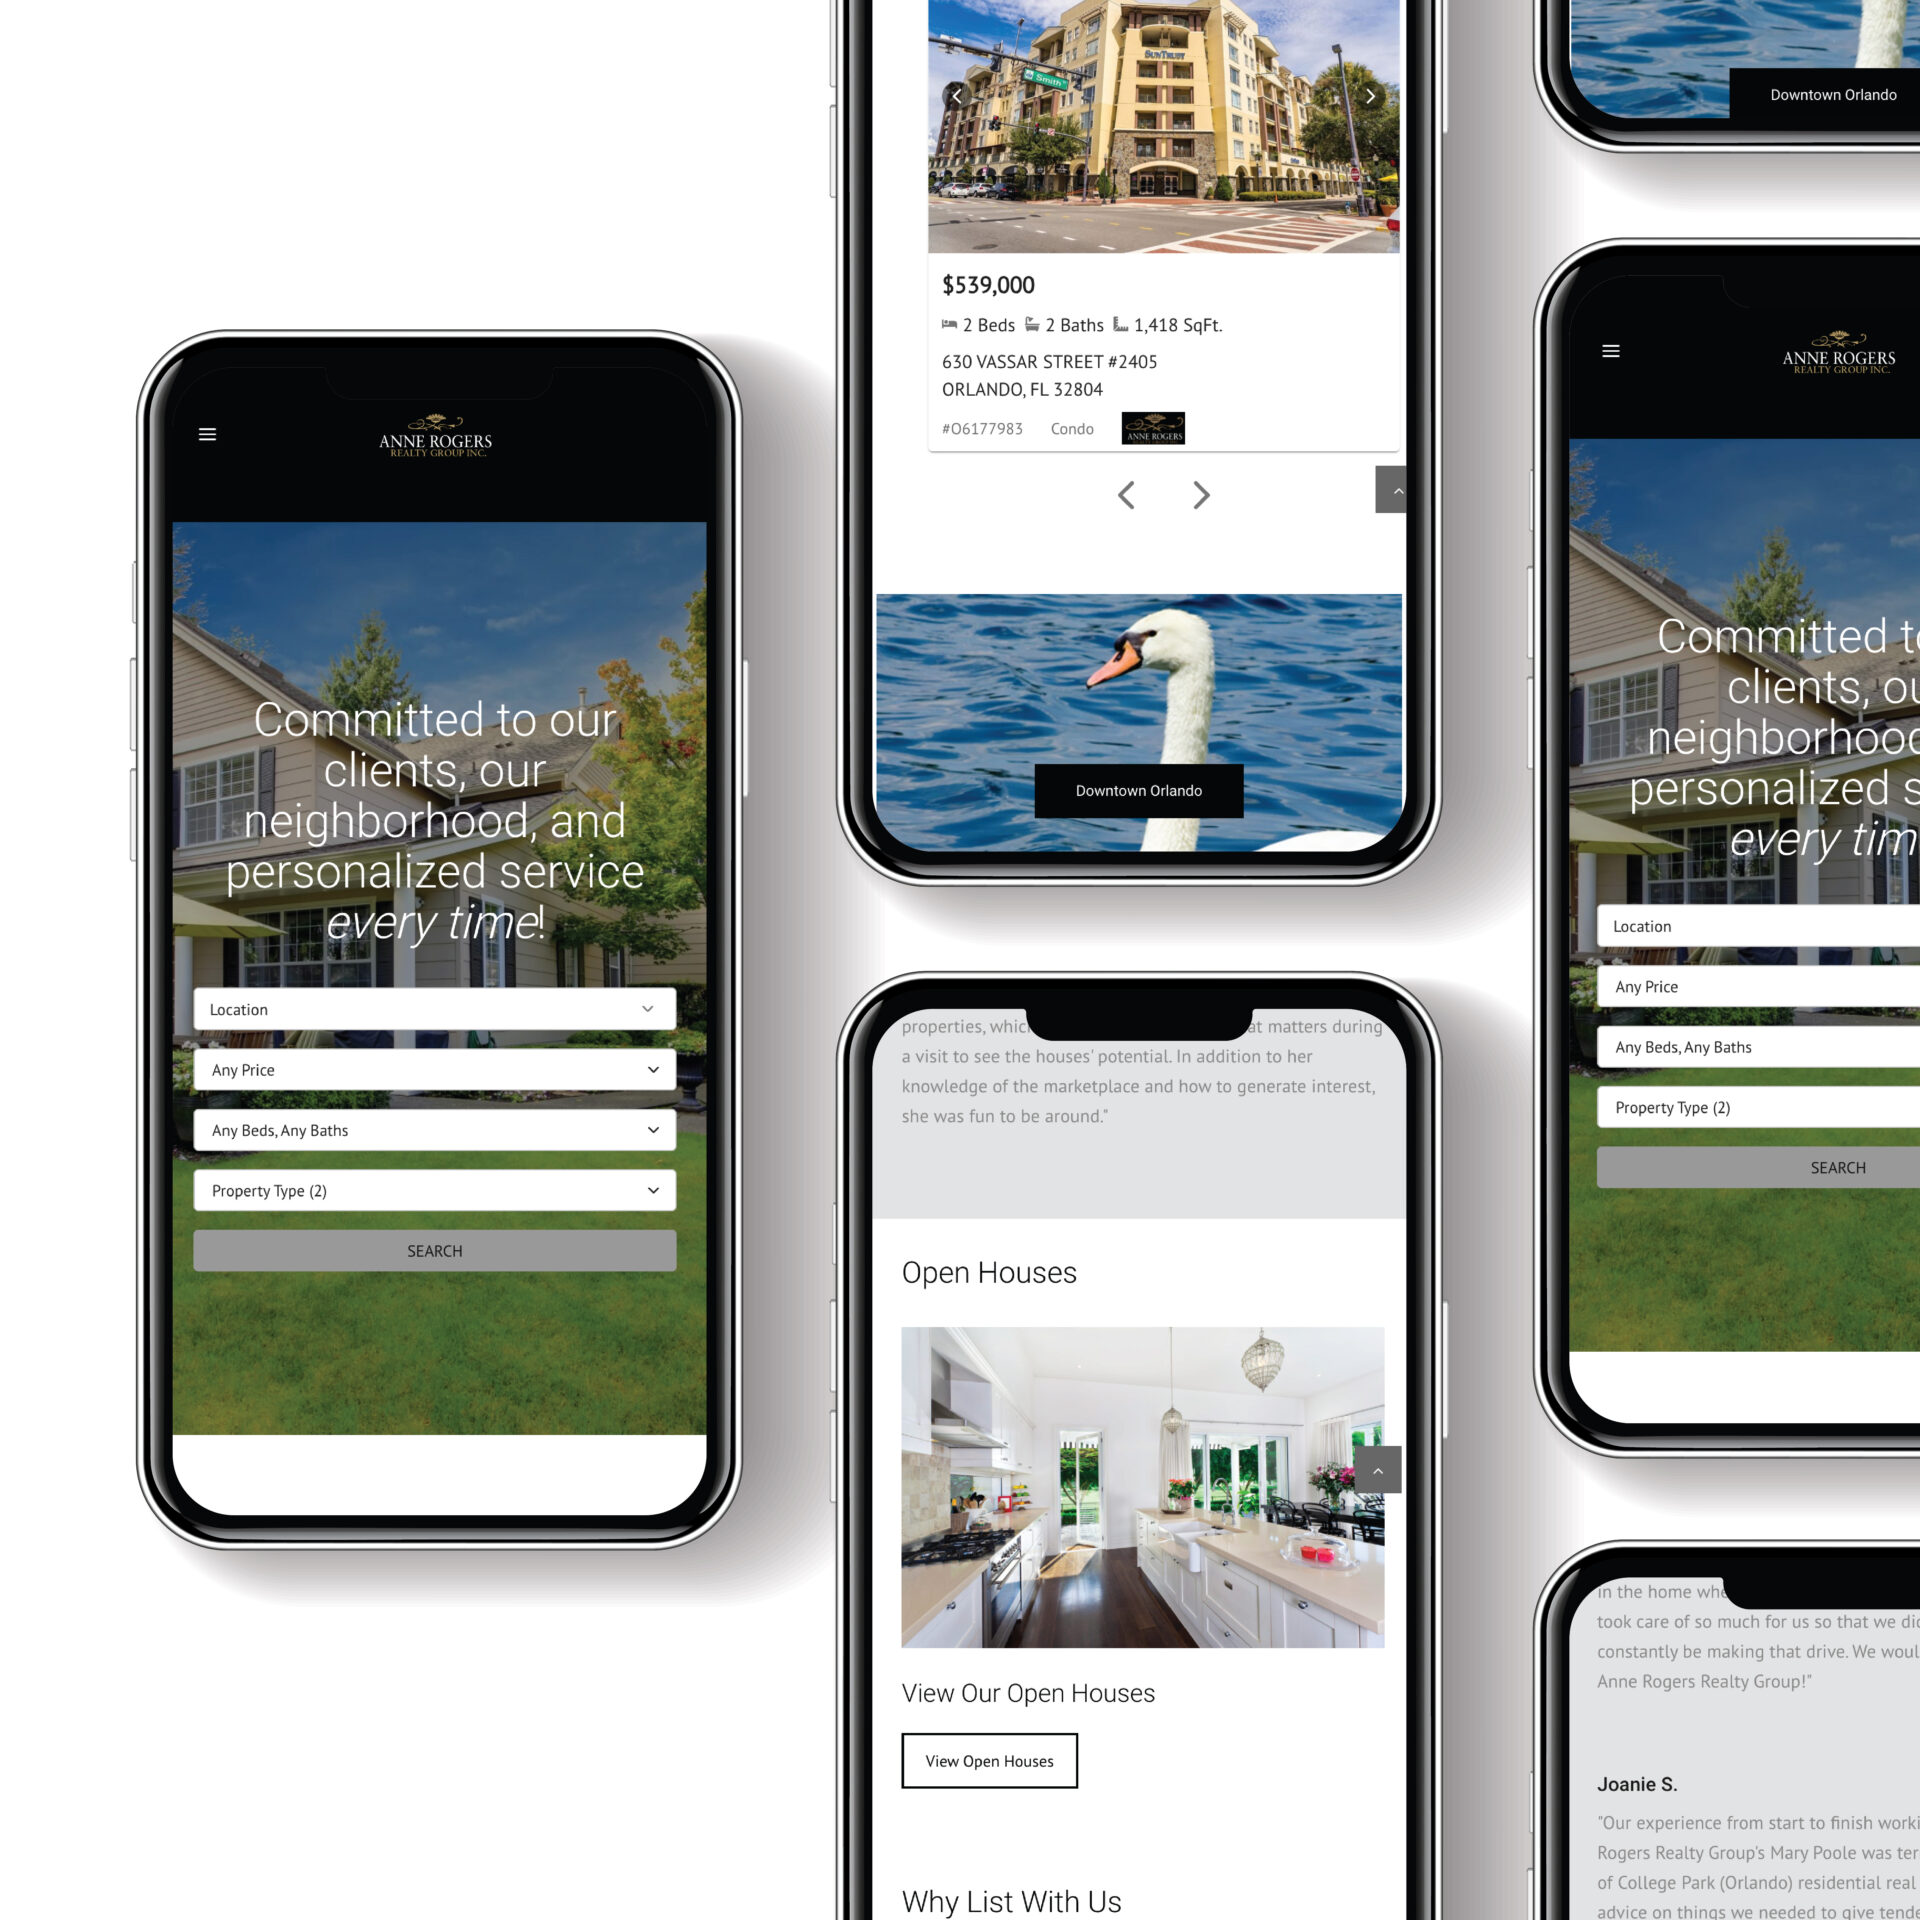
Anne Rogers Realty Group
Website Design Services Portfolio MockUp for Anne Rogers Realty Group
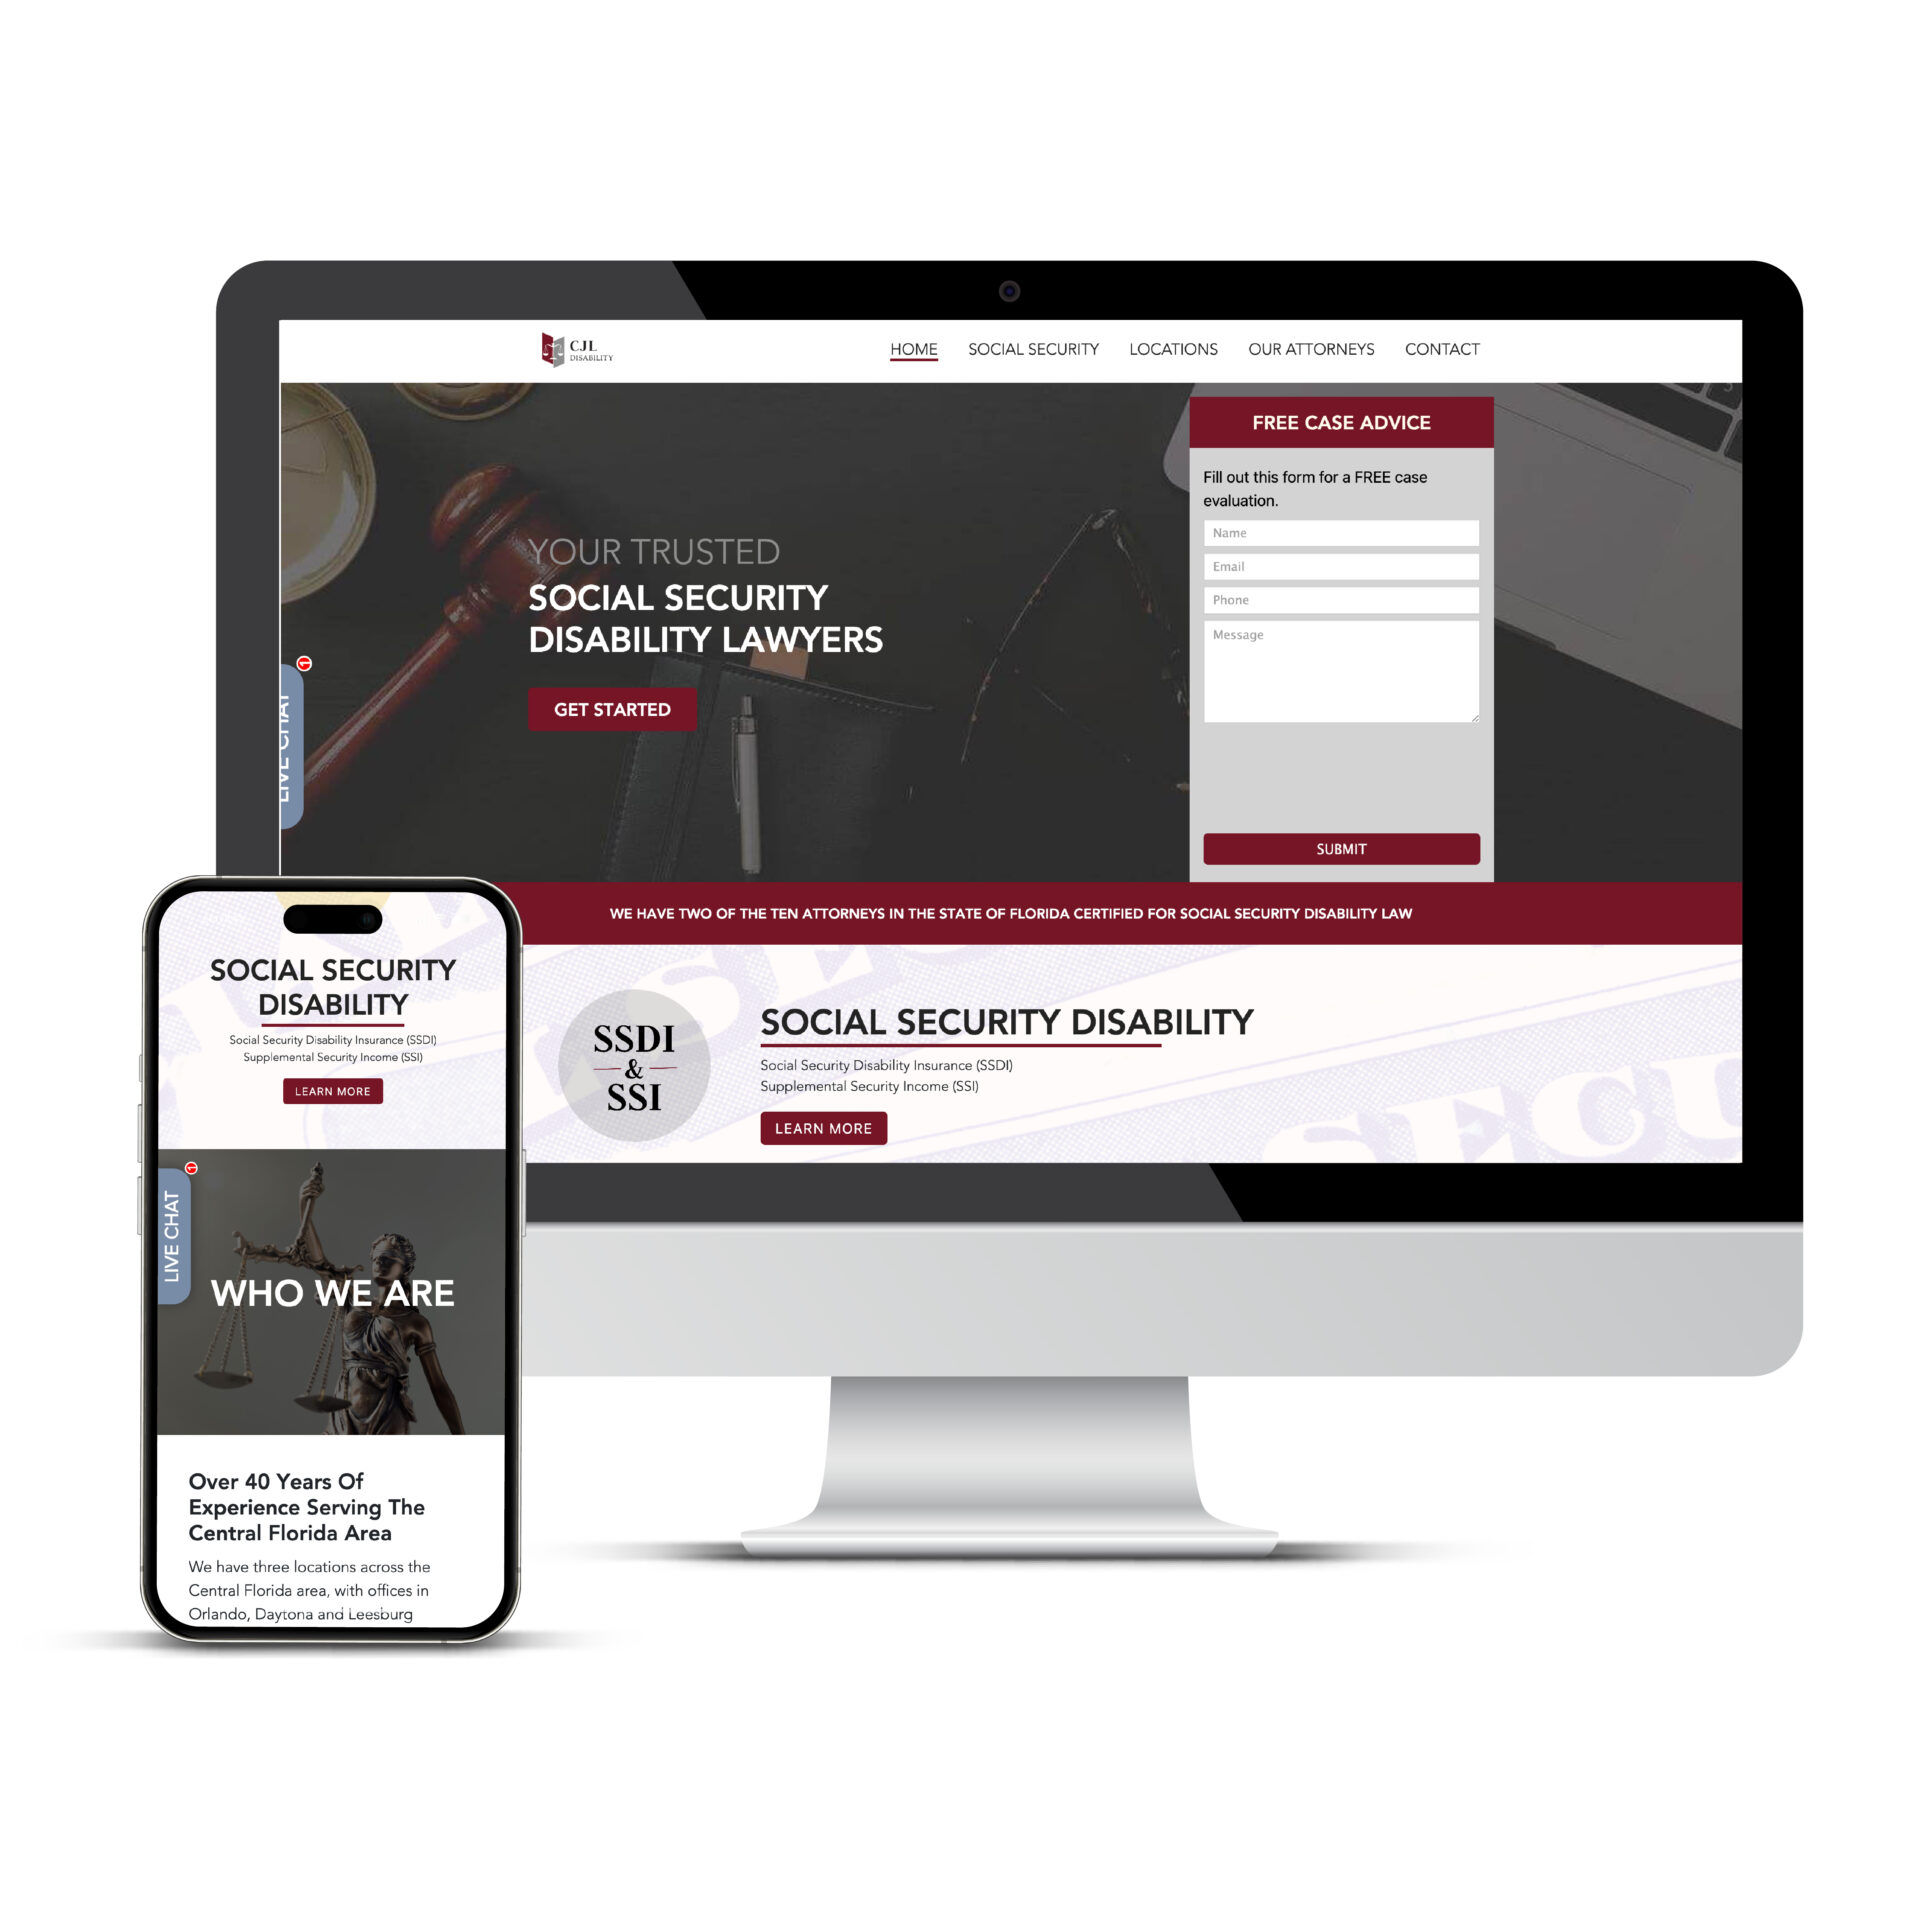
CJL Disability
Website Design Services Portfolio MockUp for CJL Disability
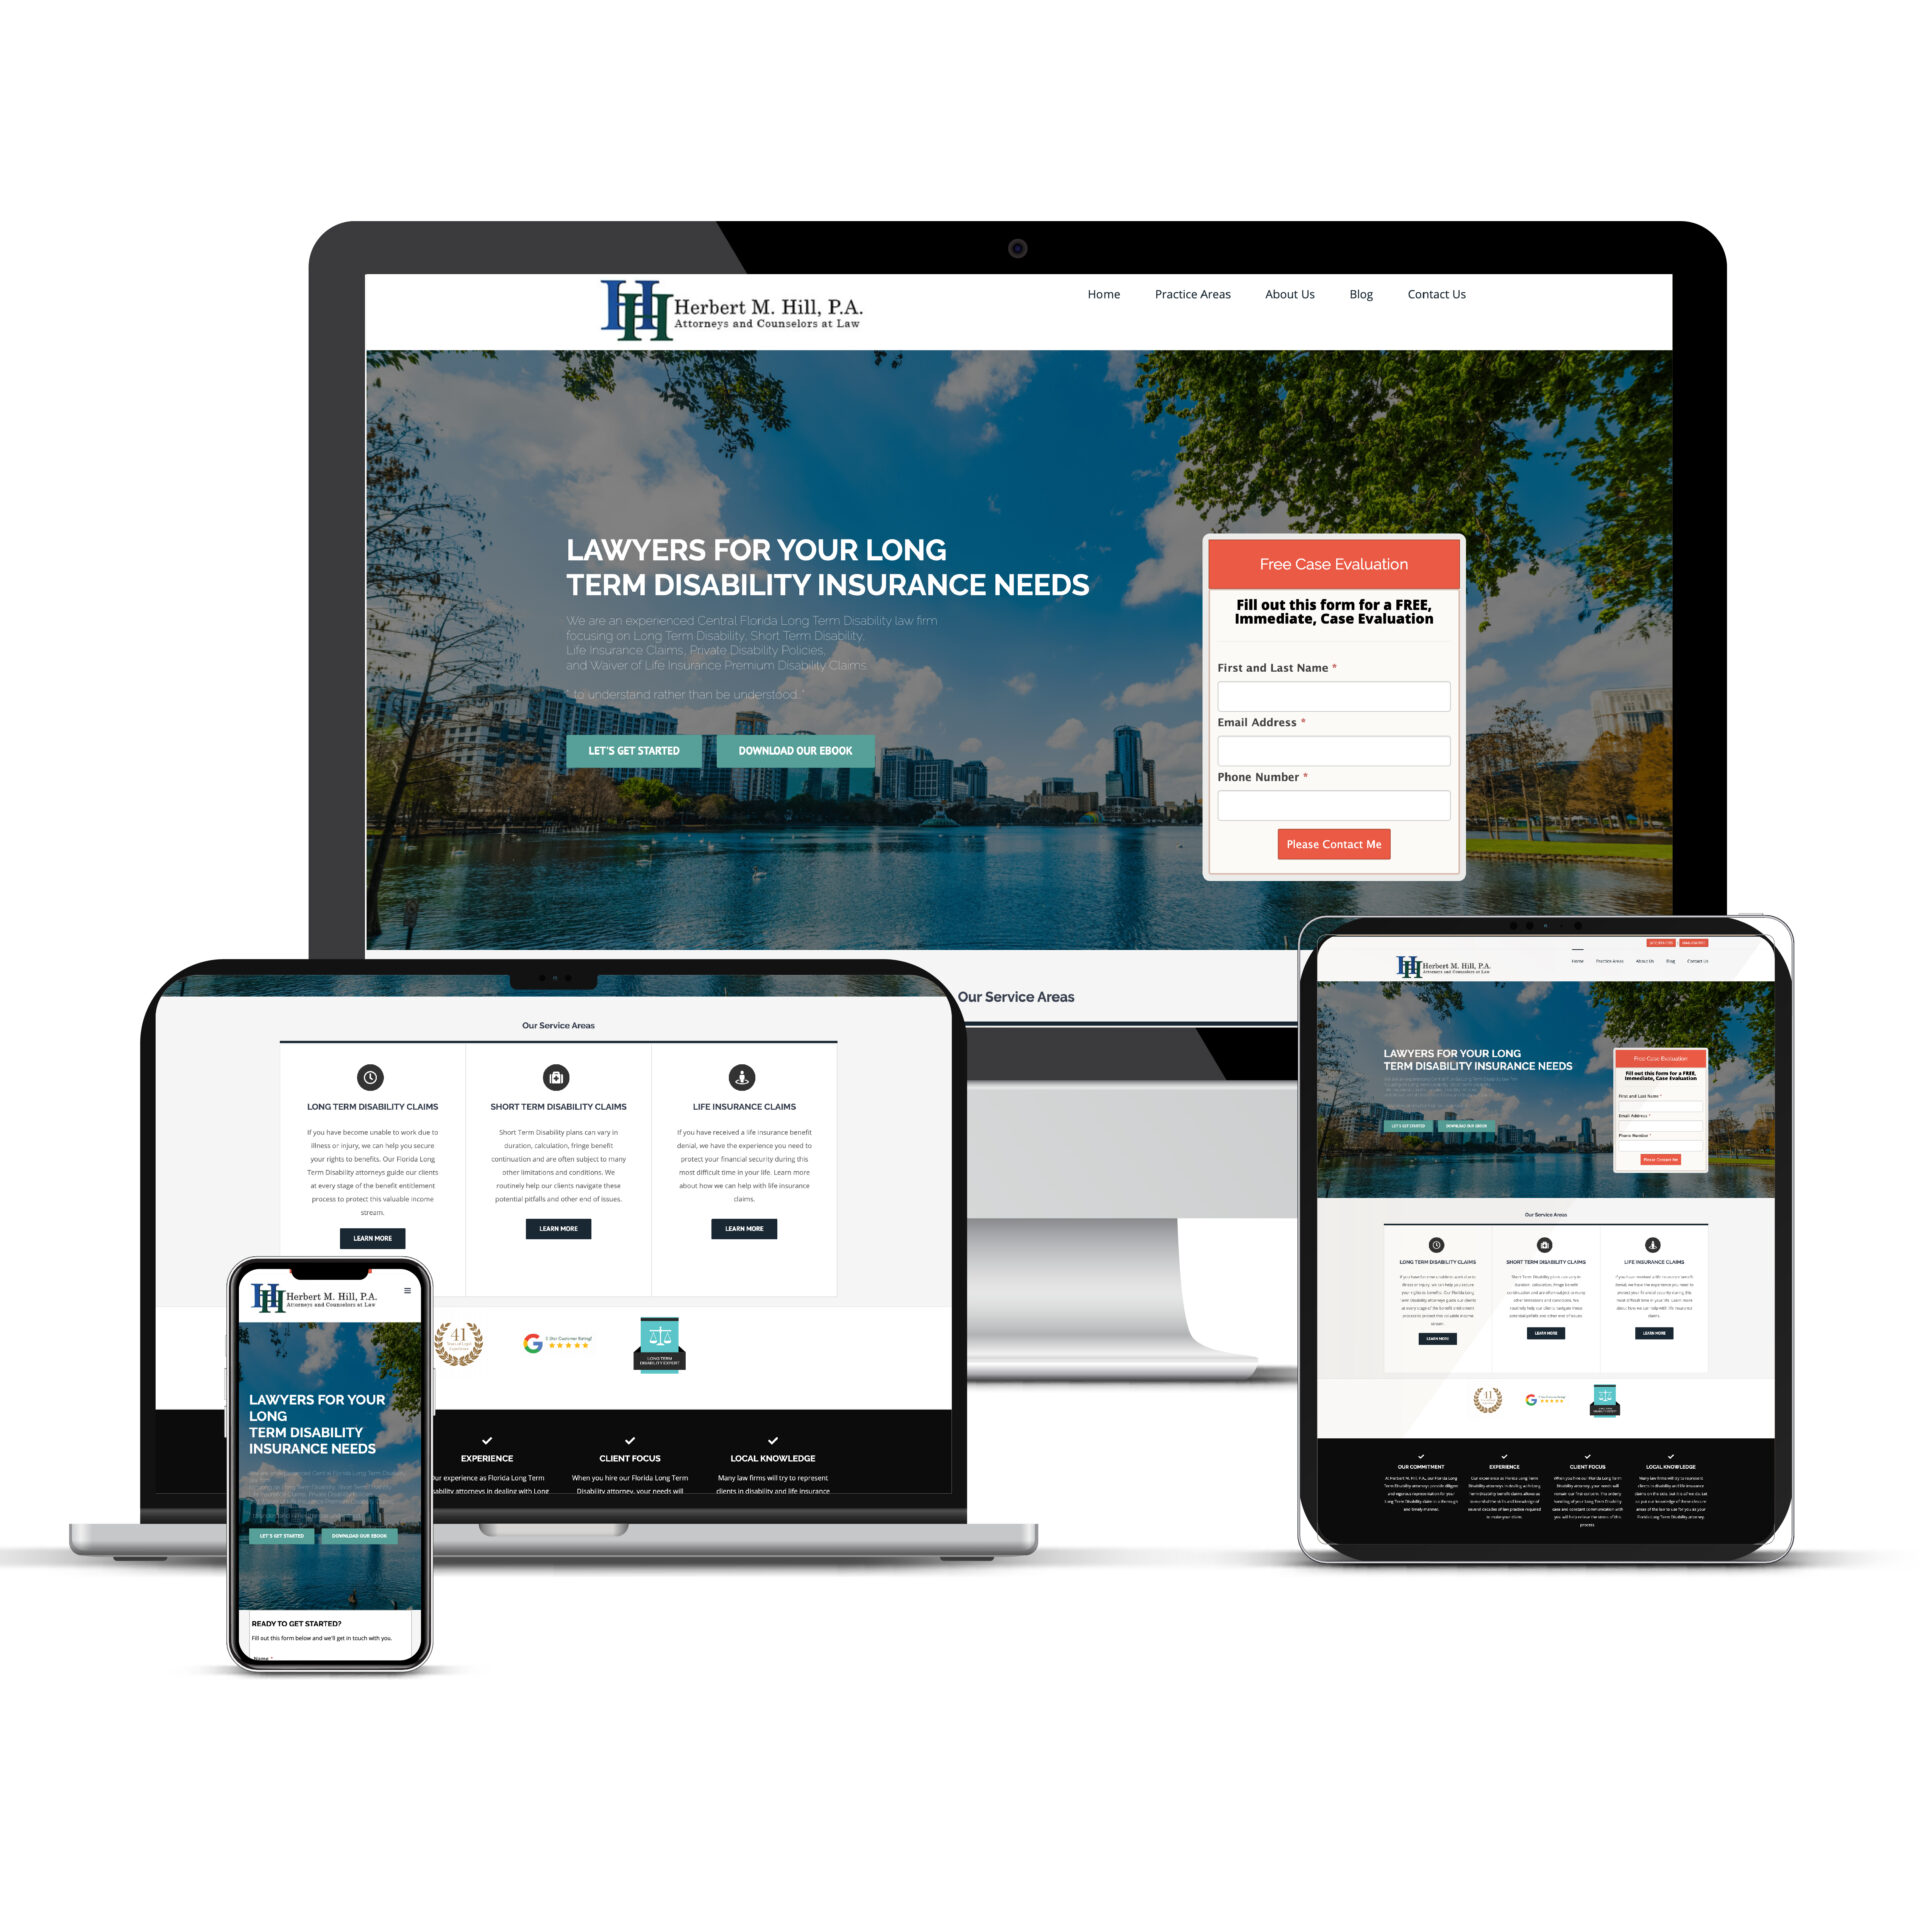
Herbert M. Hill
Website Design Services Portfolio MockUp for Herbert M. Hill
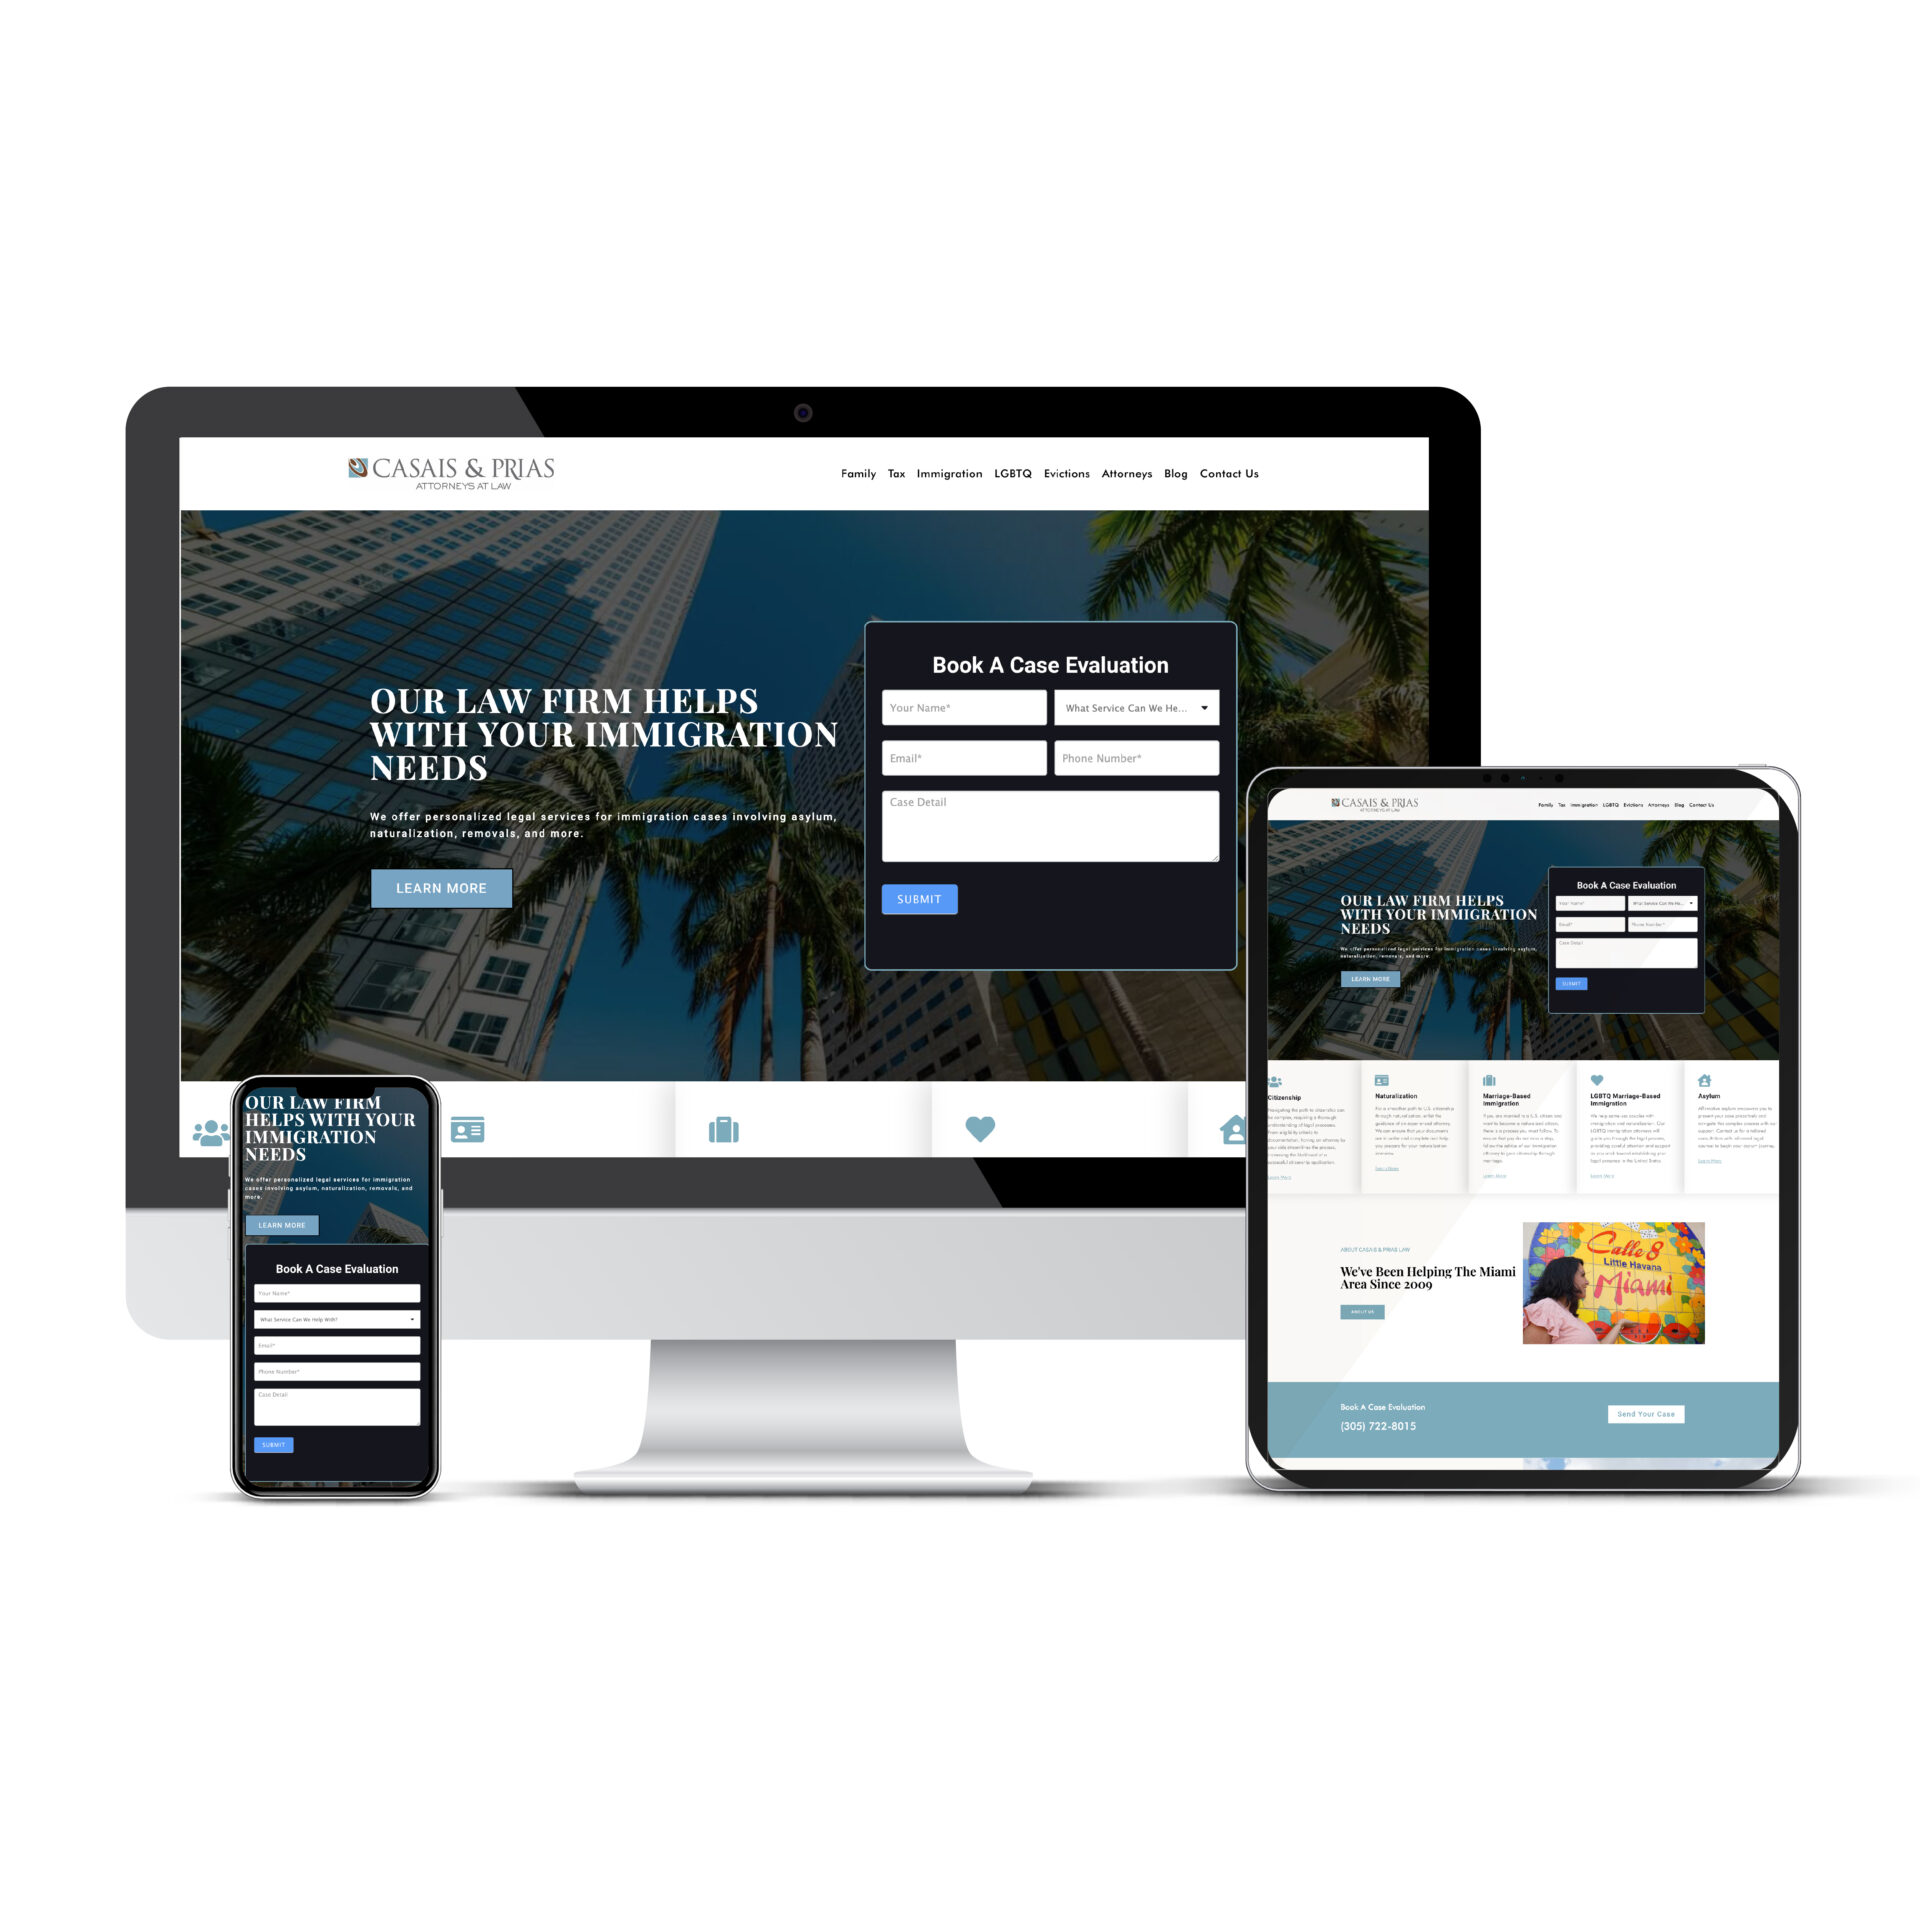
Casais & Prias PLLC
Website Design Services Portfolio MockUp for Casais & Prias PLLC
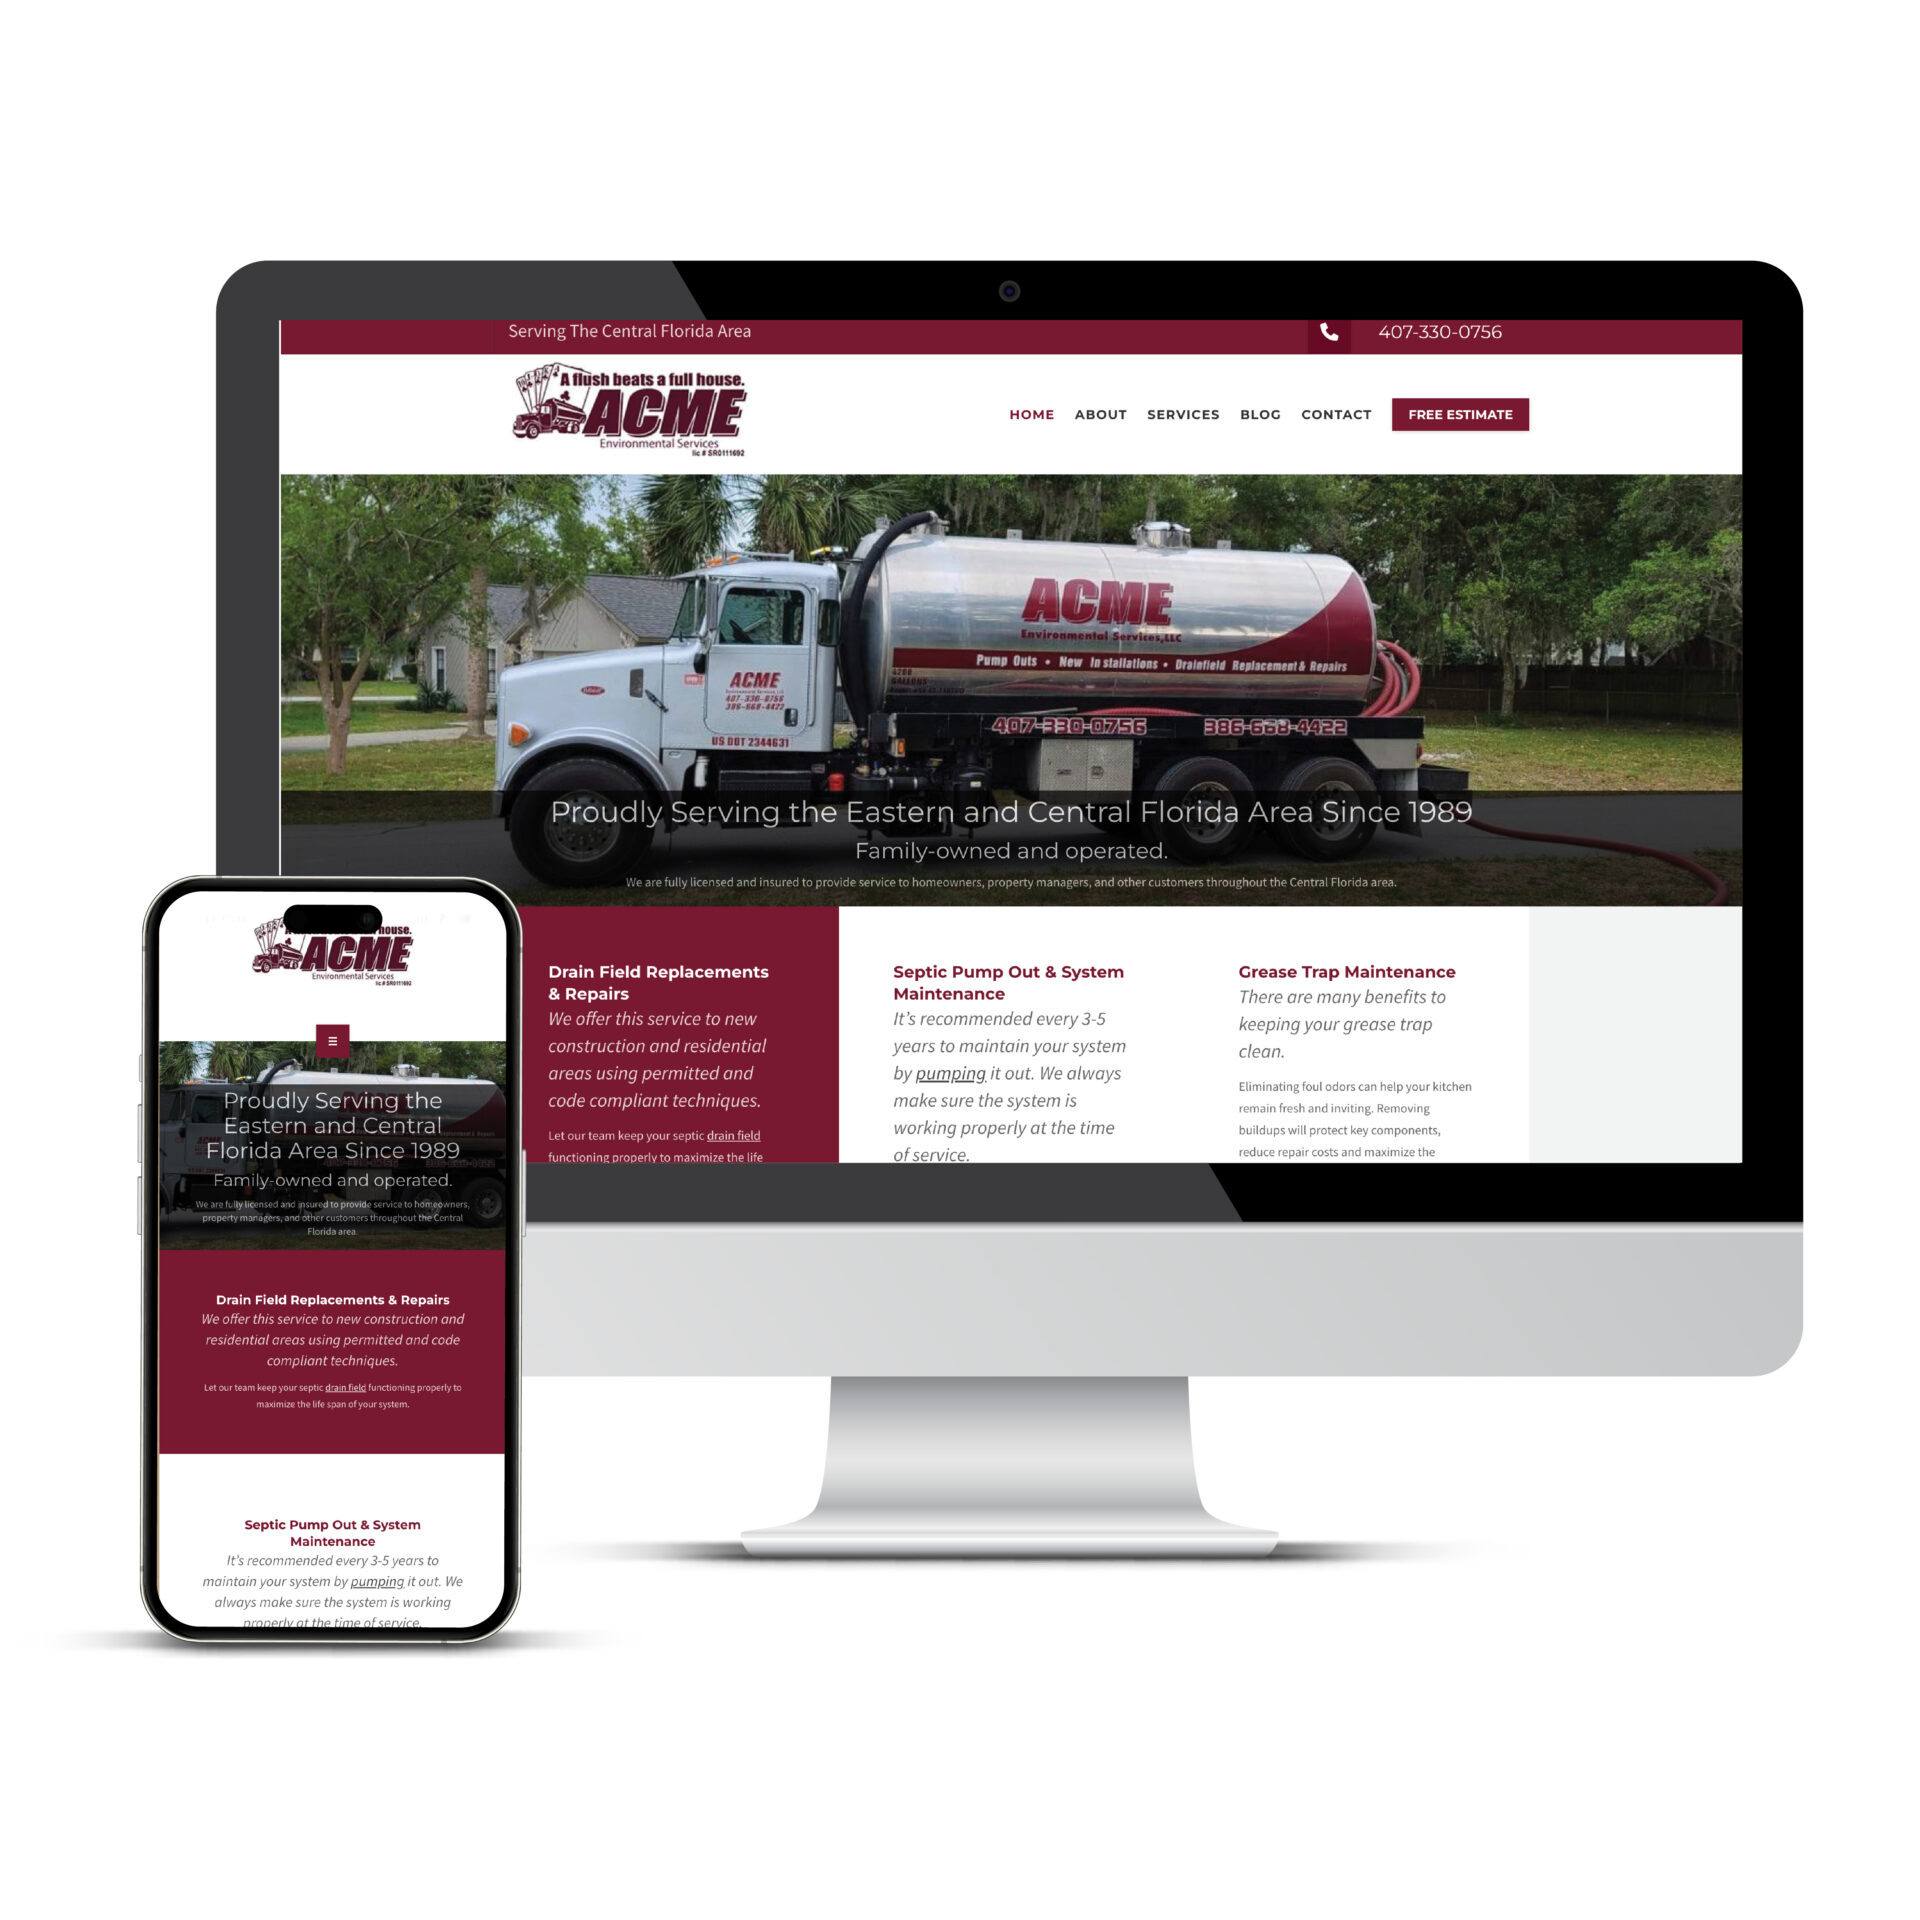
Acme Environmental Services
Website Design Services Portfolio MockUp for Acme Environmental Services
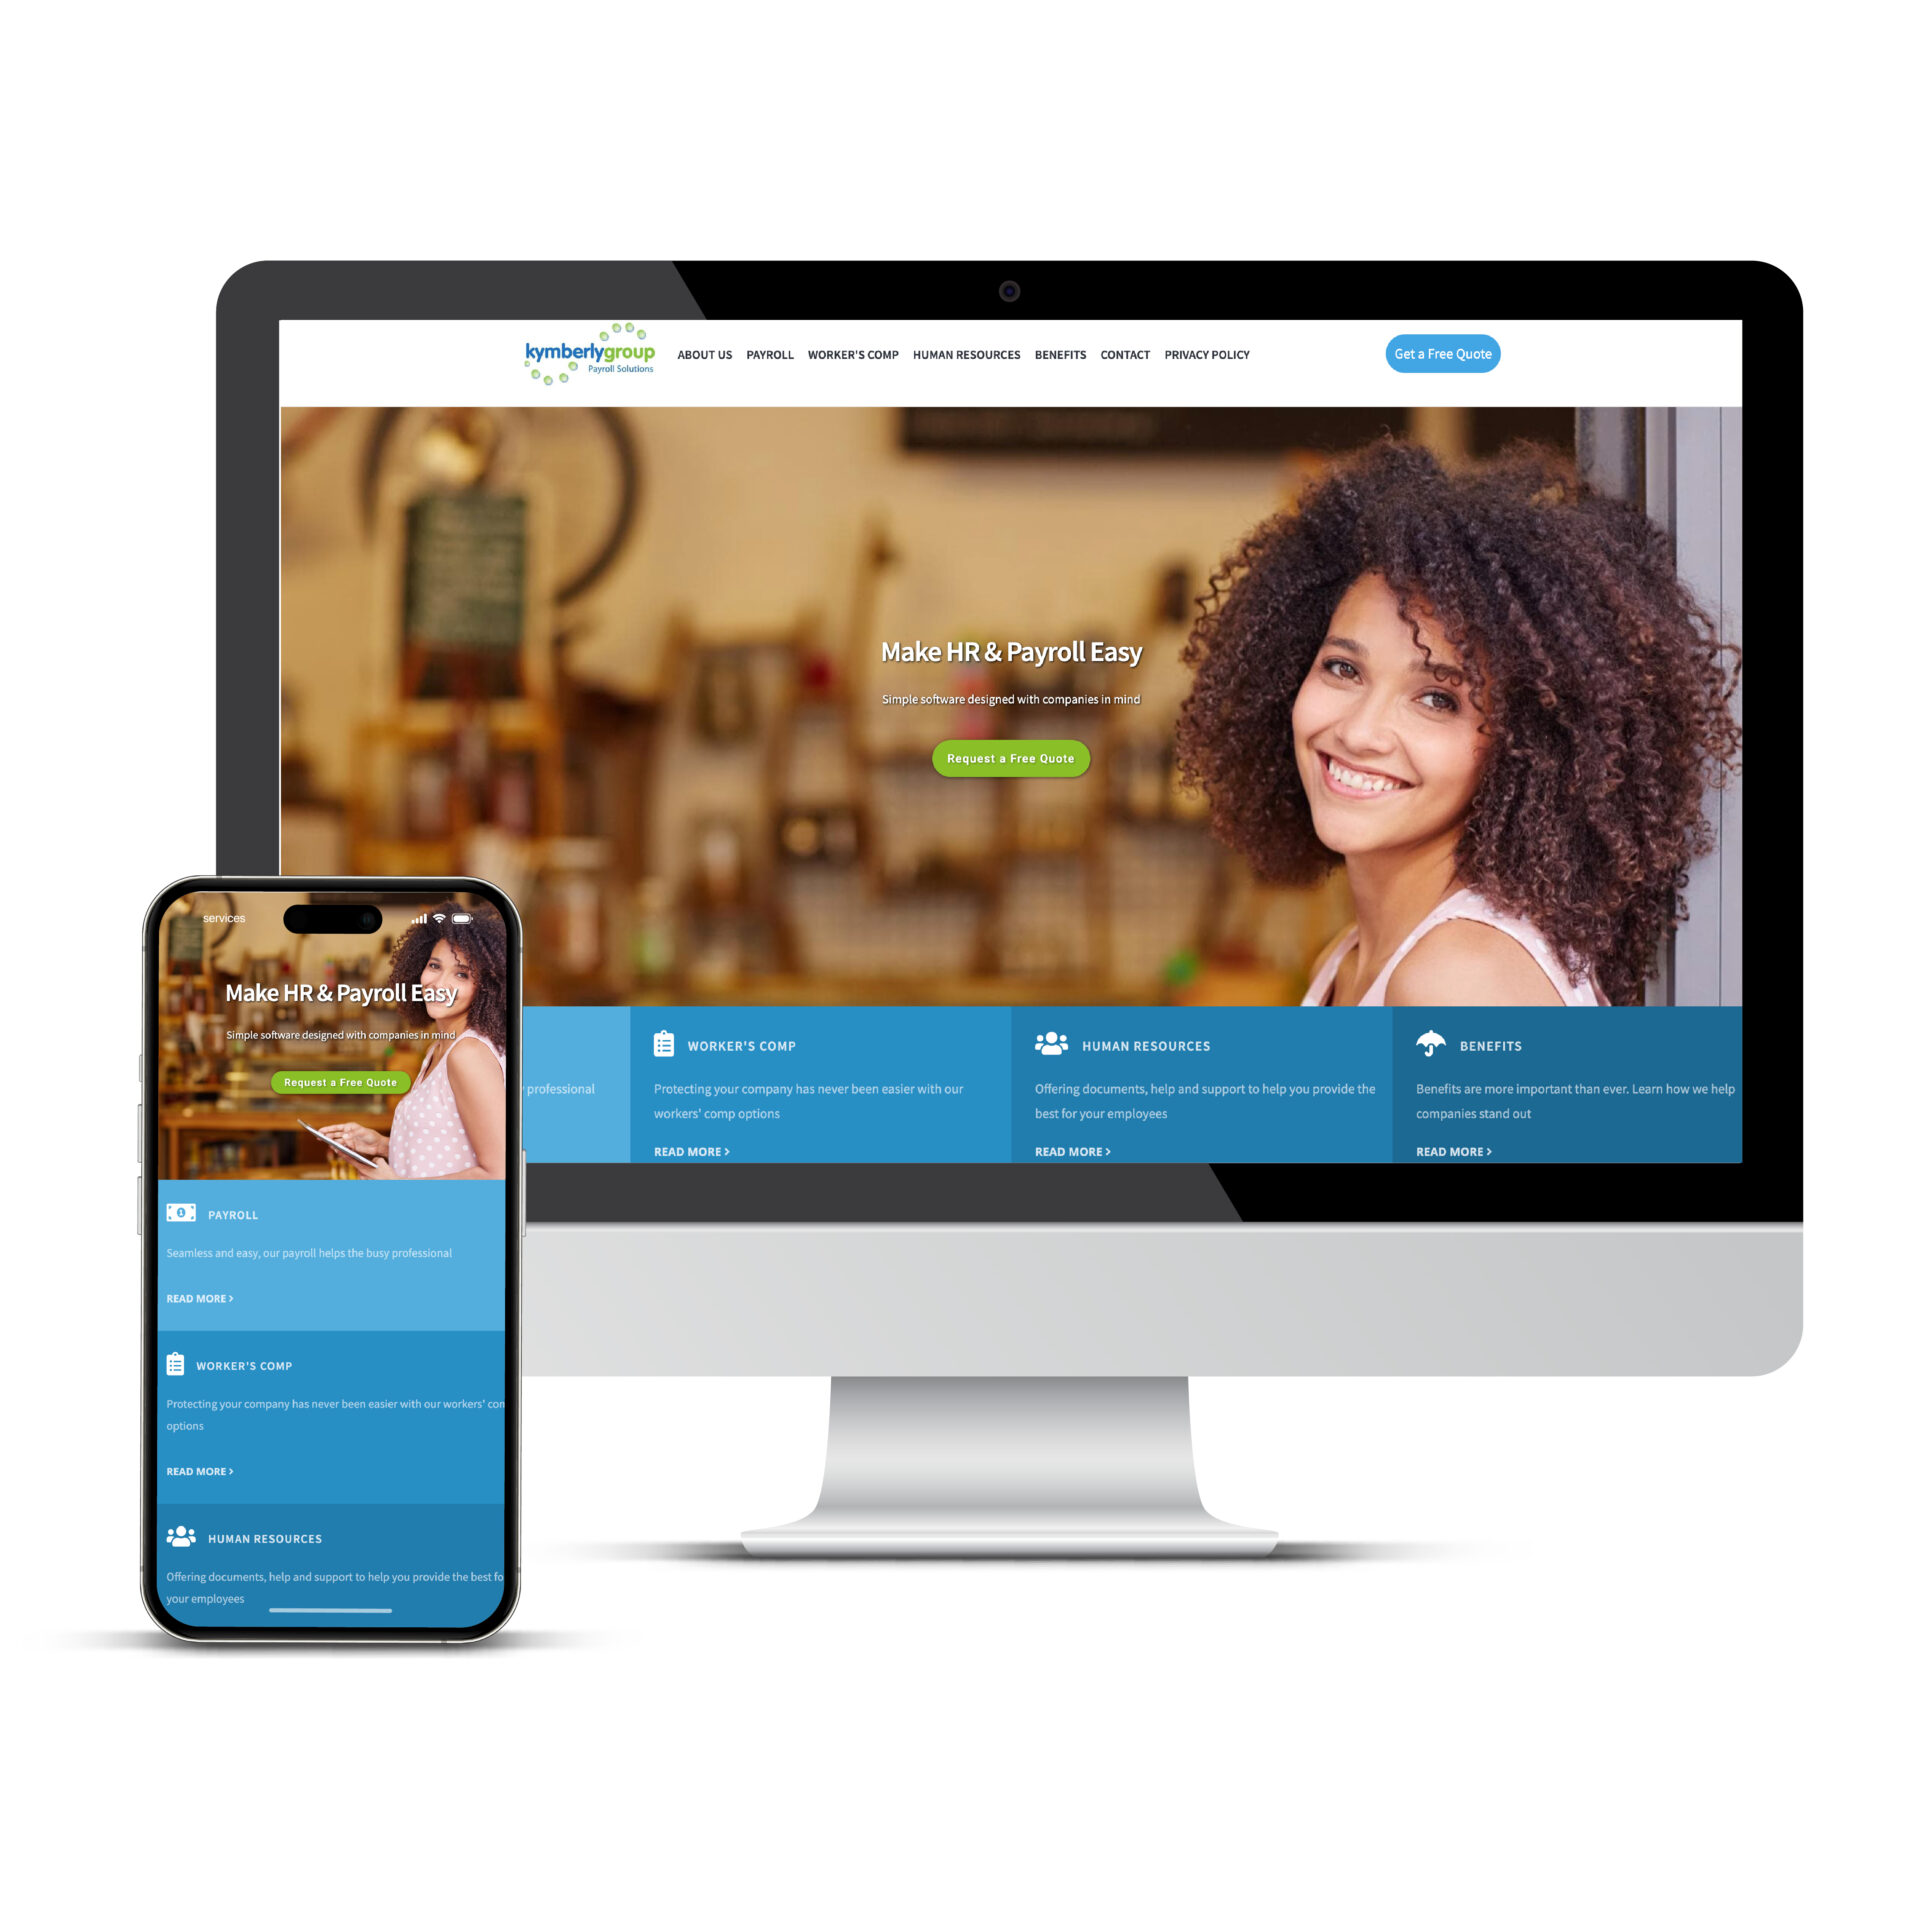
Kymberly Group
Website Design Services Portfolio MockUp for Kymberly Group
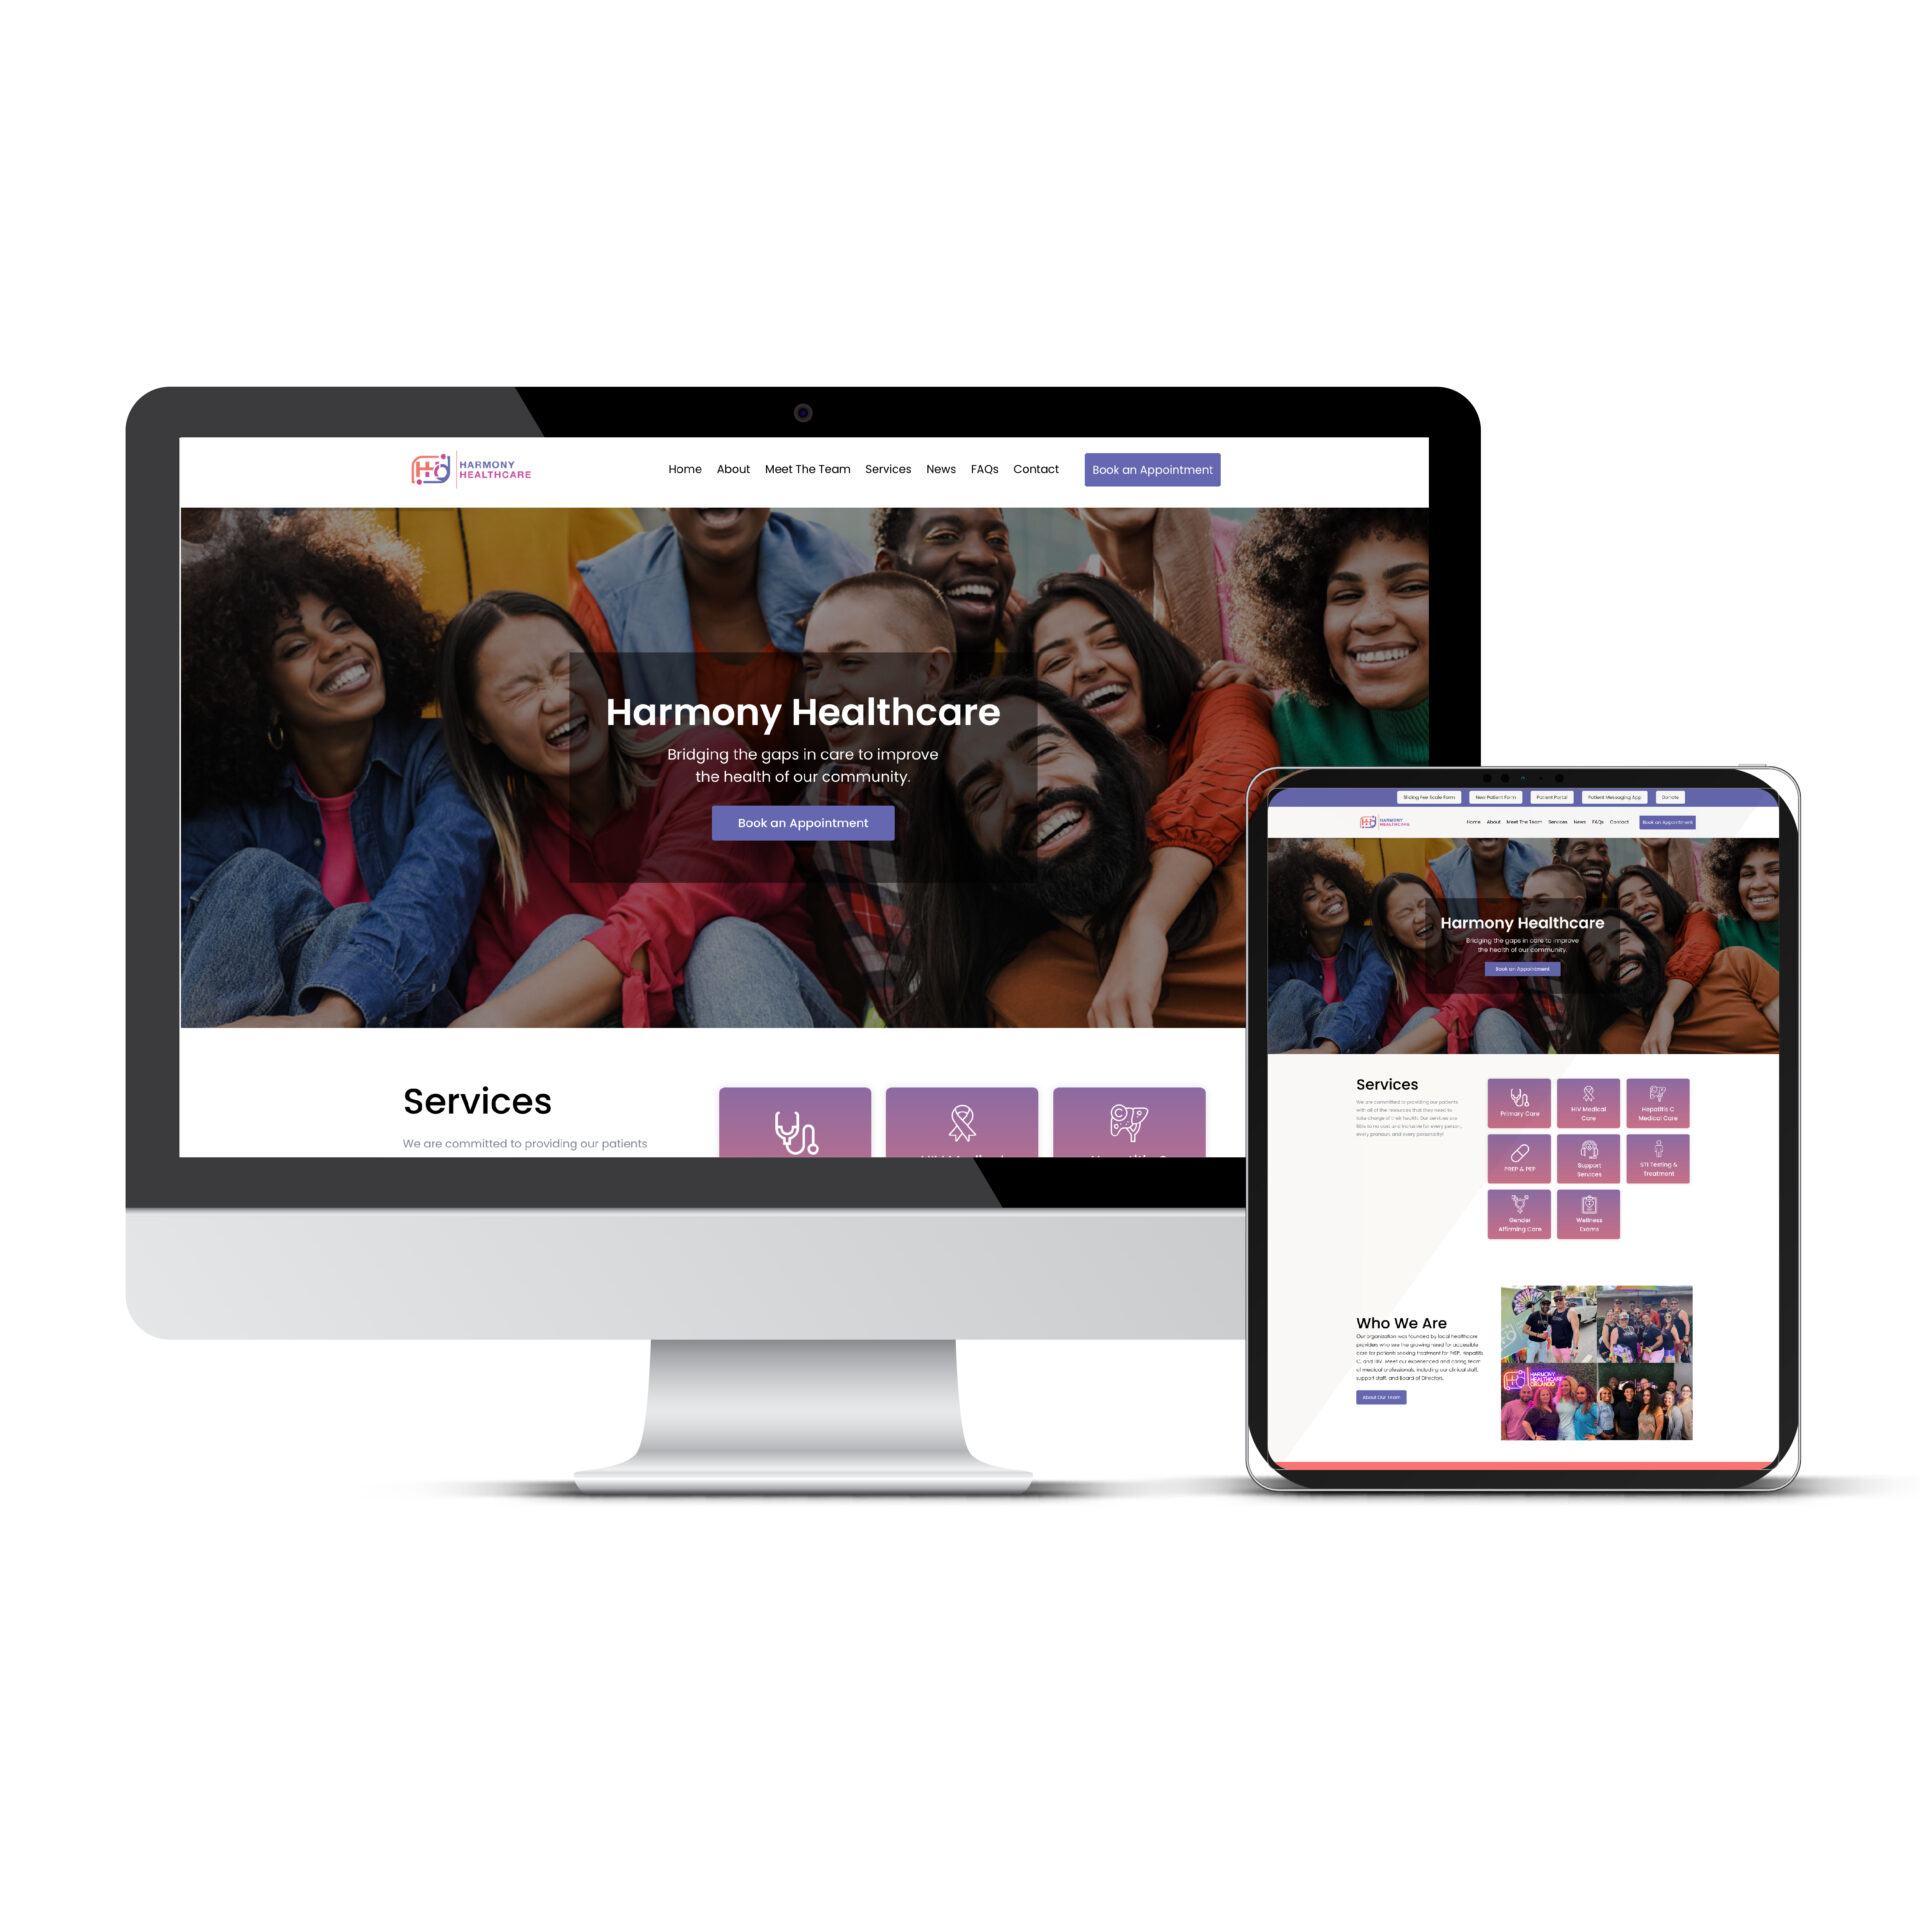
Harmony Healthcare
Website Design Services Portfolio MockUp for Harmony Healthcare
Quality Cable Contractors Inc.
Website Design Services Portfolio MockUp for Quality Cable Contractors Inc.

The College Map
Website Design Services Portfolio MockUp for The College Map

Ortho Biometrix
Website Design Services Portfolio MockUp for Ortho Biometrix

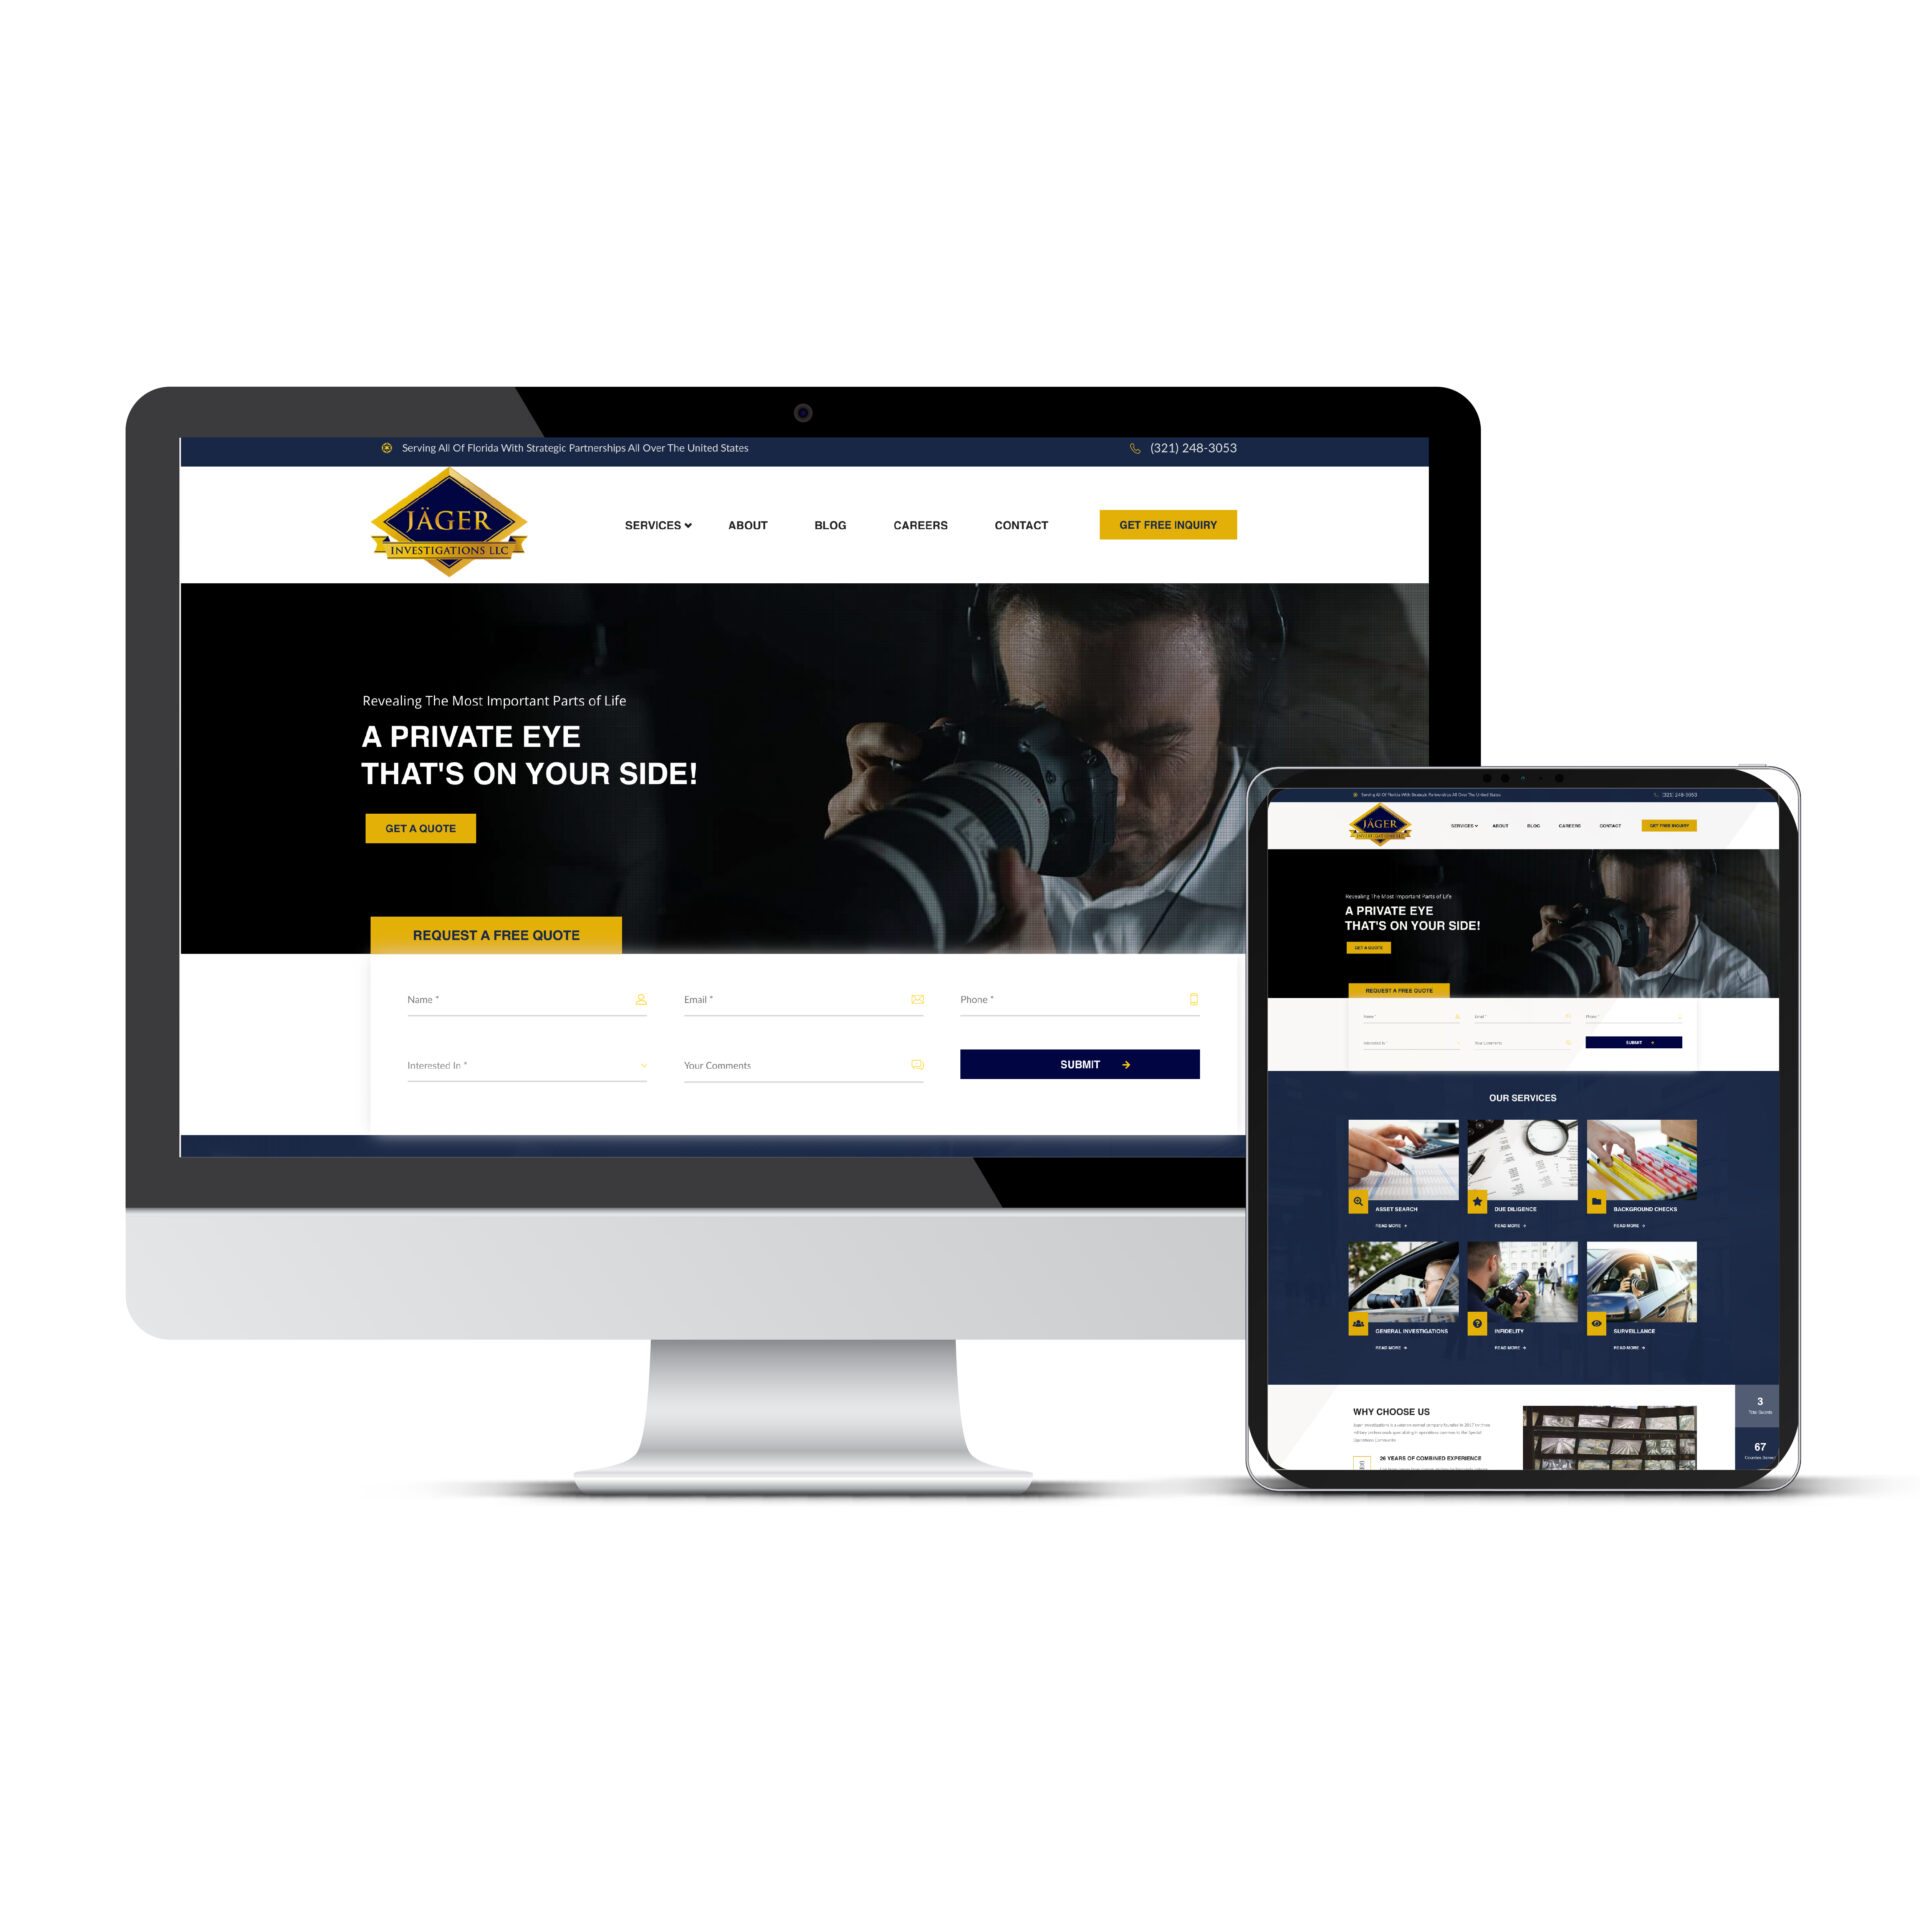
Jager Investigations
Website Design Services Portfolio MockUp for Jager Investigations
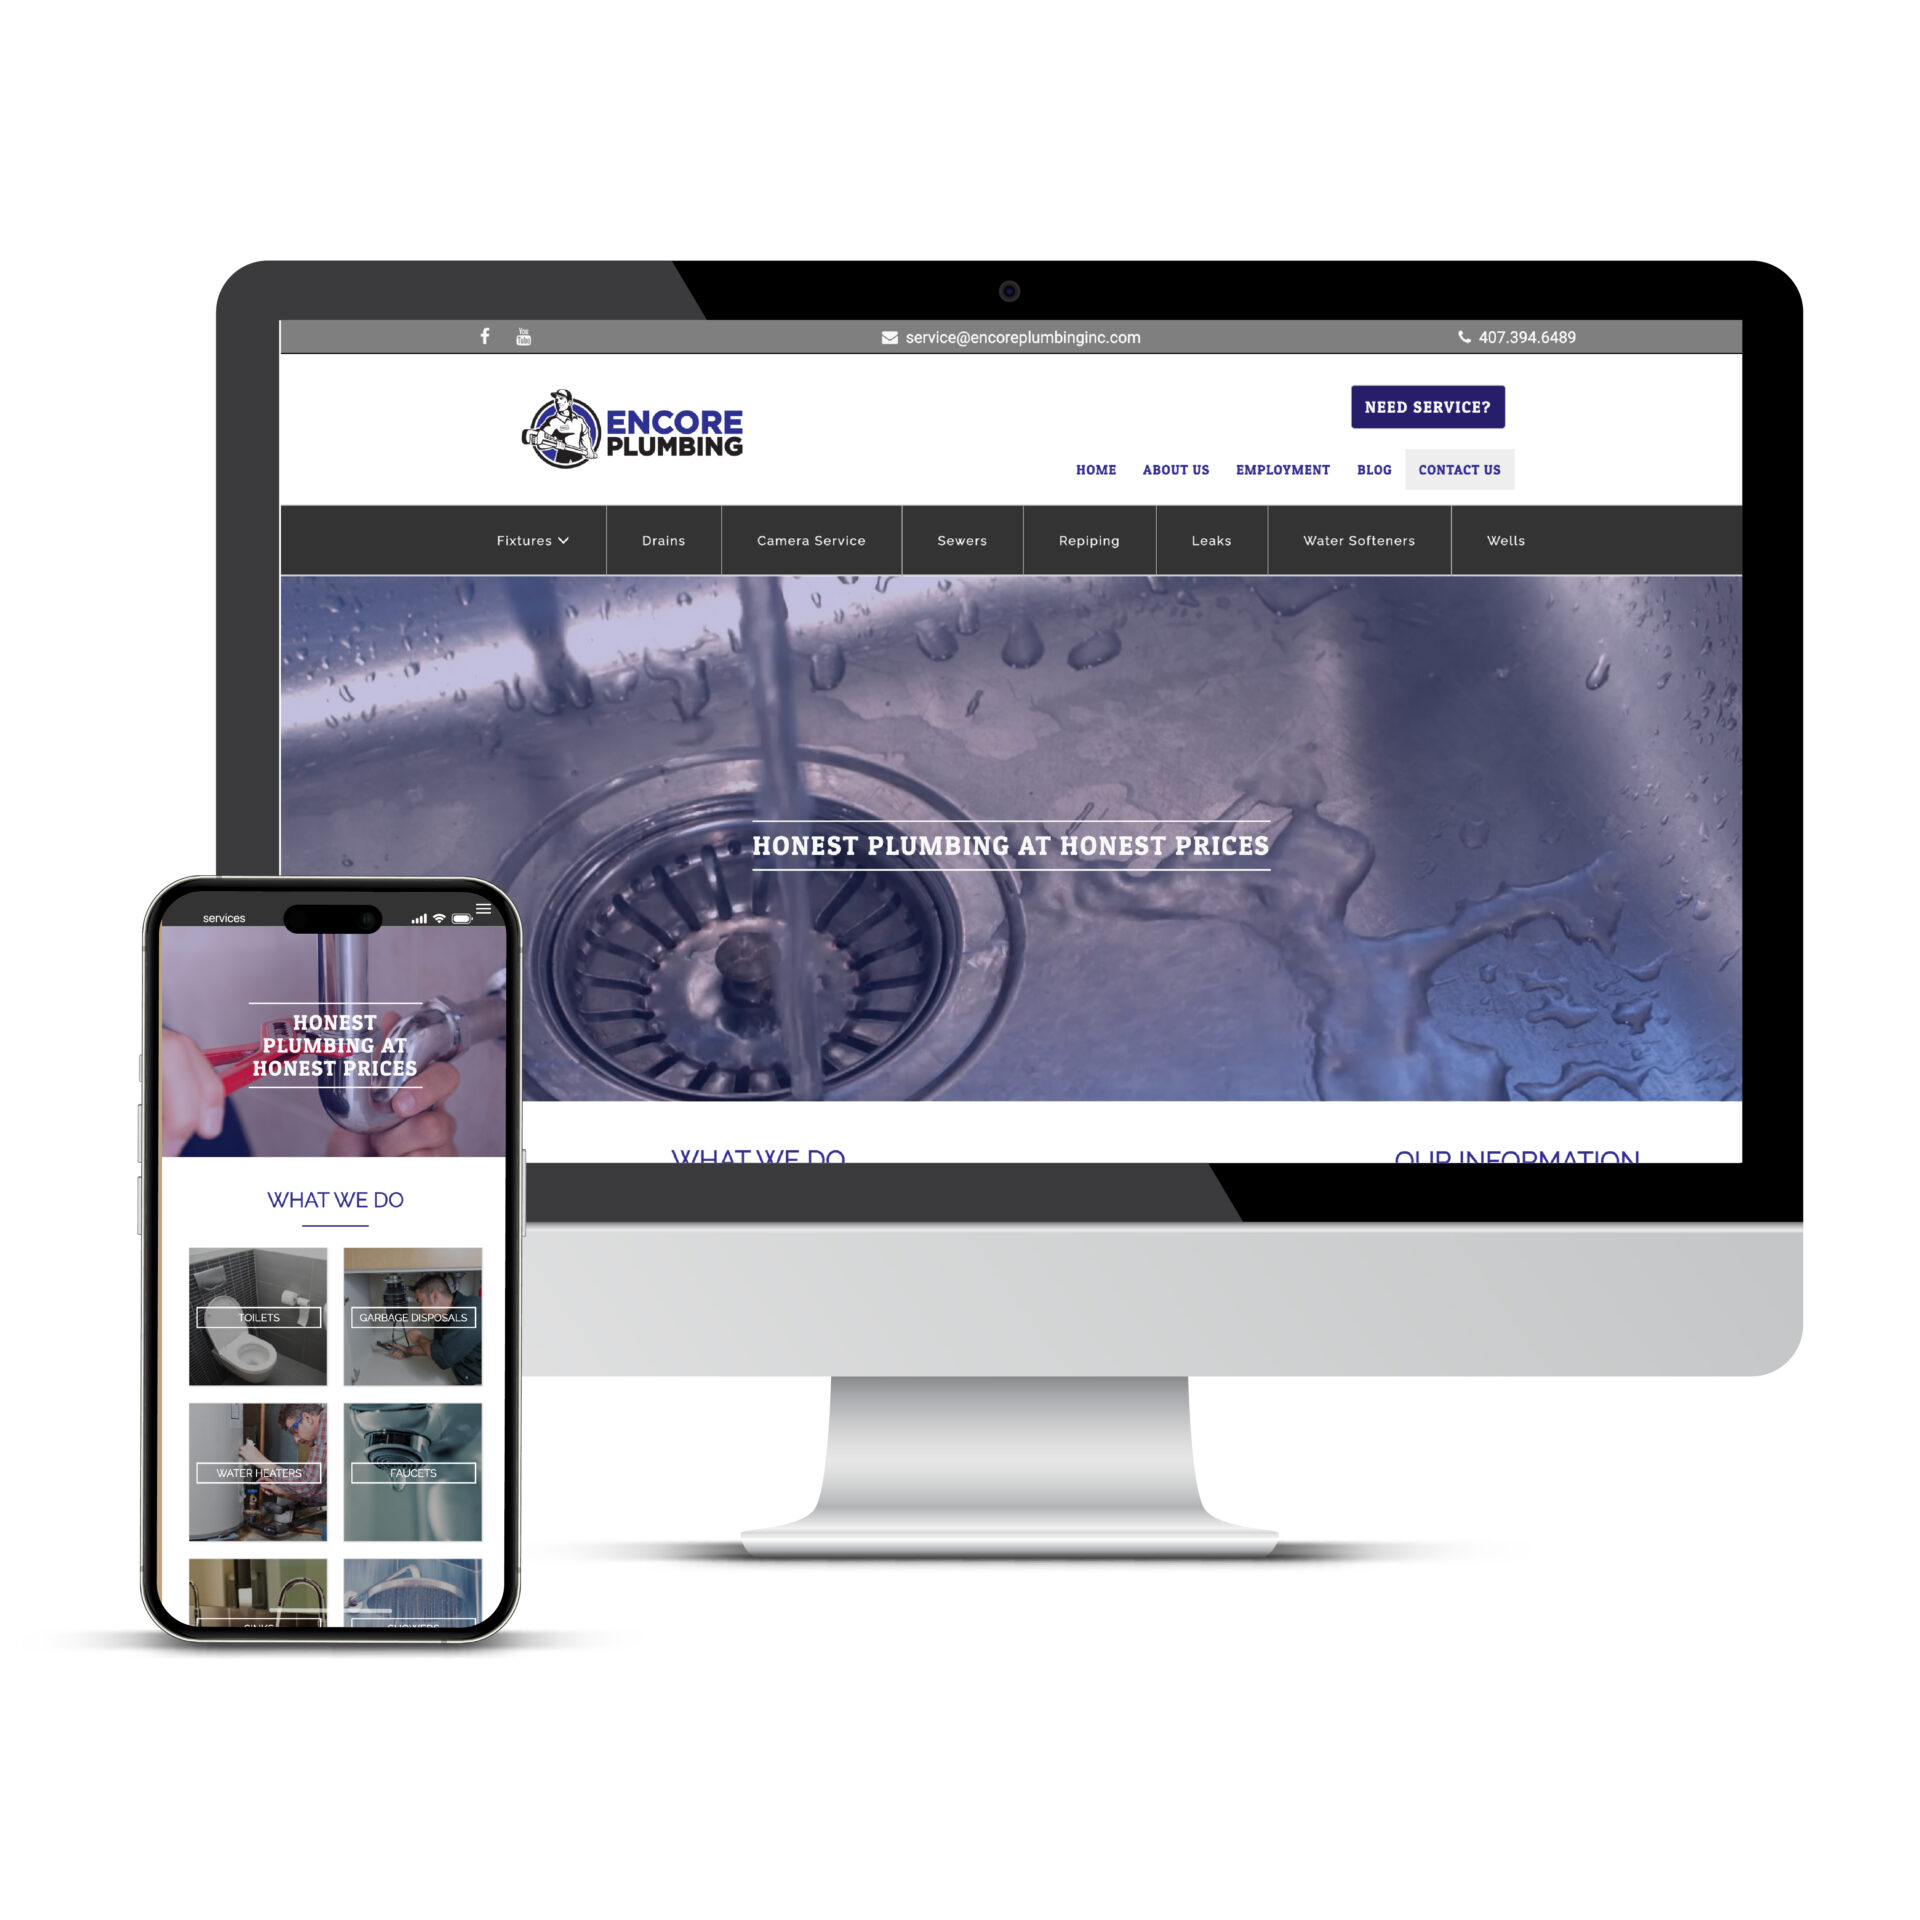
Encore Plumbing Inc
Website Design Services Portfolio MockUp for Encore Plumbing Inc
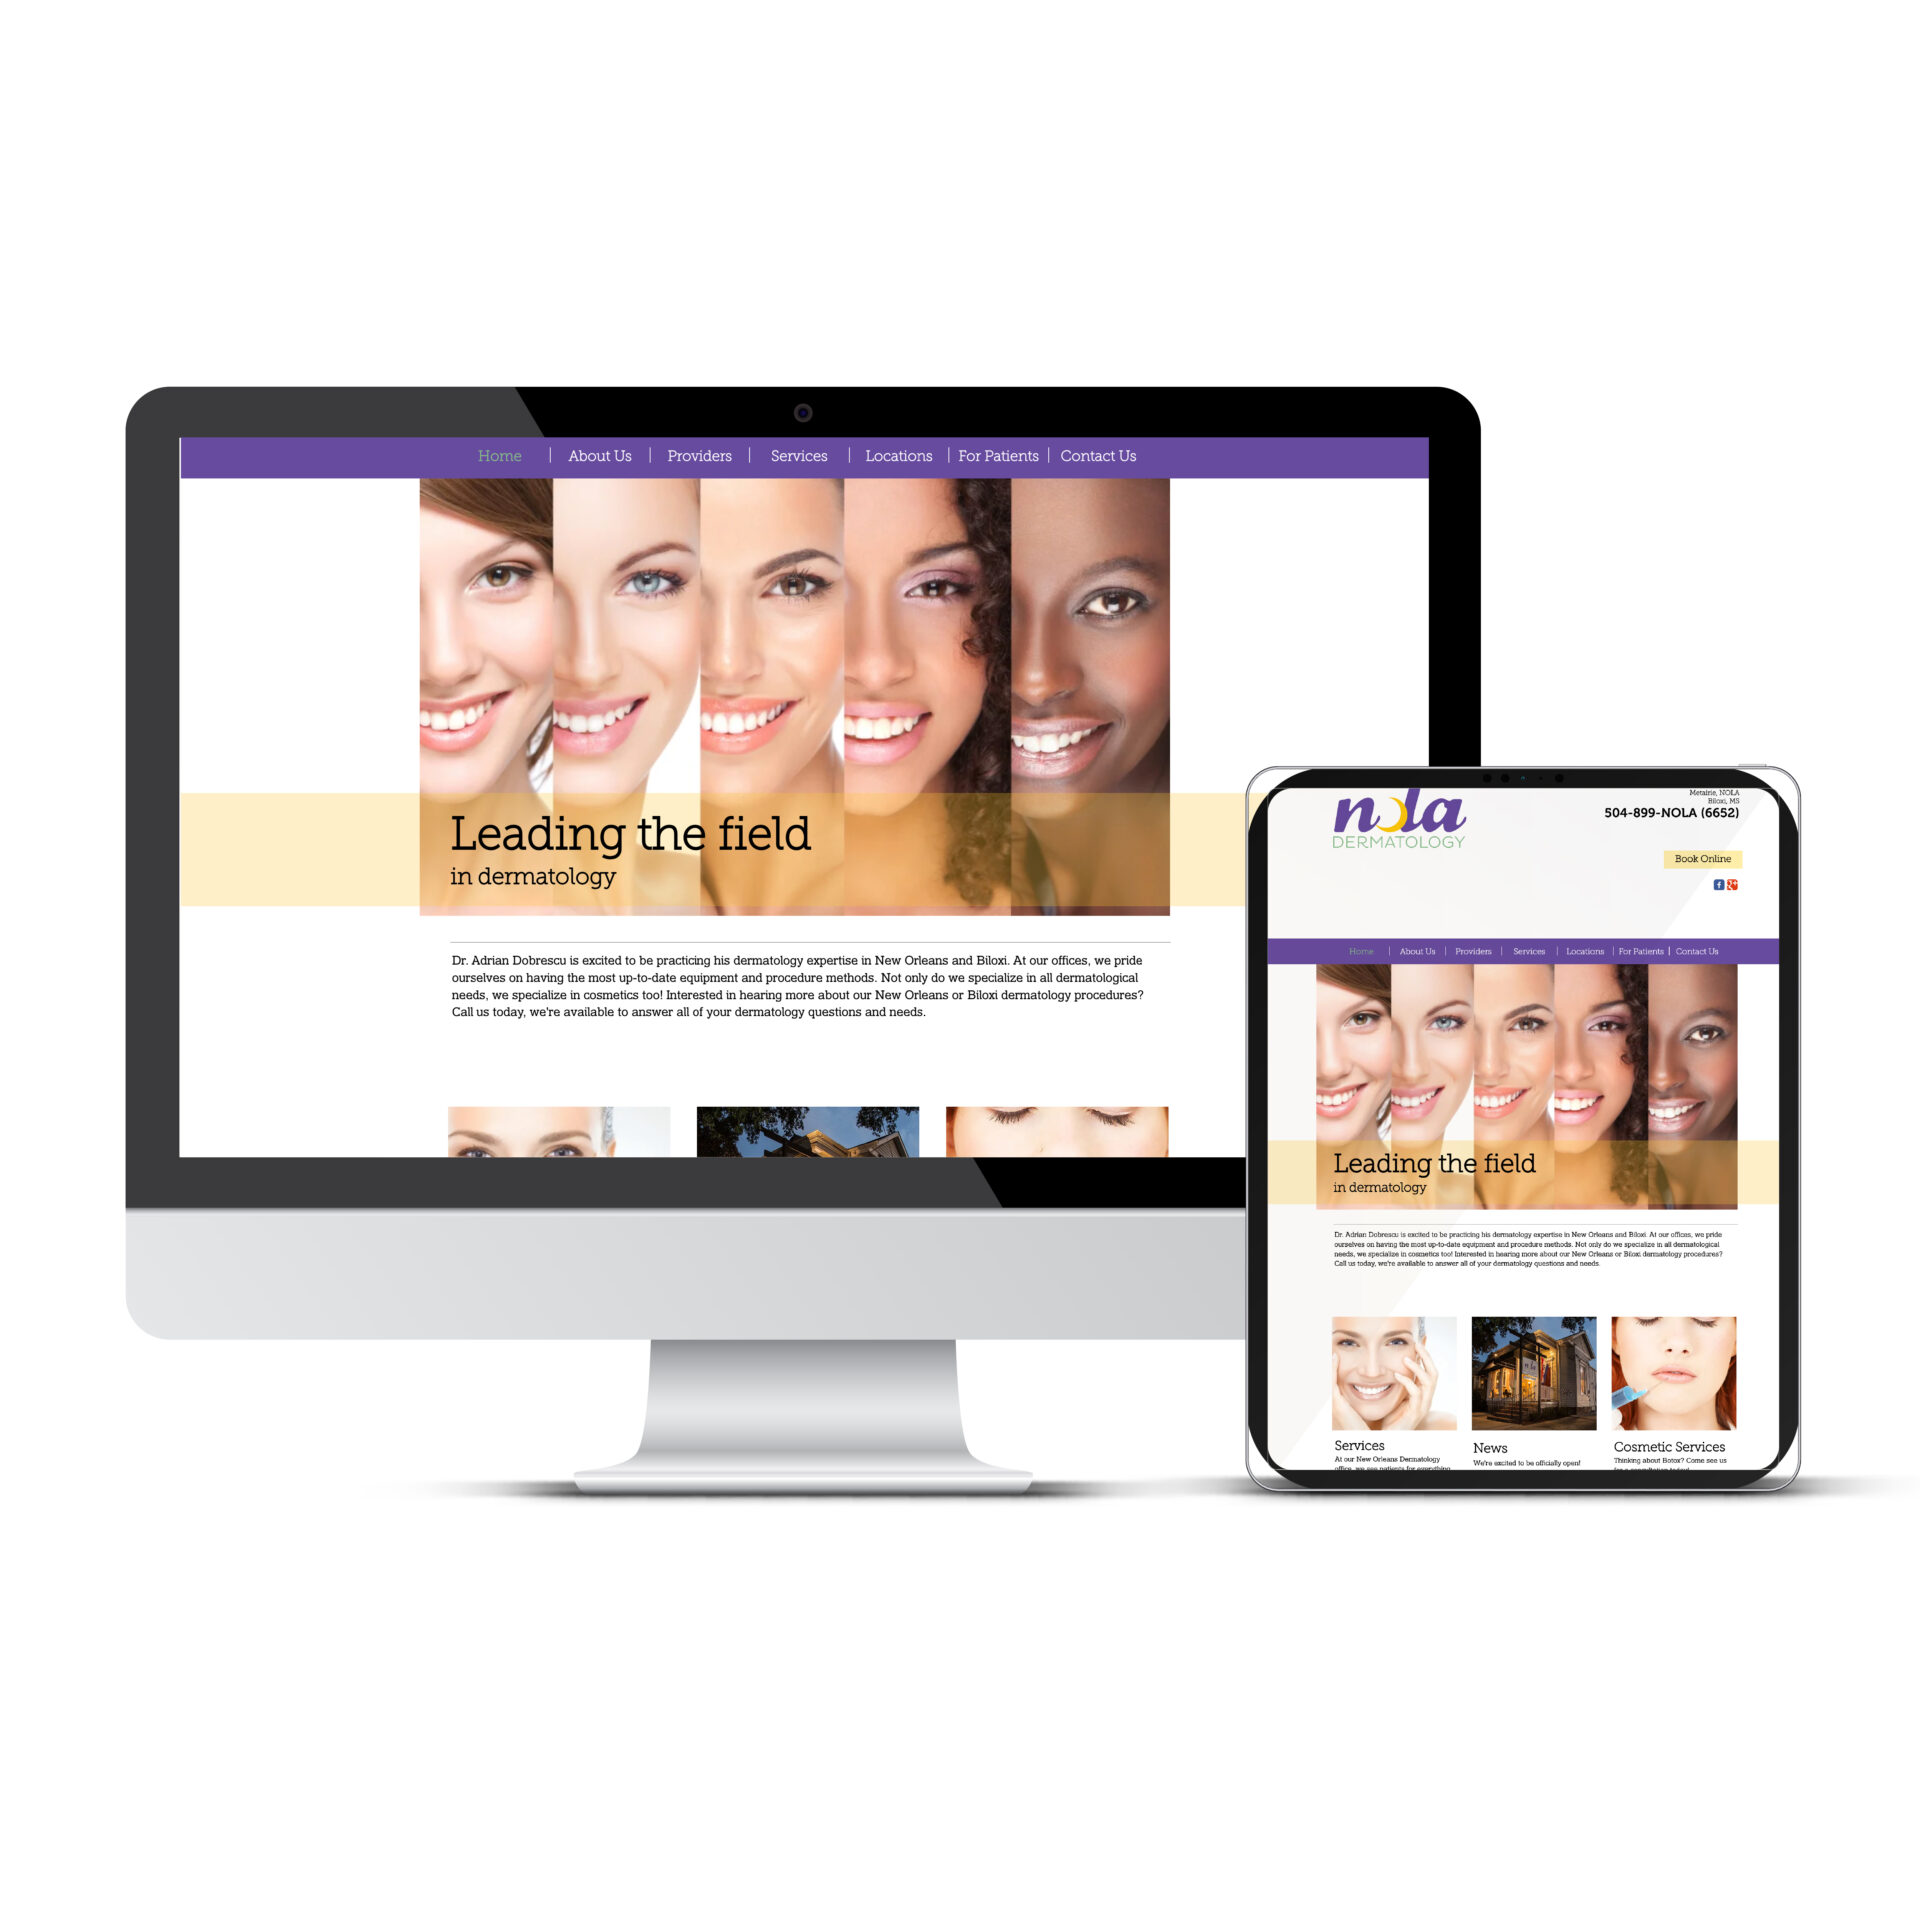
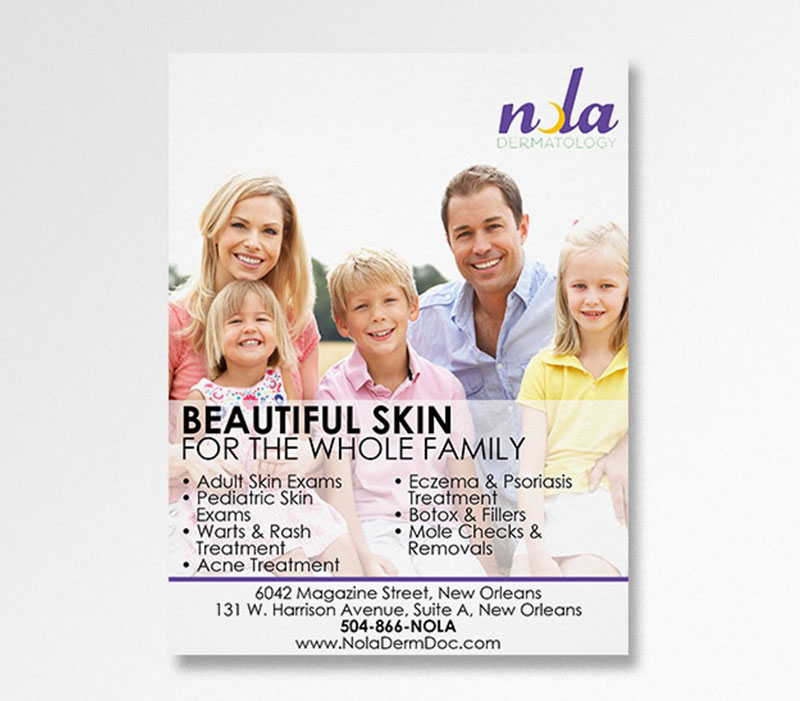
NOLA Dermatology at Mississippi
Website Design Services Portfolio MockUp for NOLA Dermatology at Mississippi
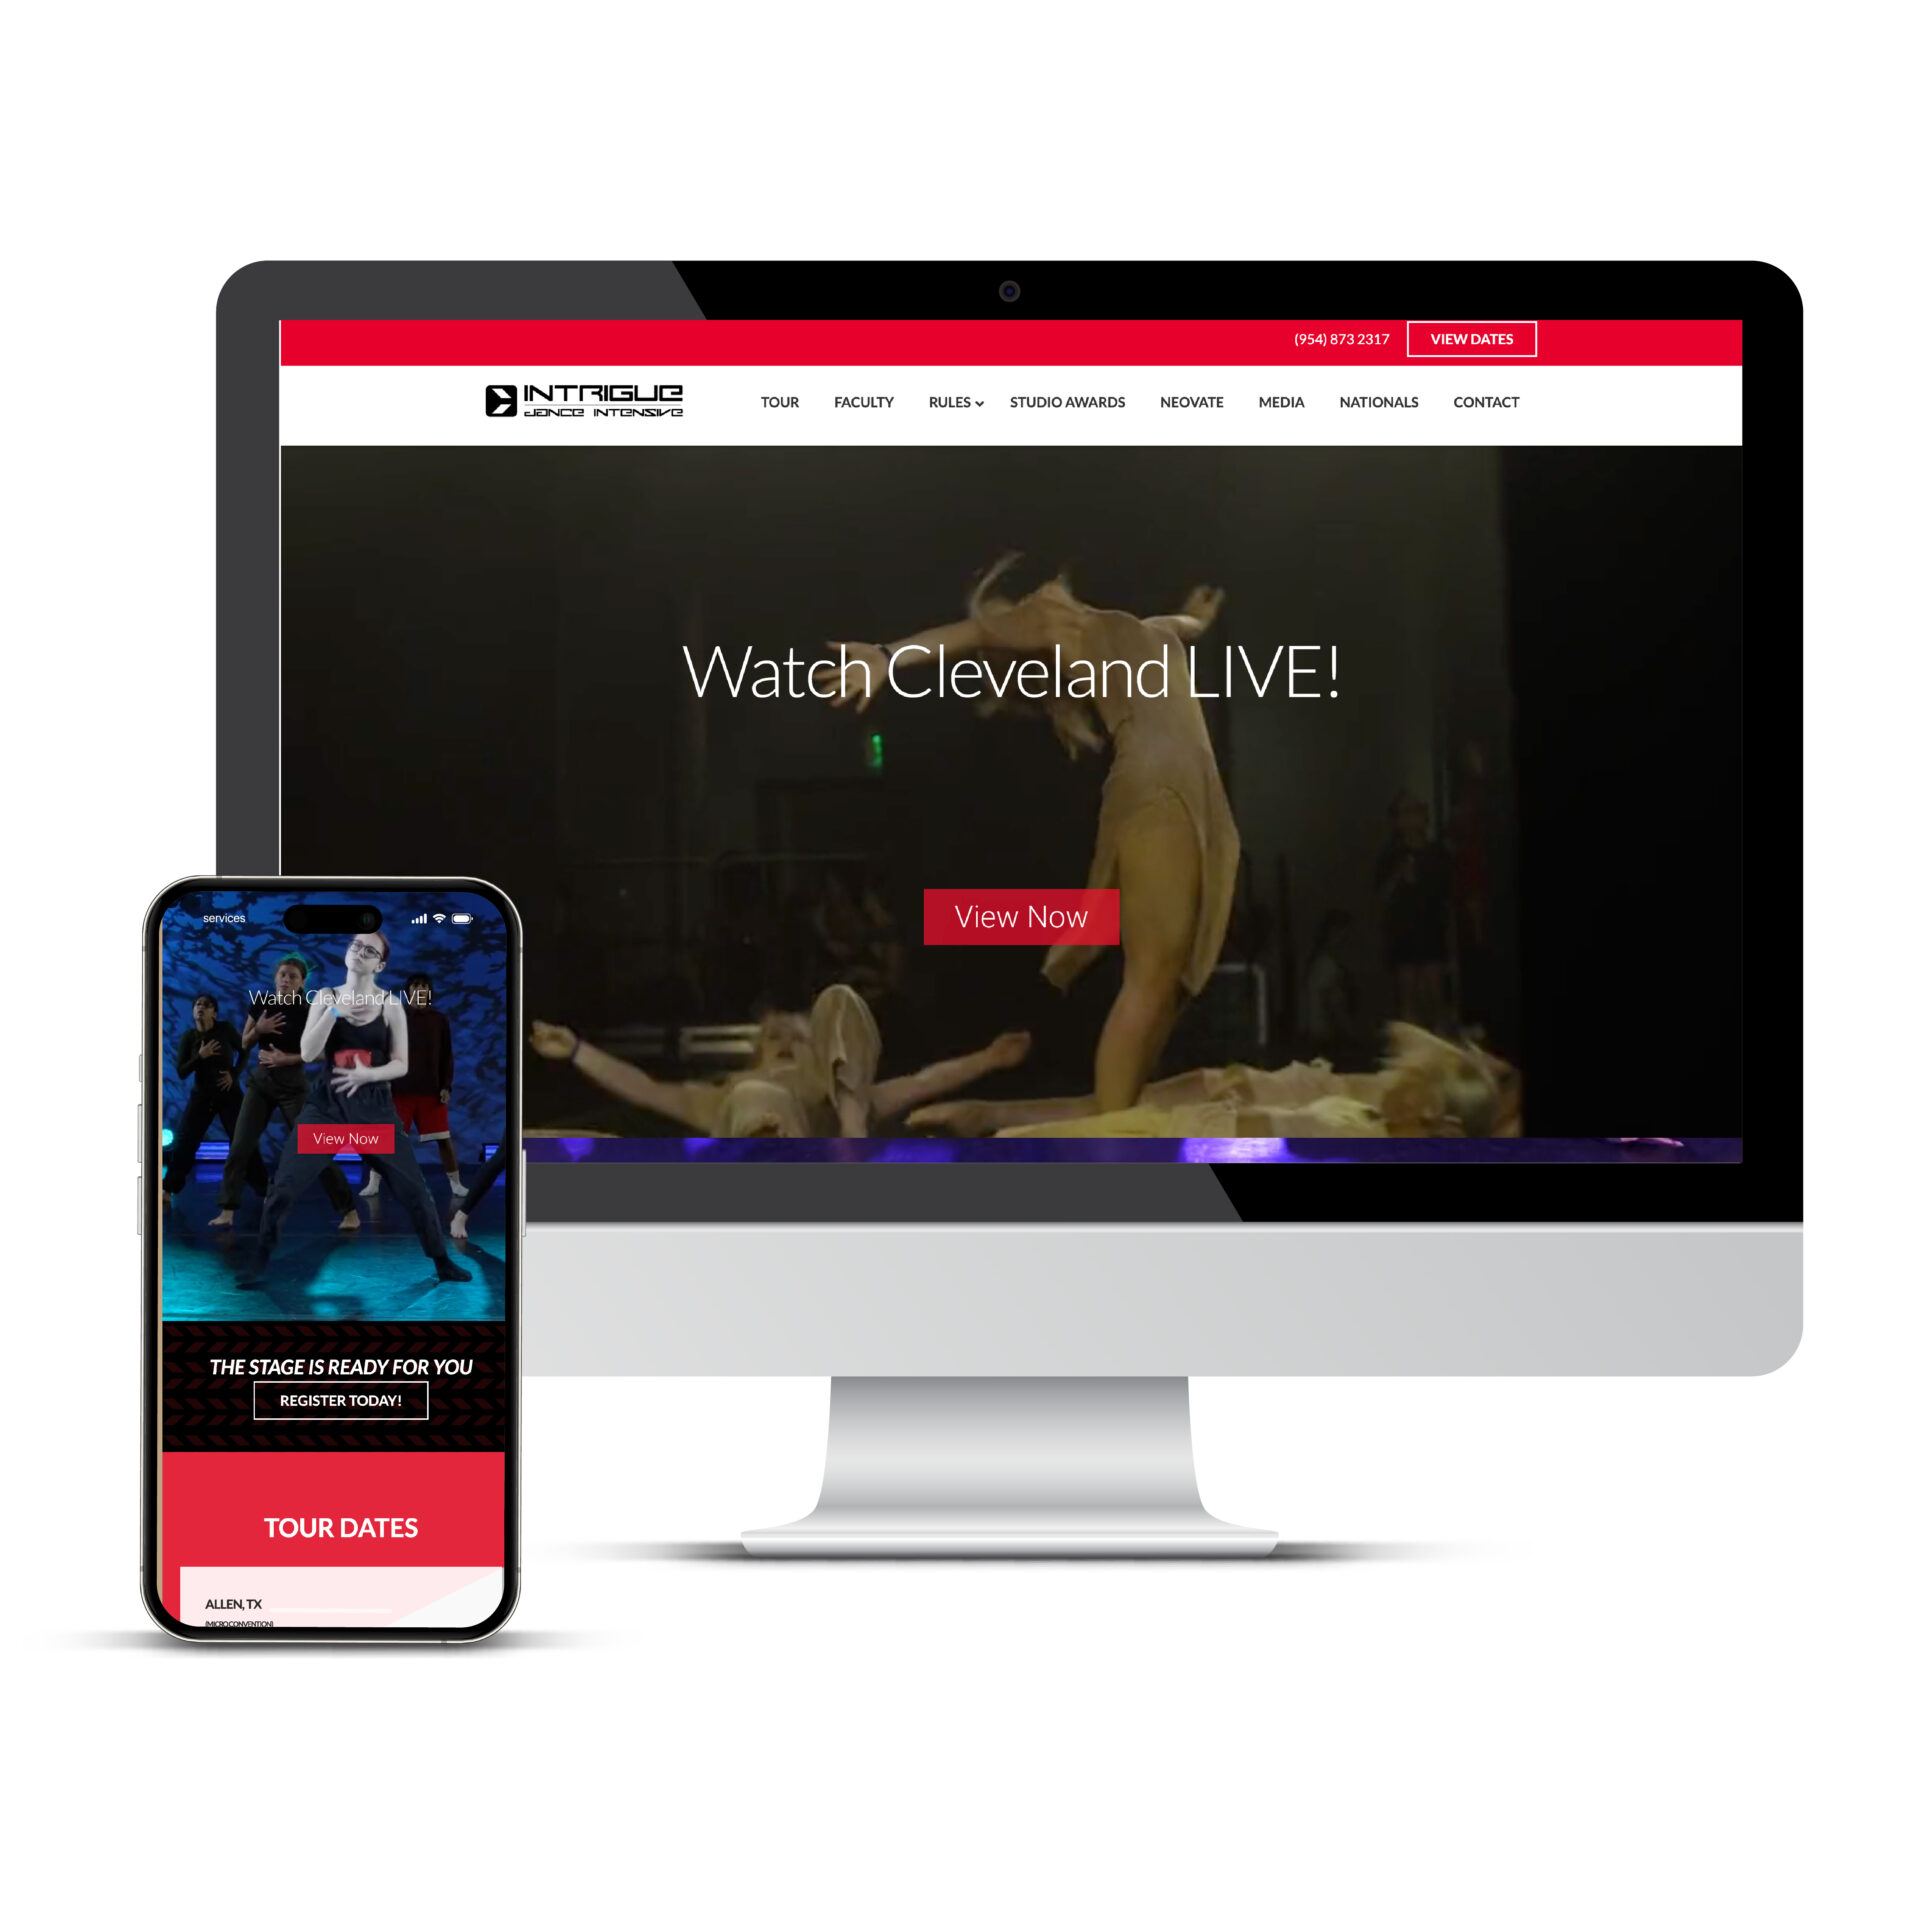
Go Intrigue
Website Design Services Portfolio MockUp for Go Intrigue
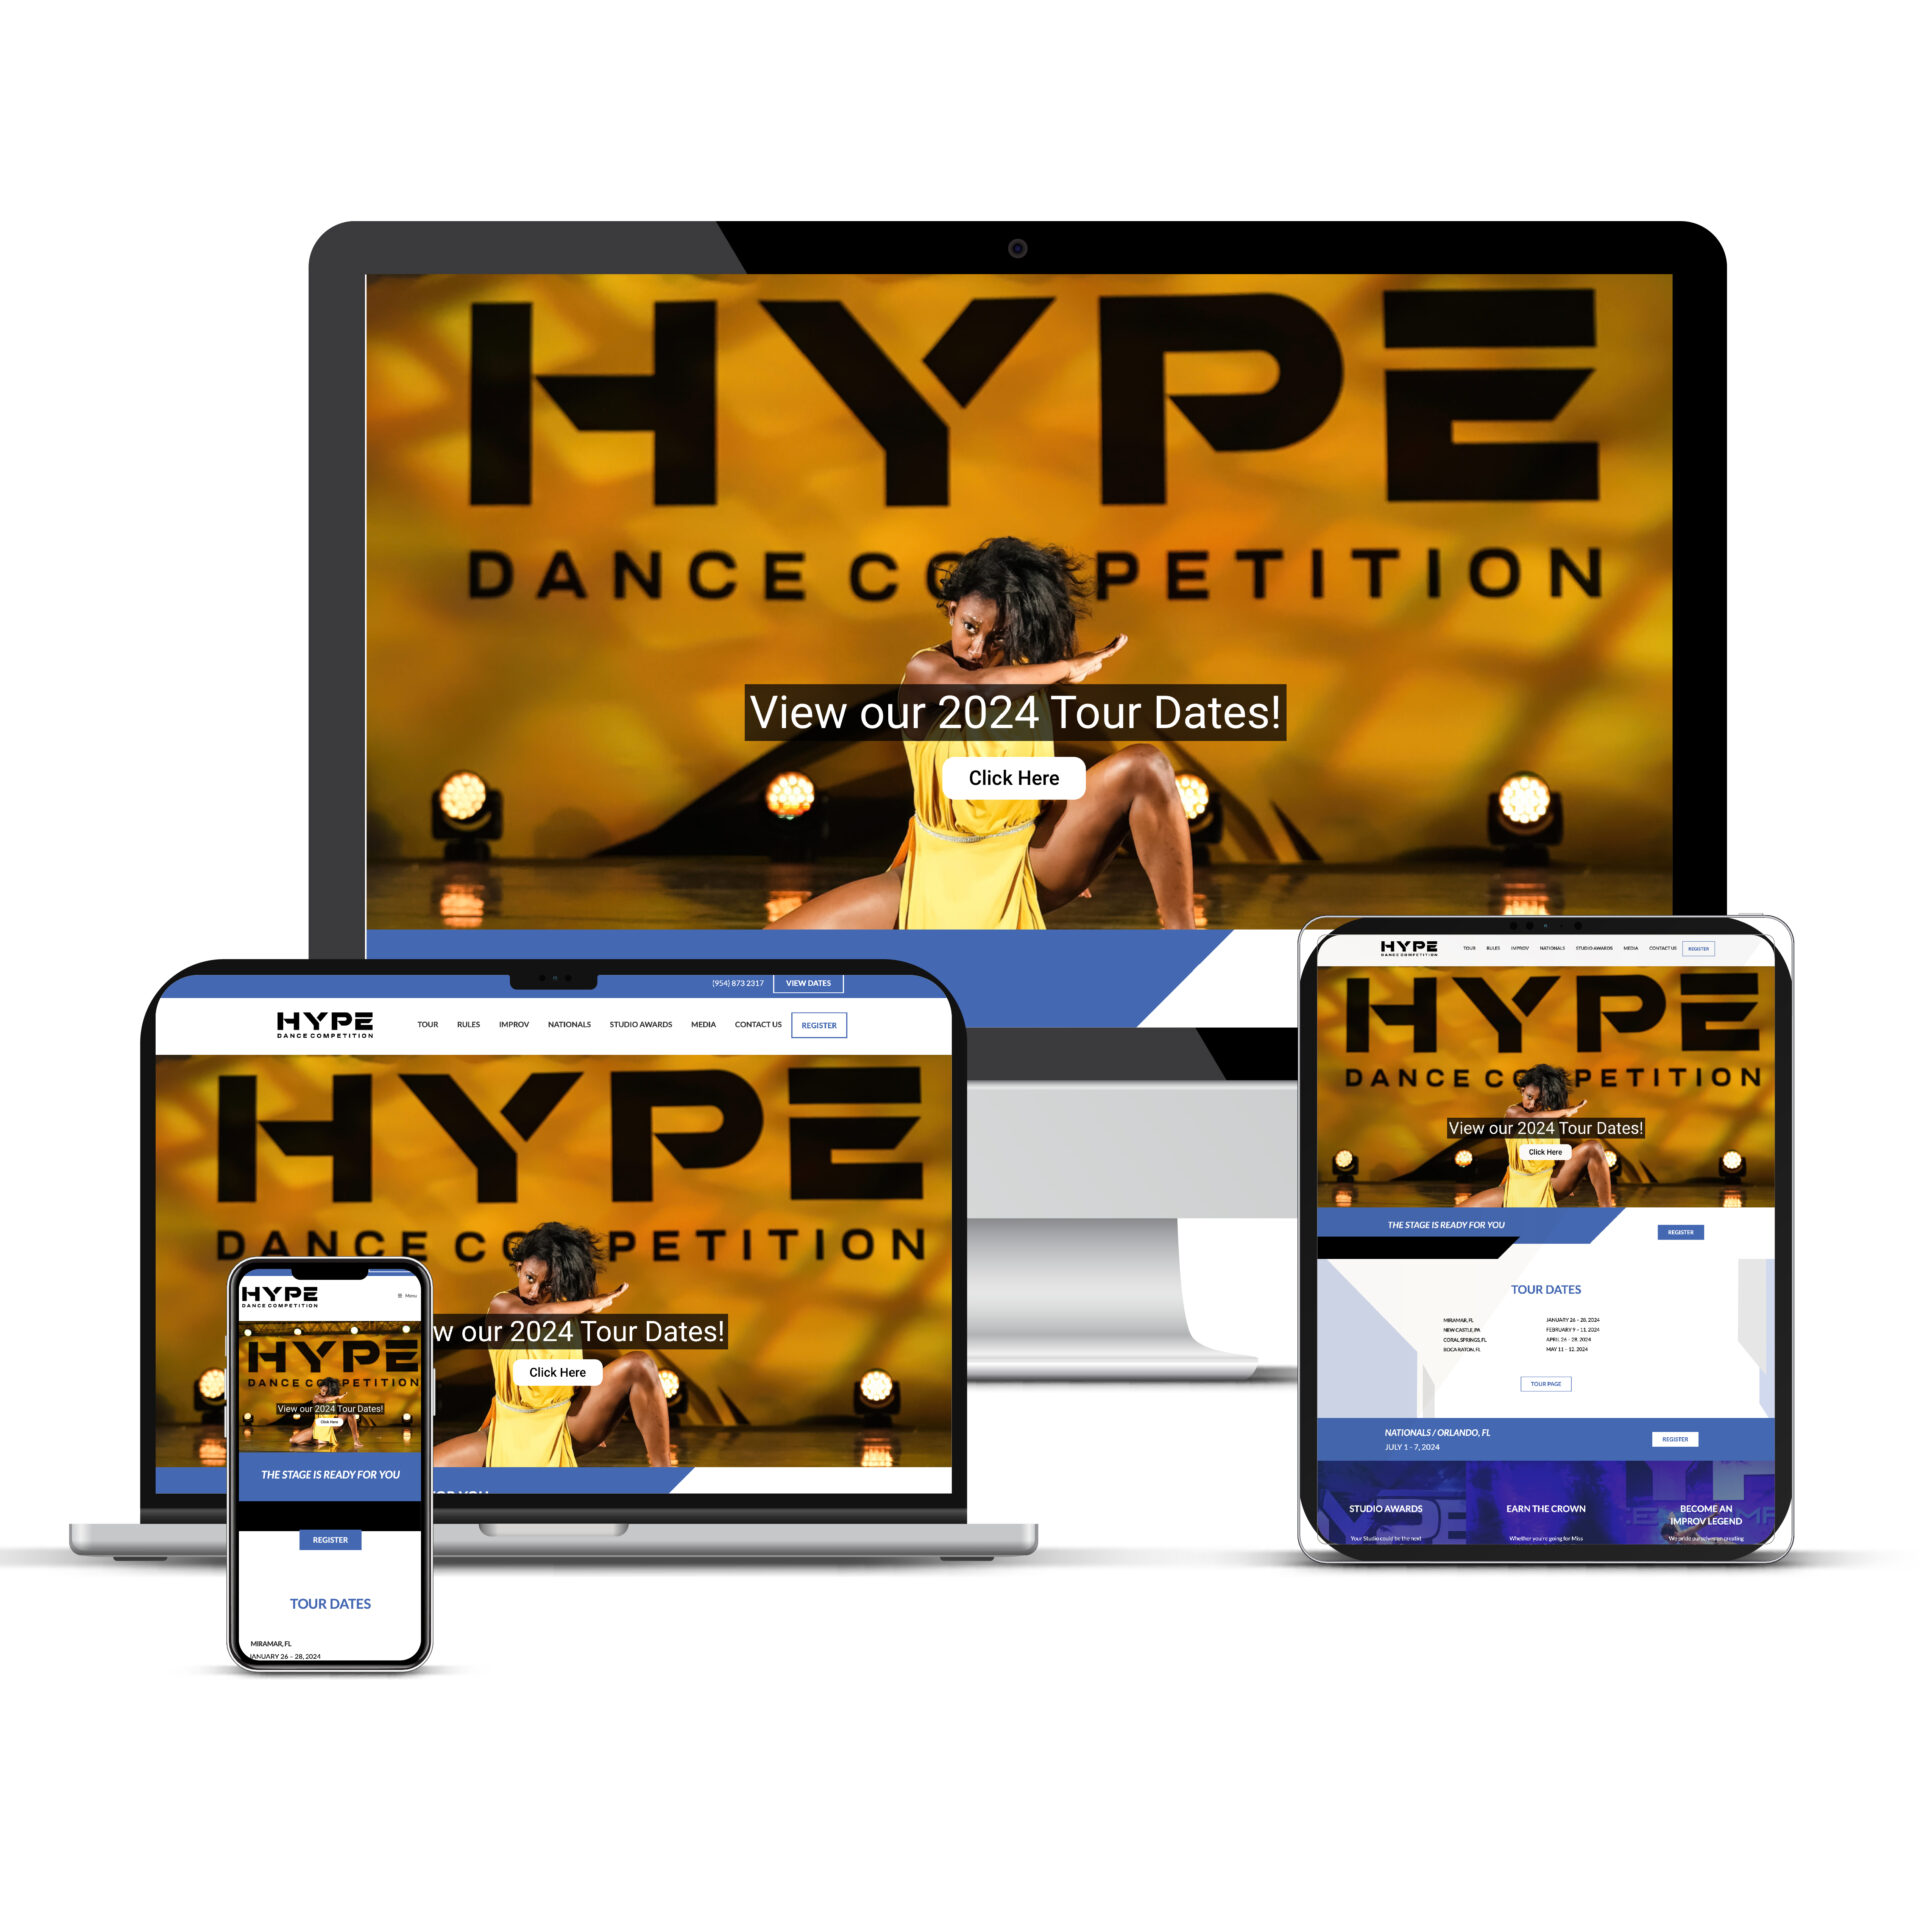
Hype Dance
Website Design Services Portfolio MockUp for Hype Dance
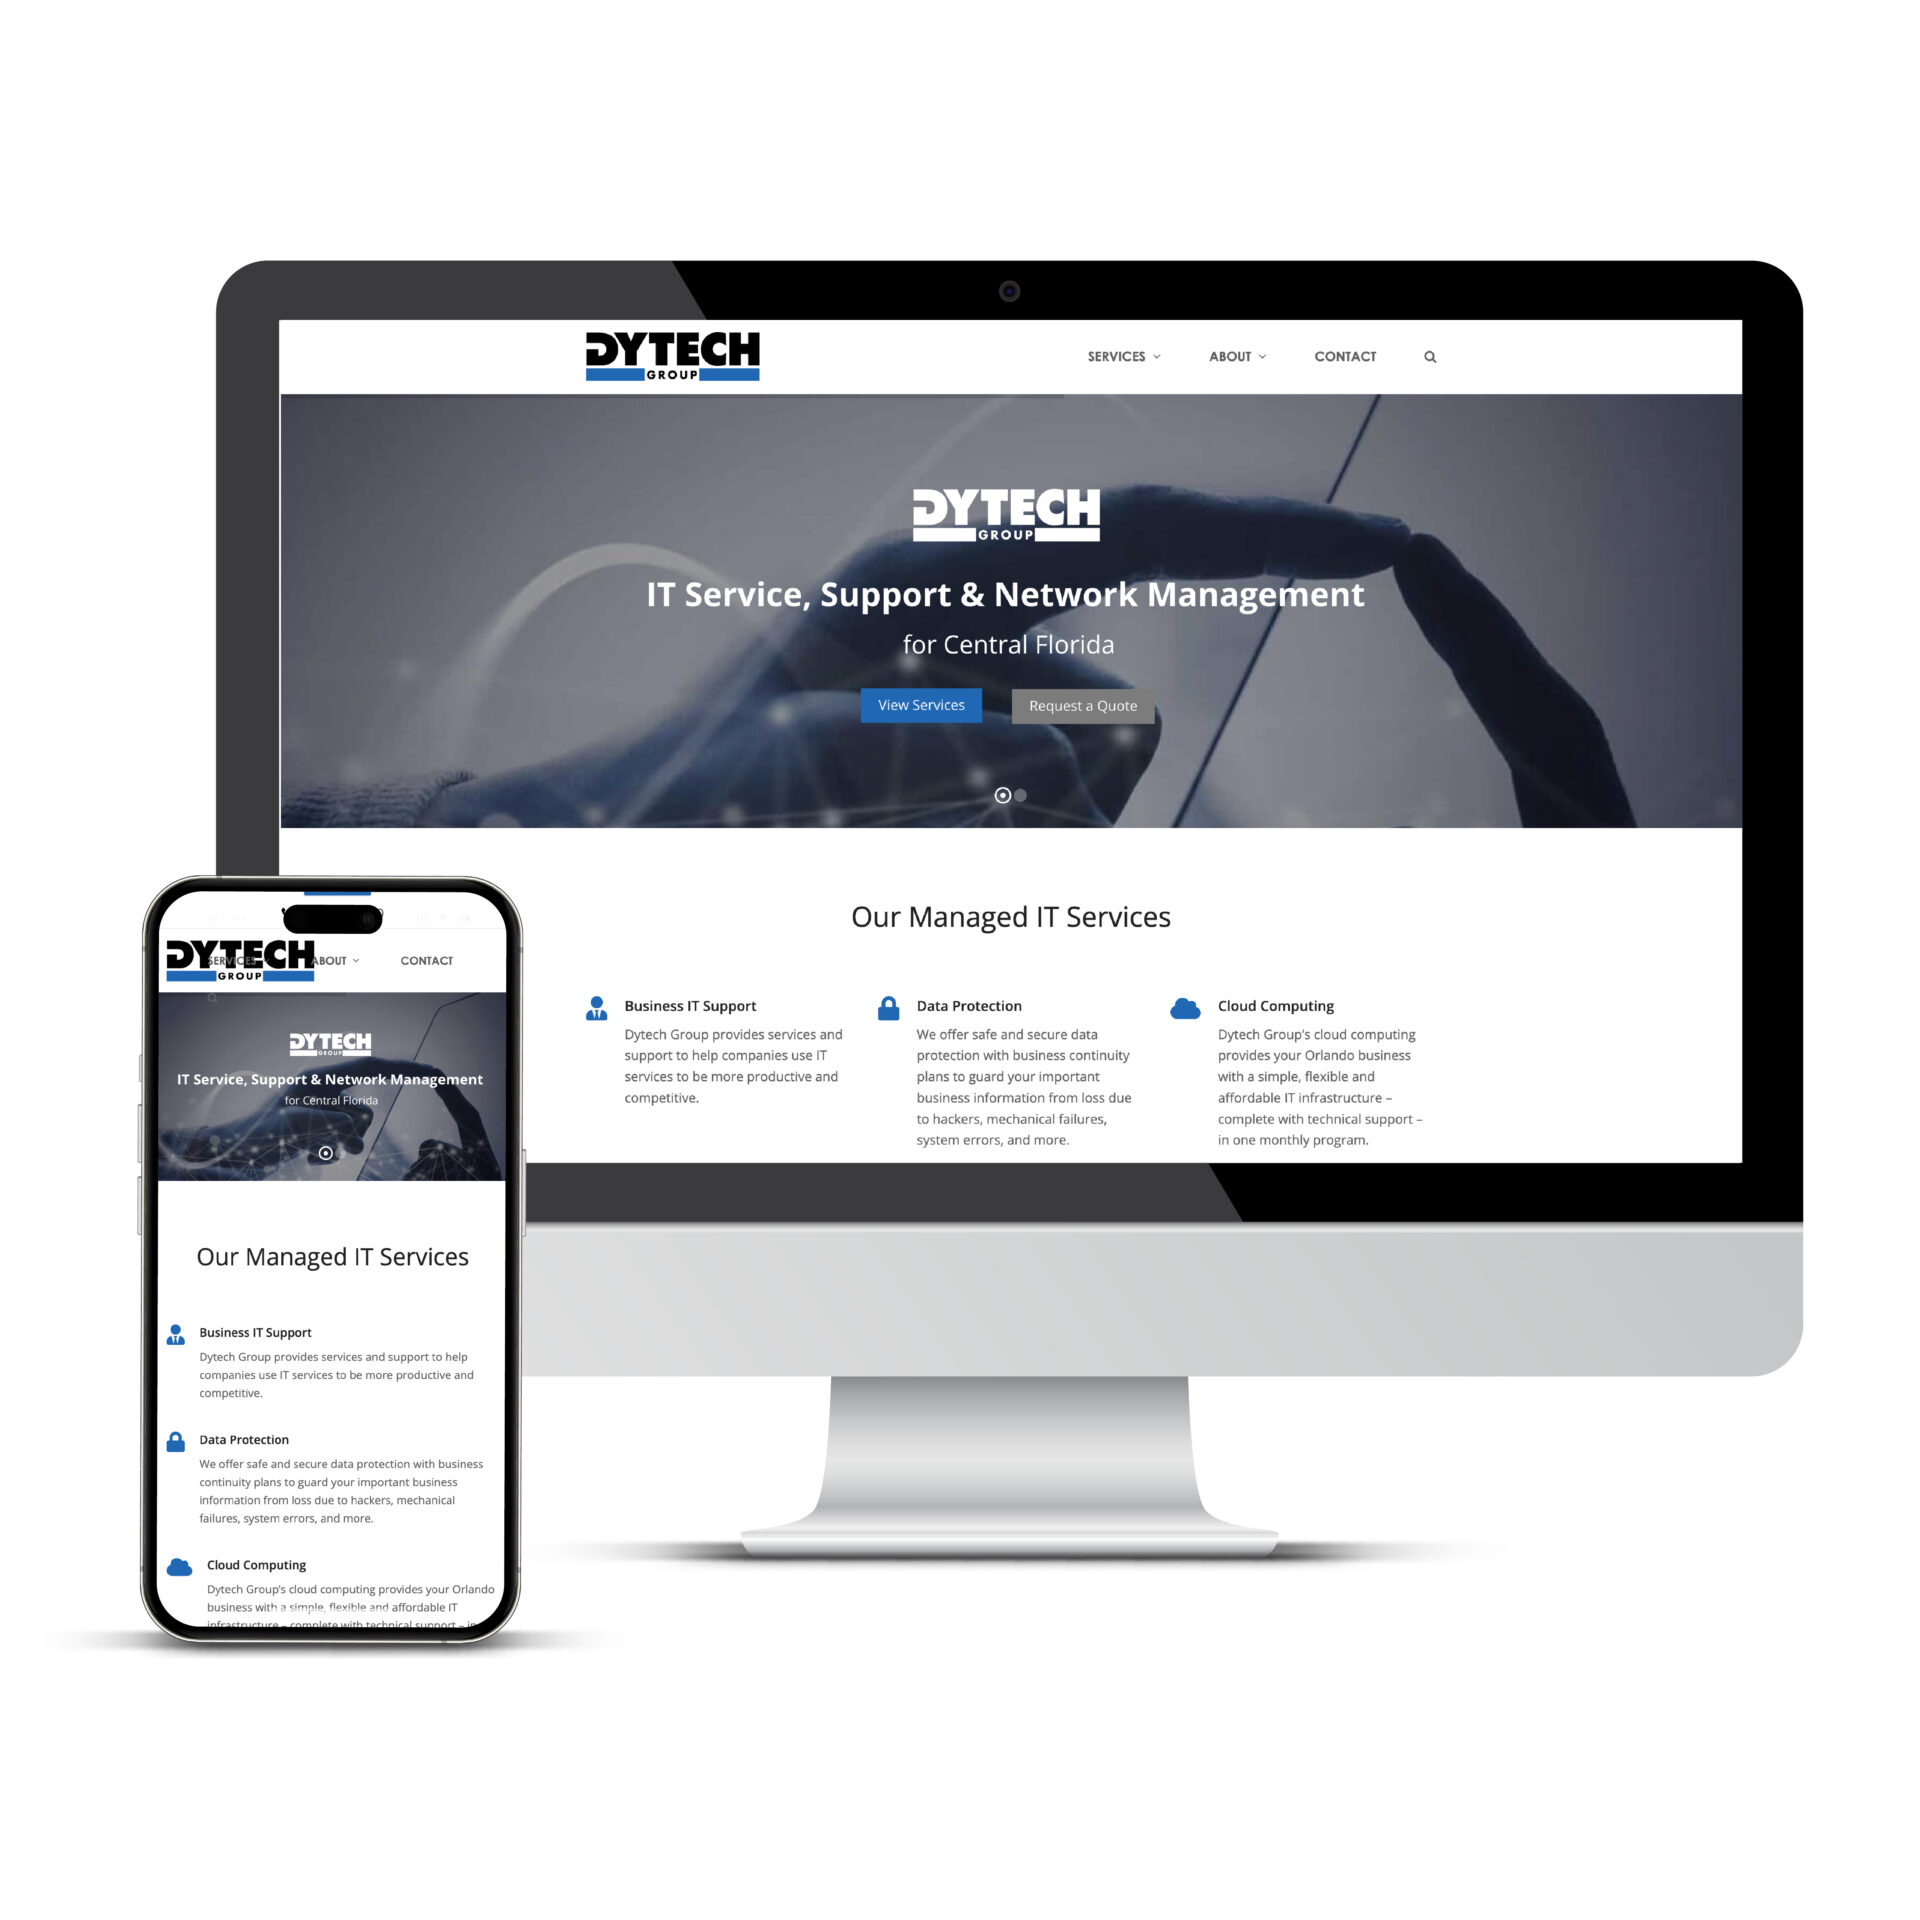
Dytech
Website Design Services Portfolio MockUp for Dytech
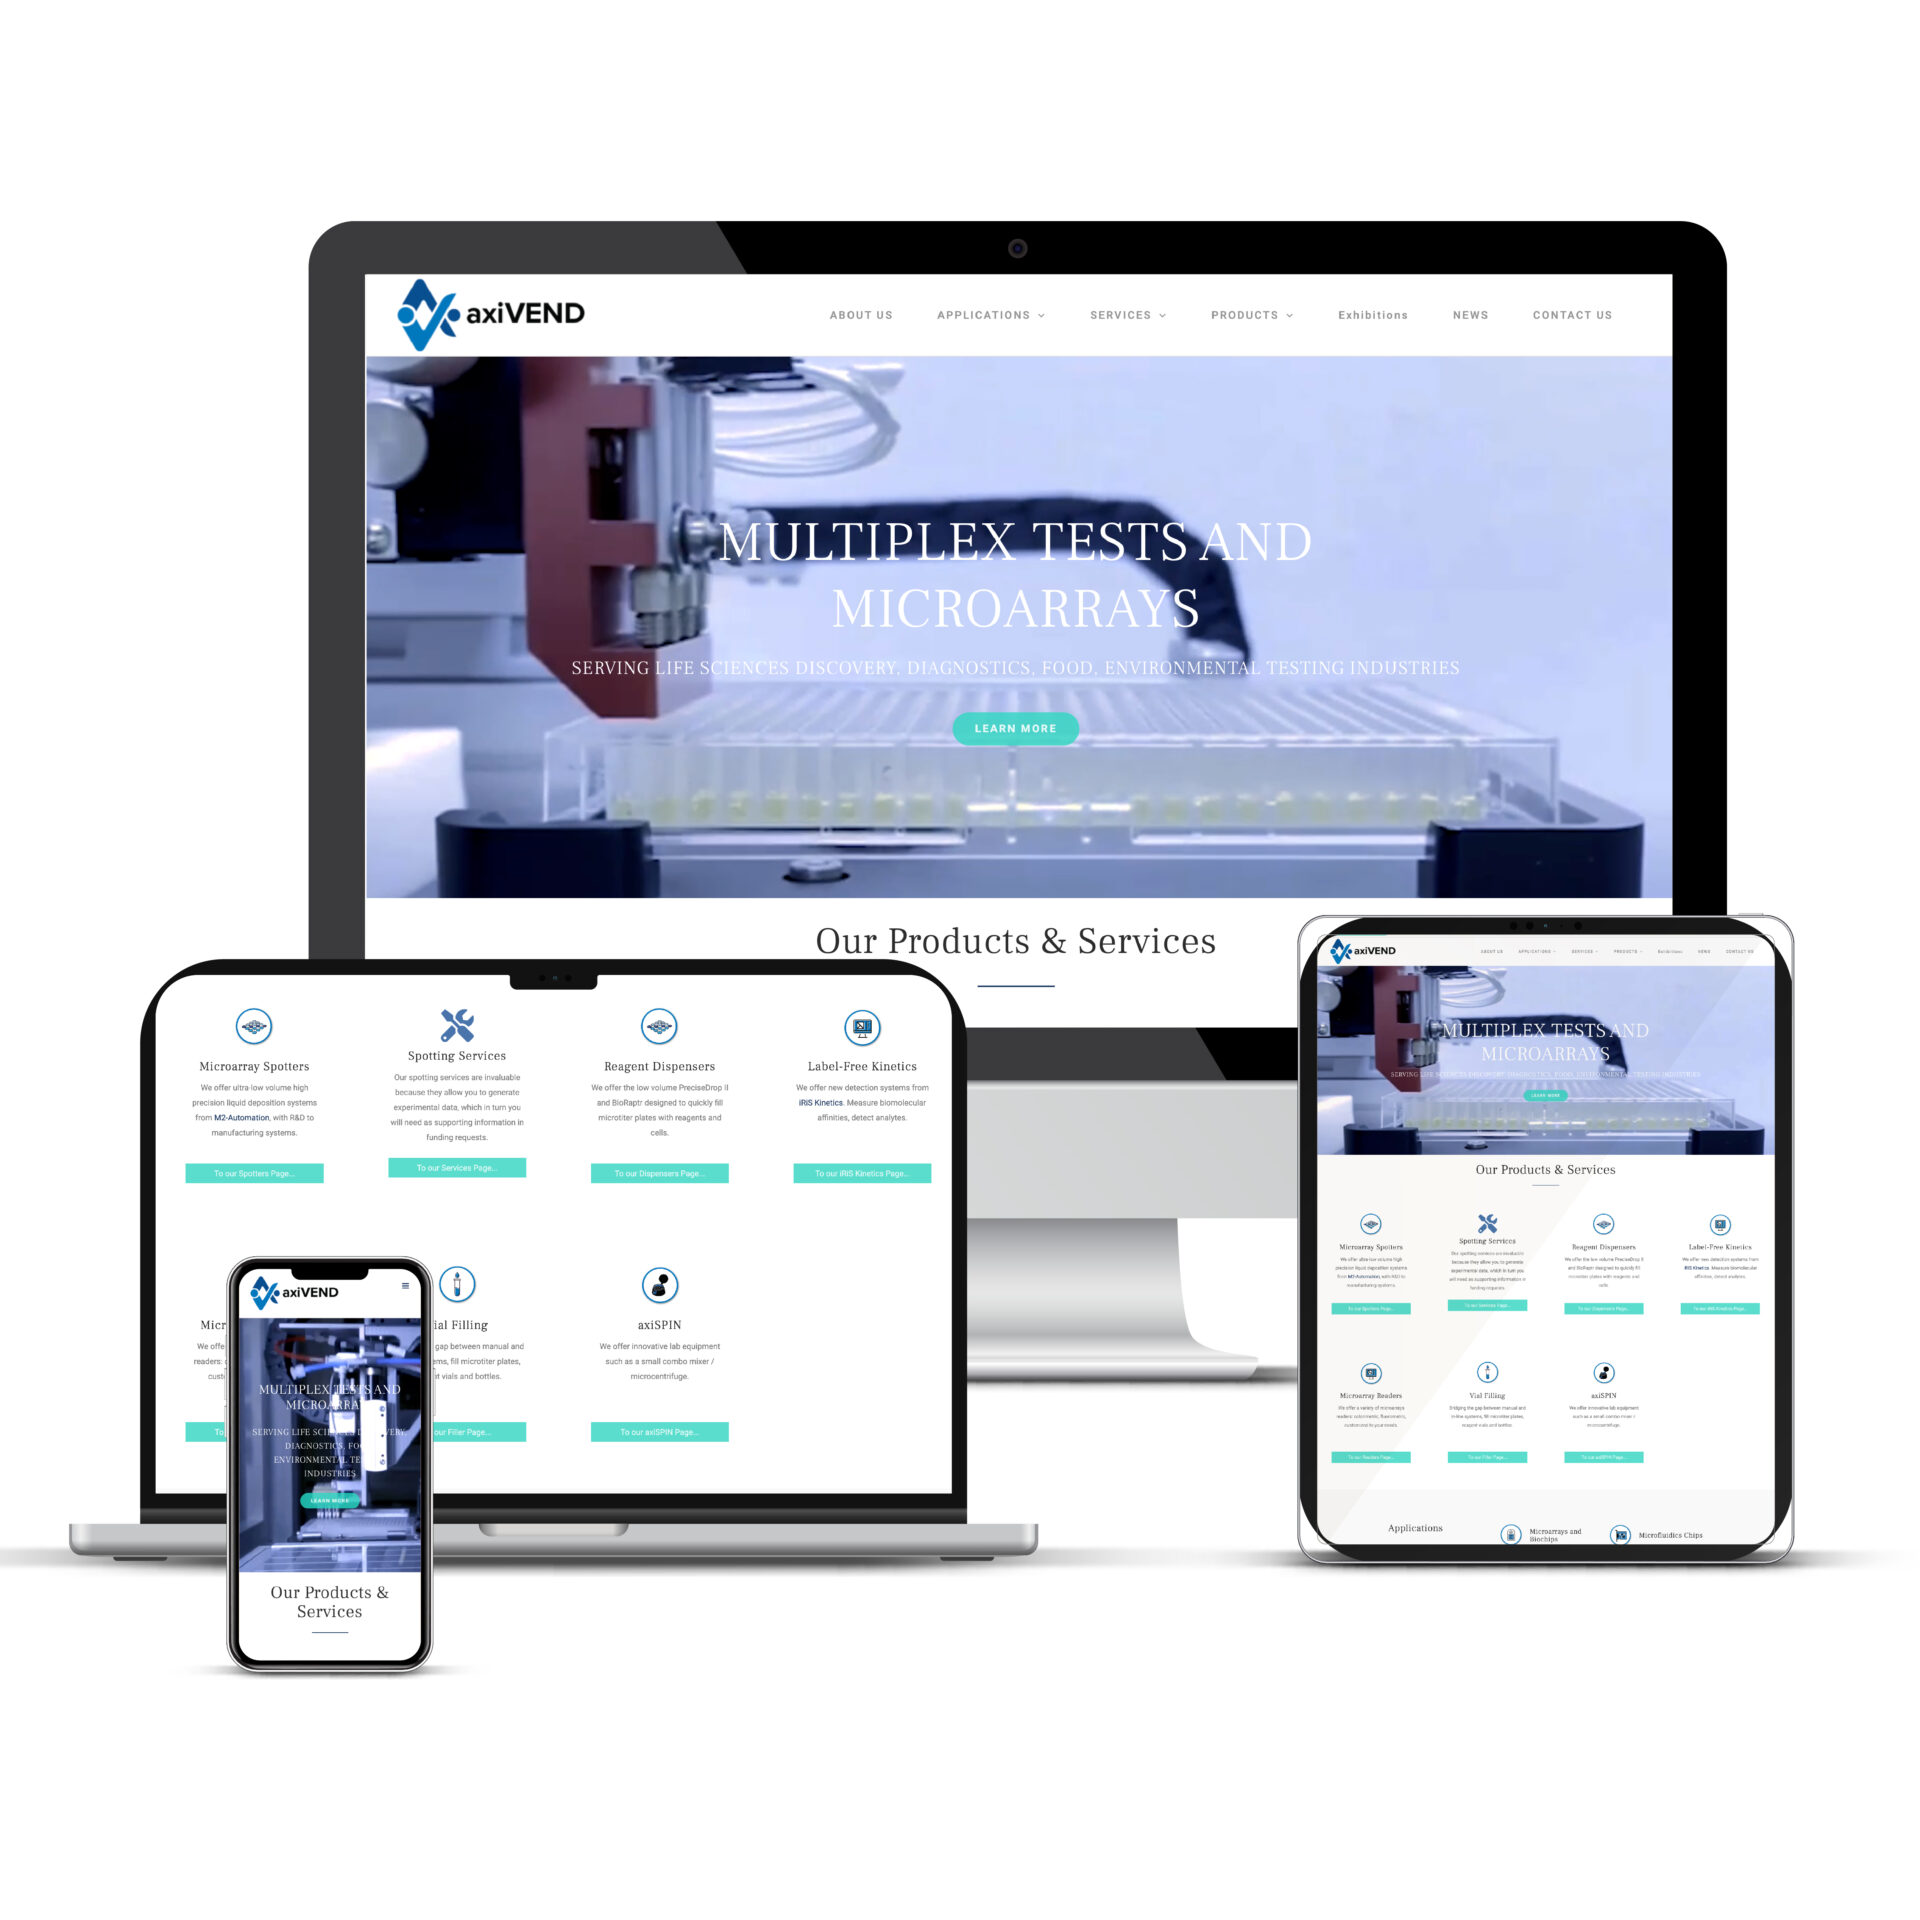
Axivend
Website Design Services Portfolio MockUp for Axivend
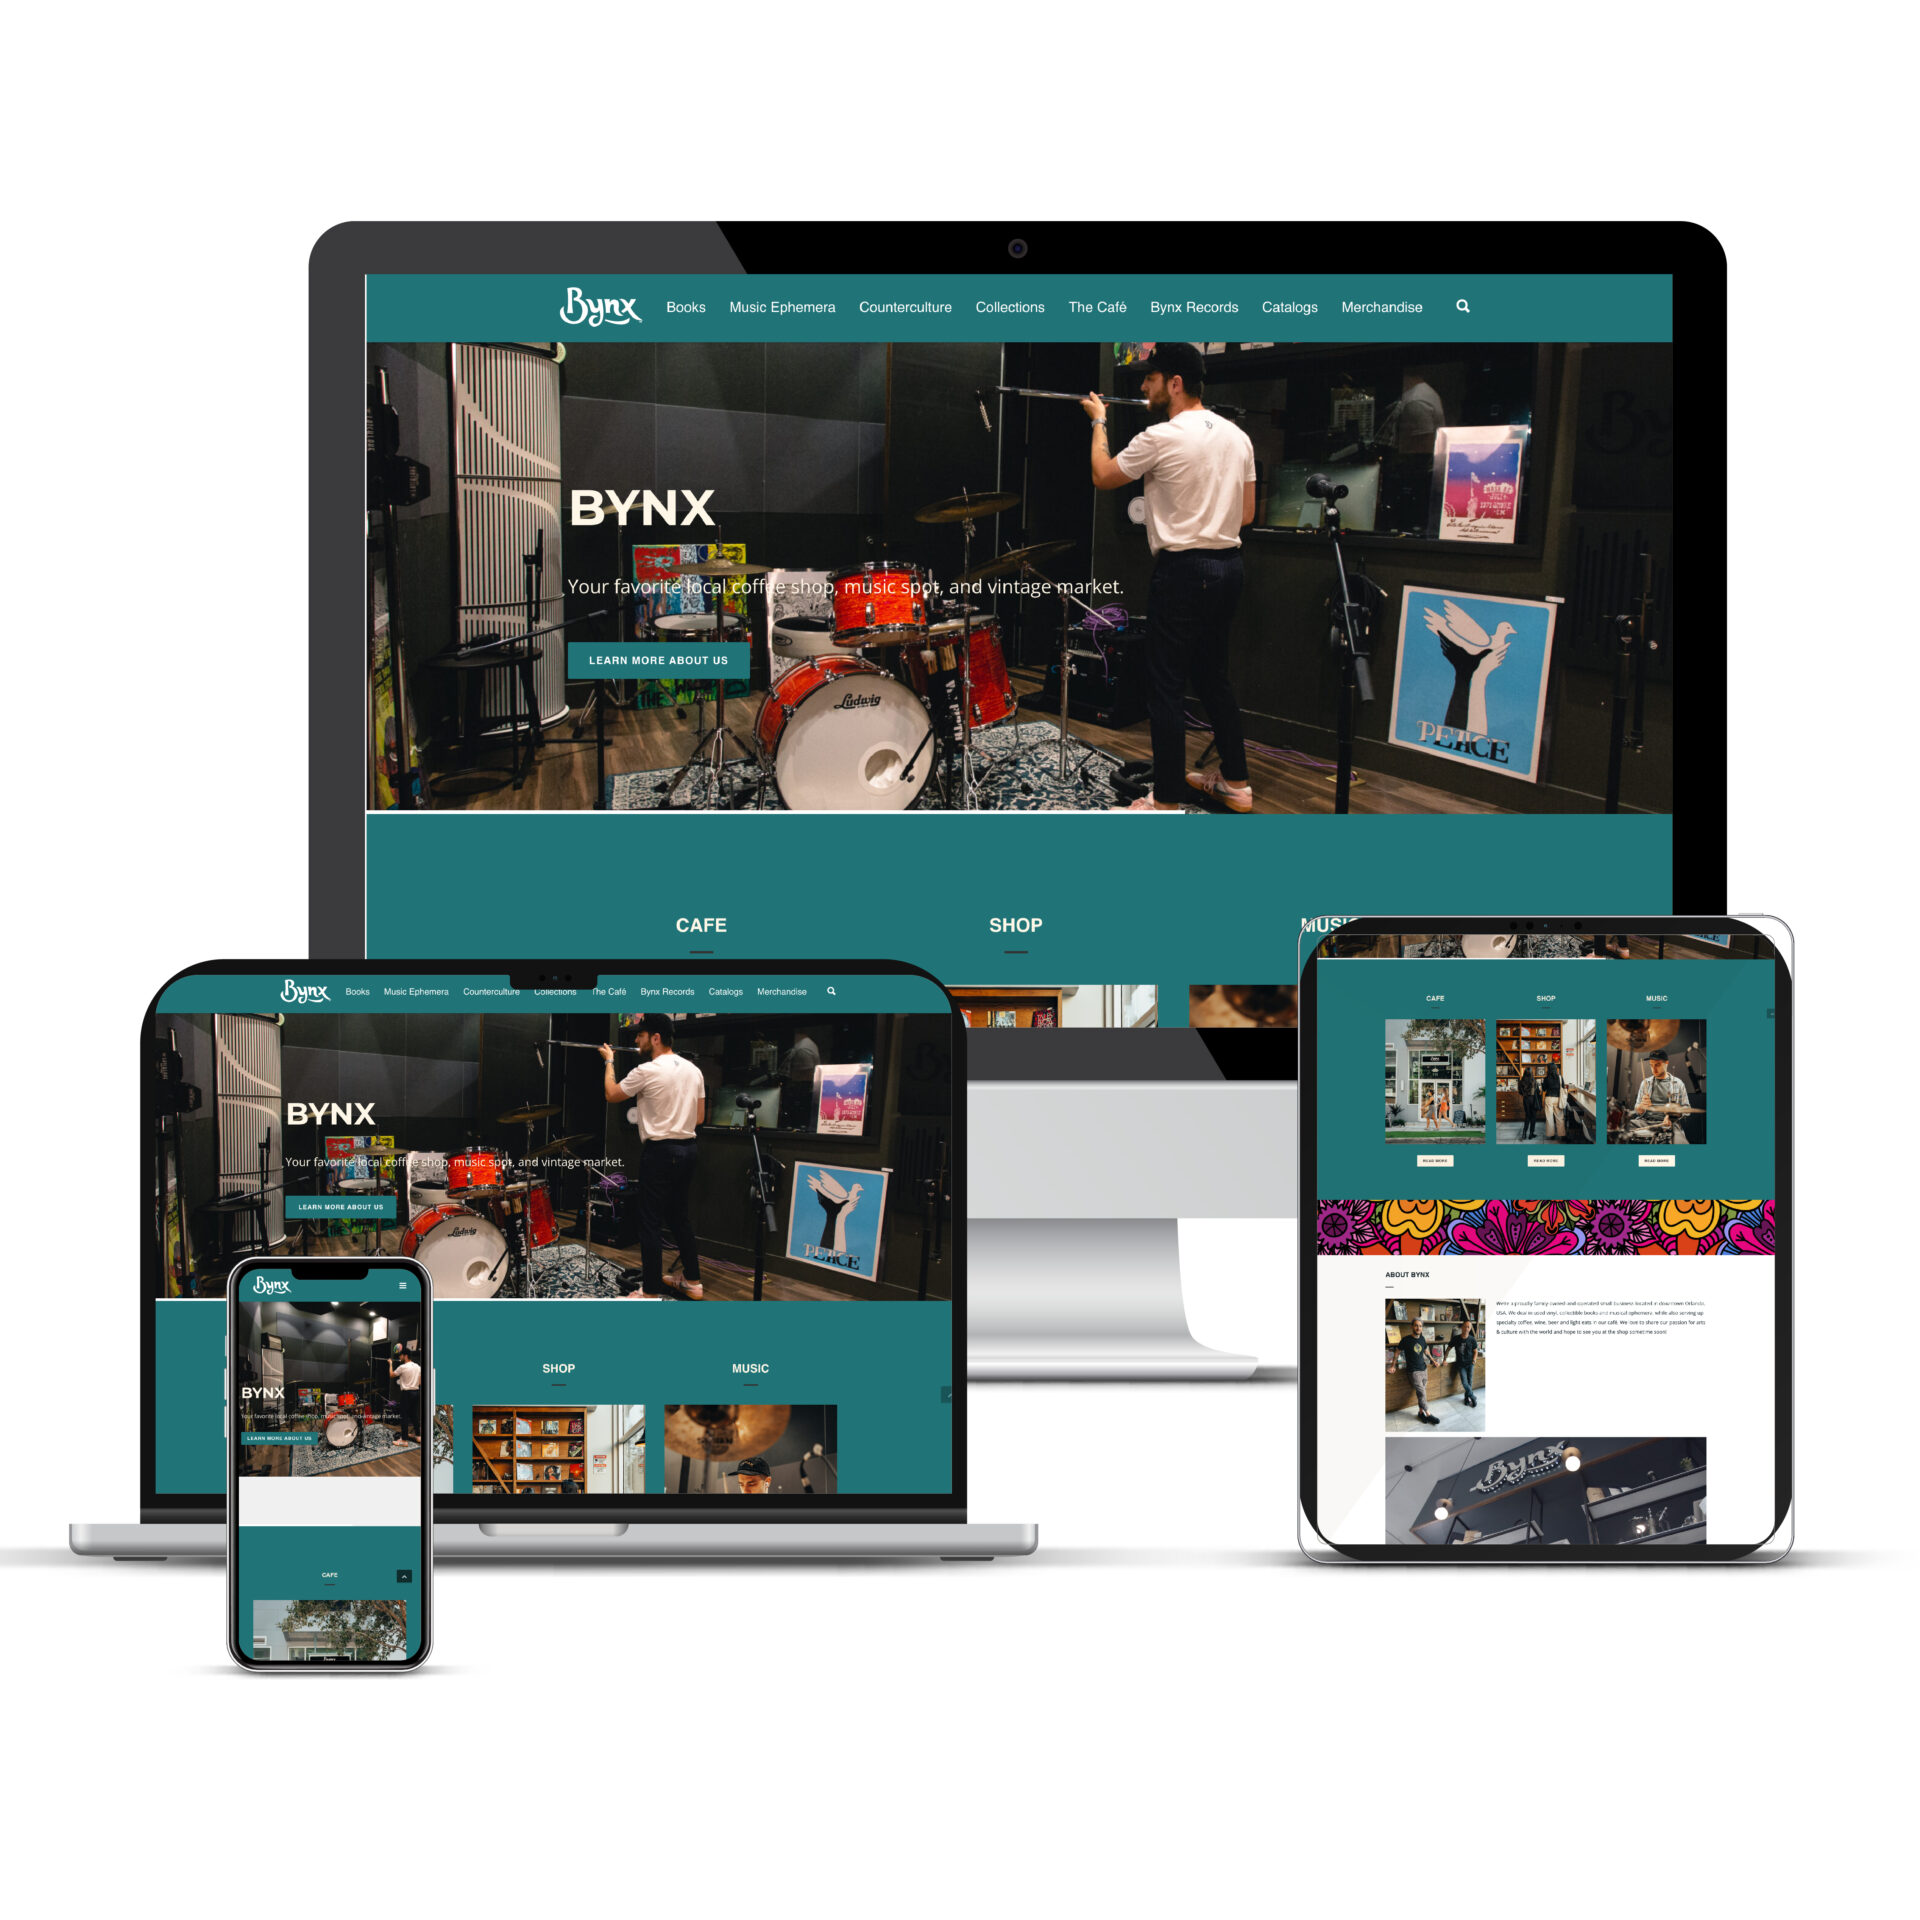
Bynx
Website Design Services Portfolio MockUp for Bynx
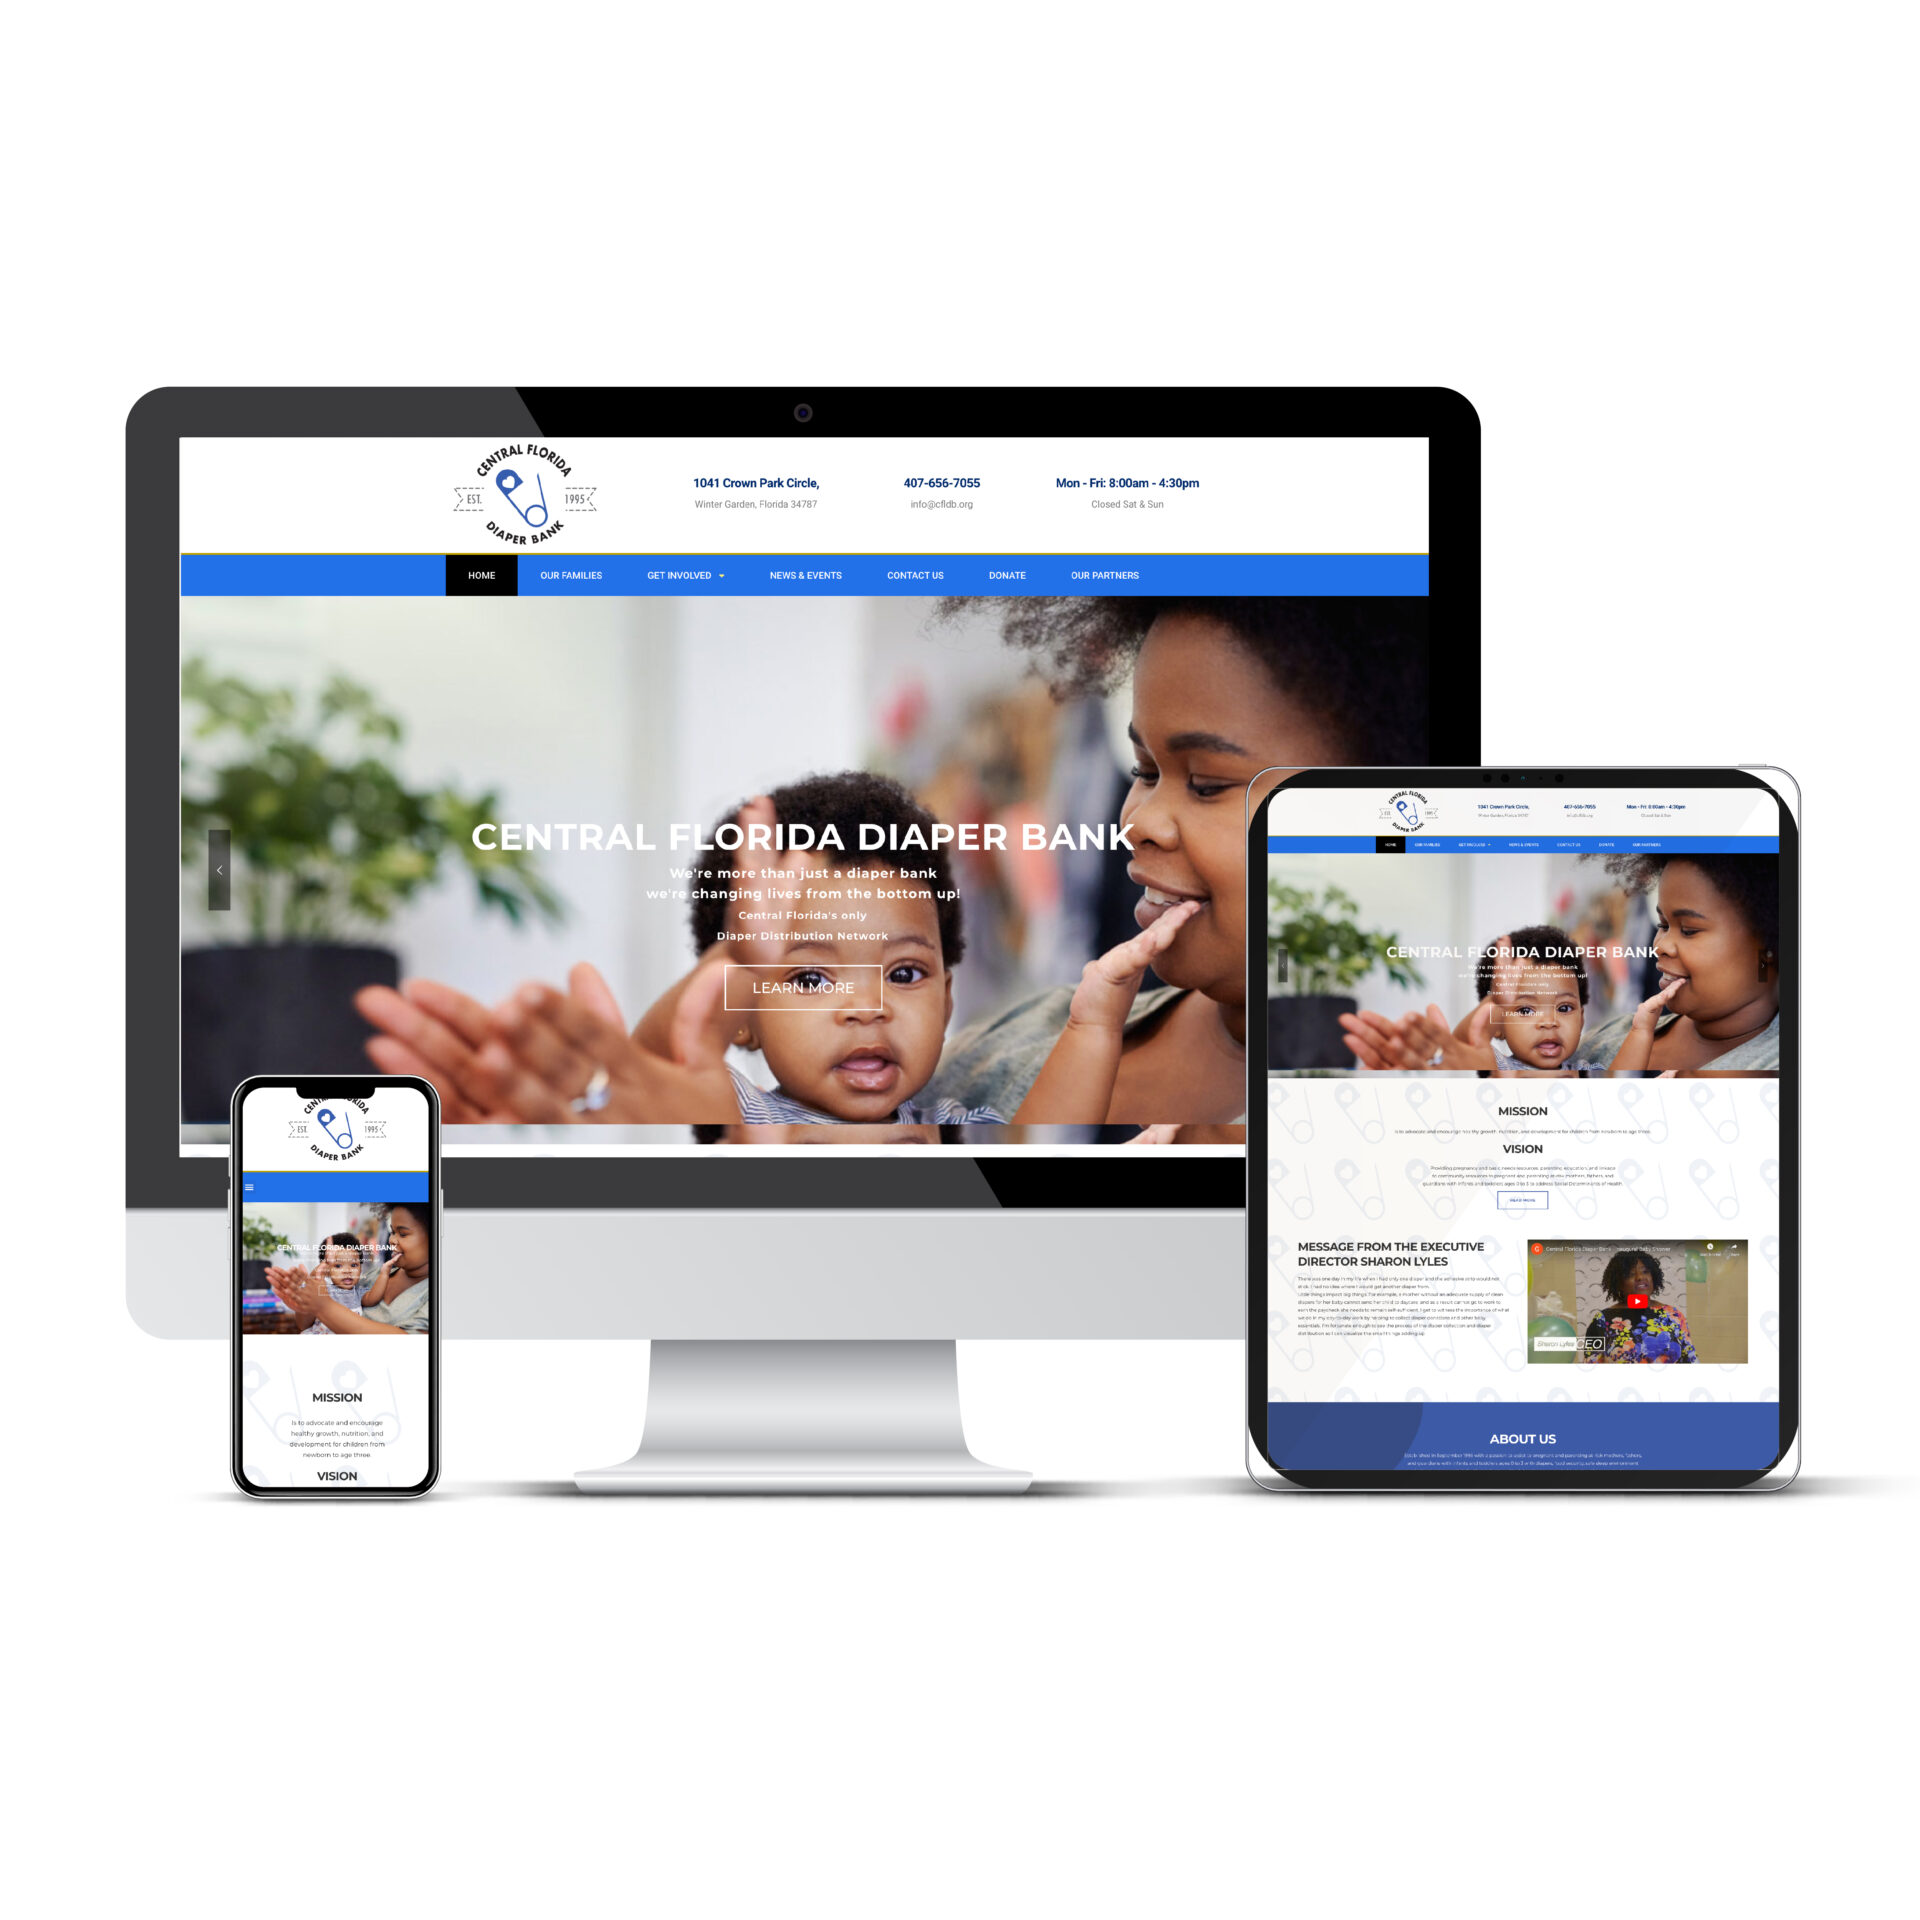
Central Florida Diaper Bank
Website Design Services Portfolio MockUp for Central Florida Diaper Bank
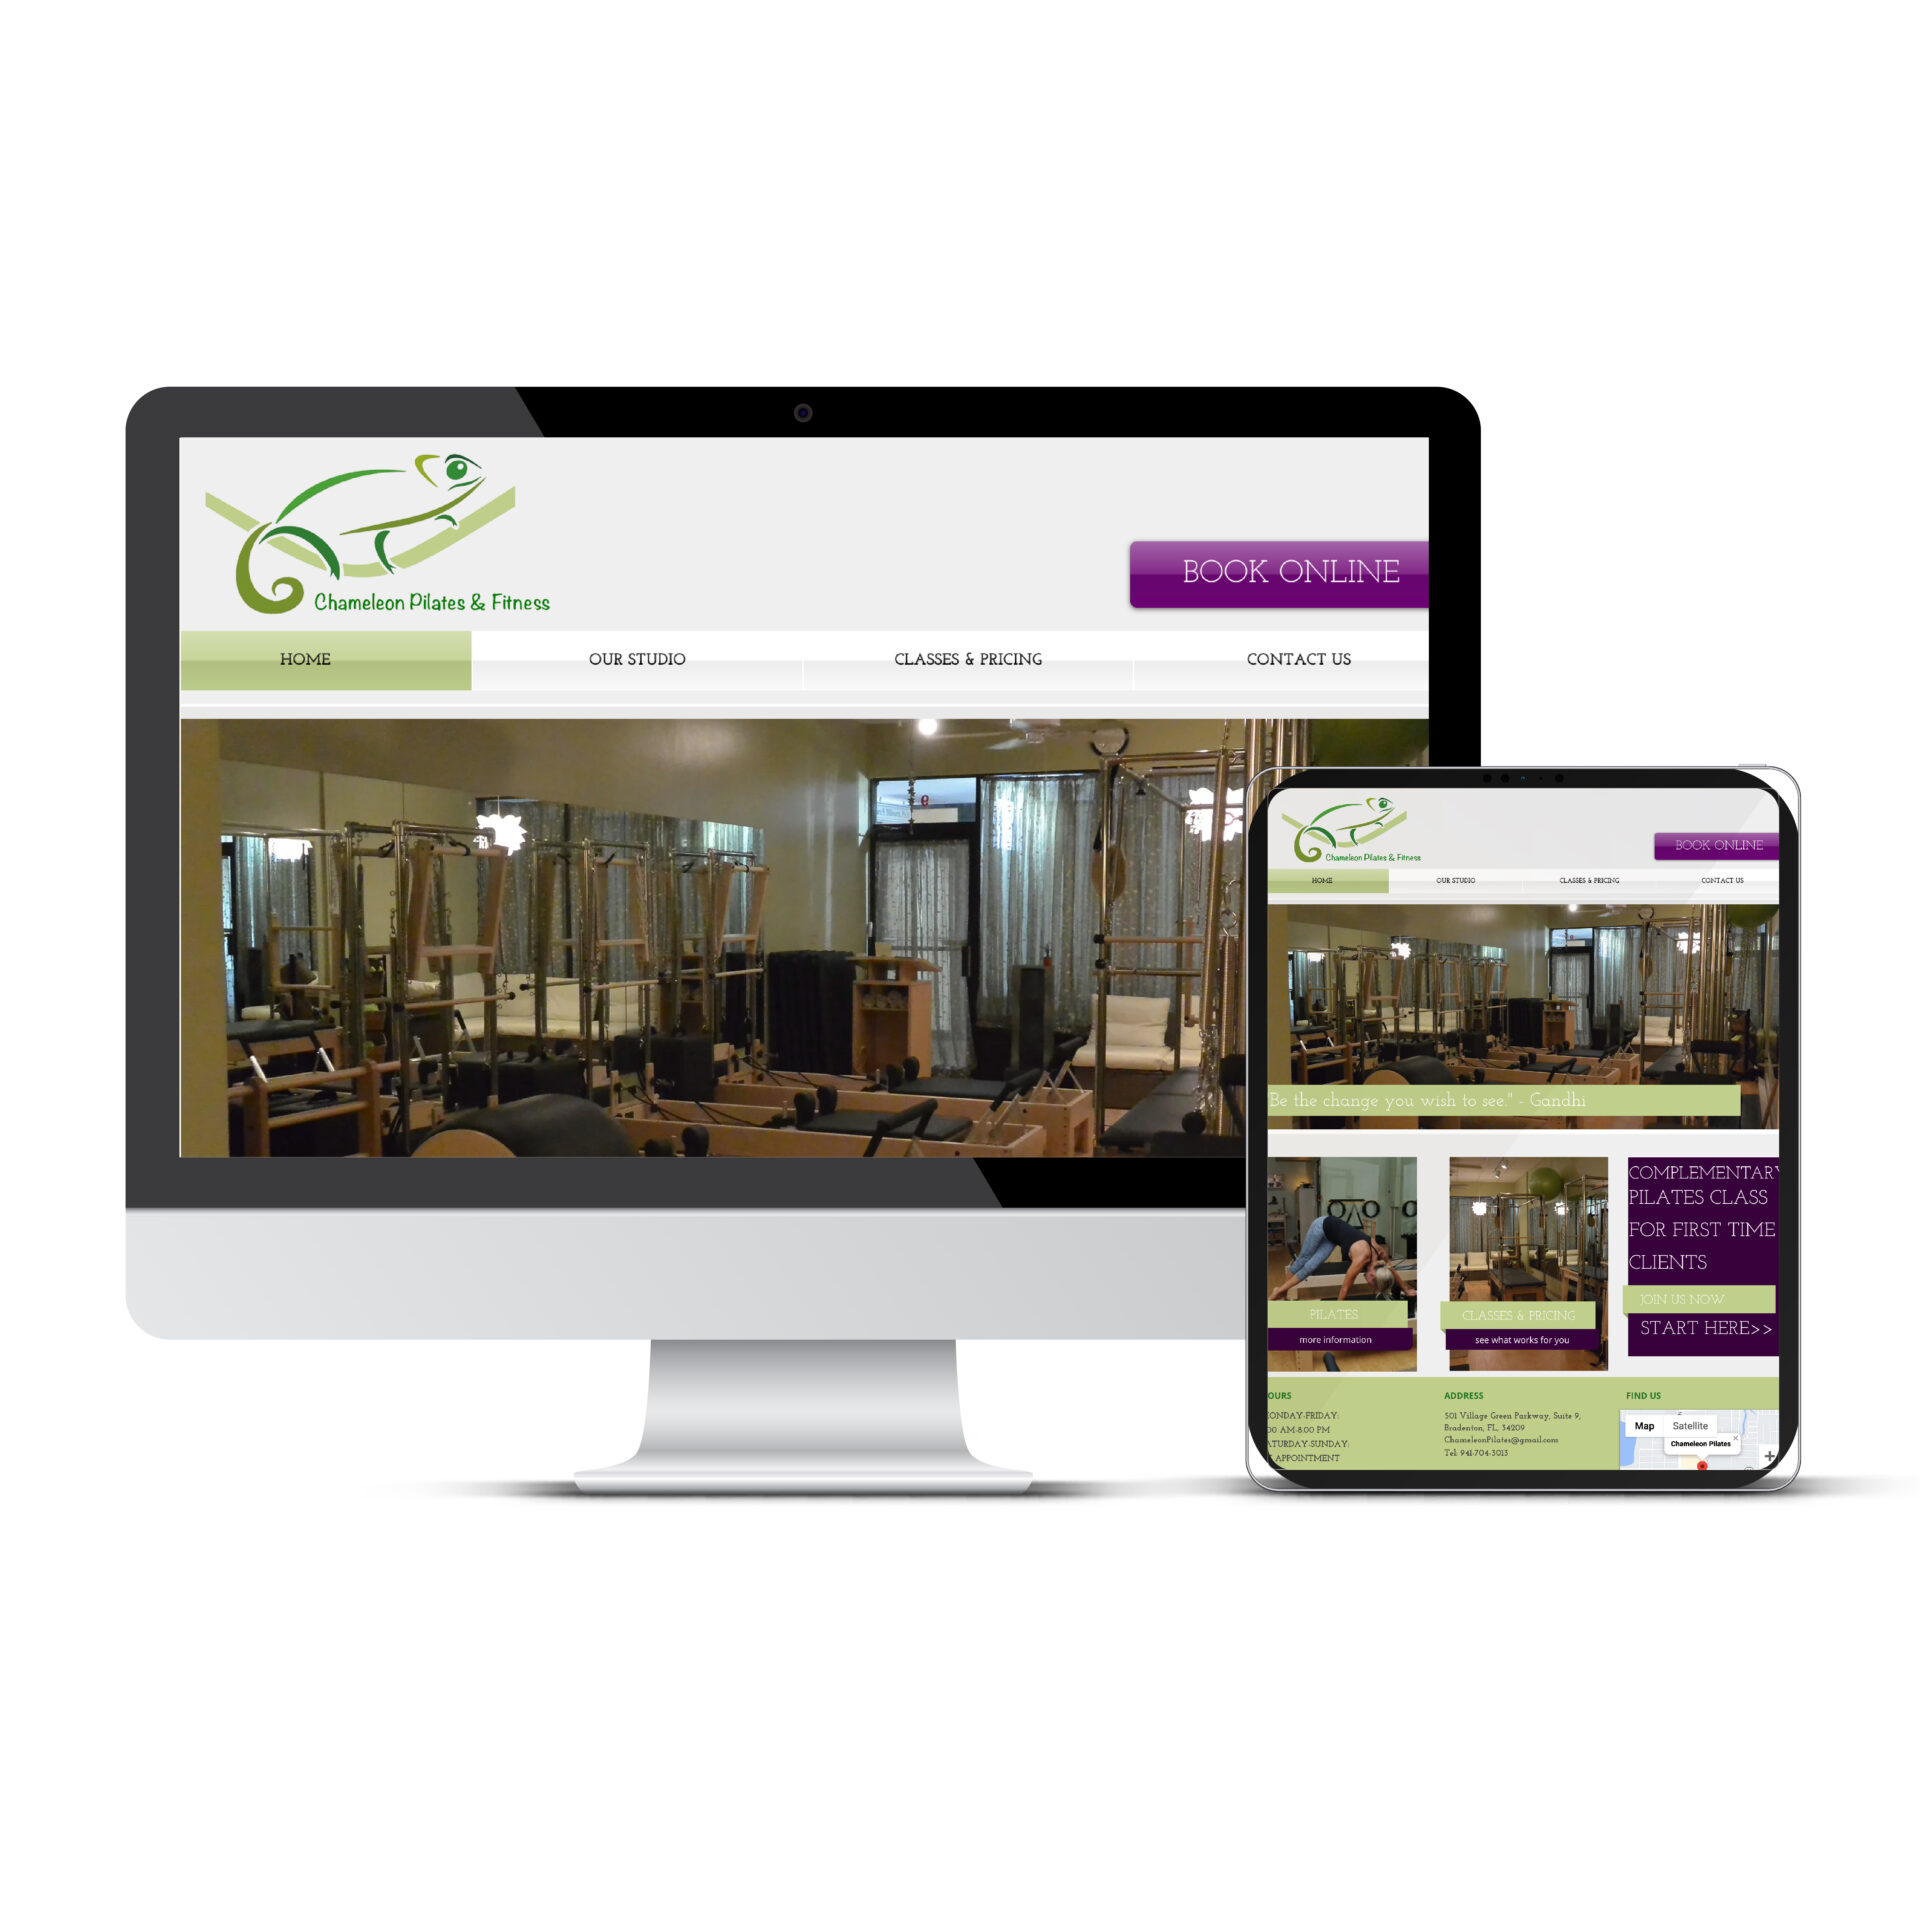
Chameleon Pilates
Website Design Services Portfolio MockUp for Chameleon Pilates
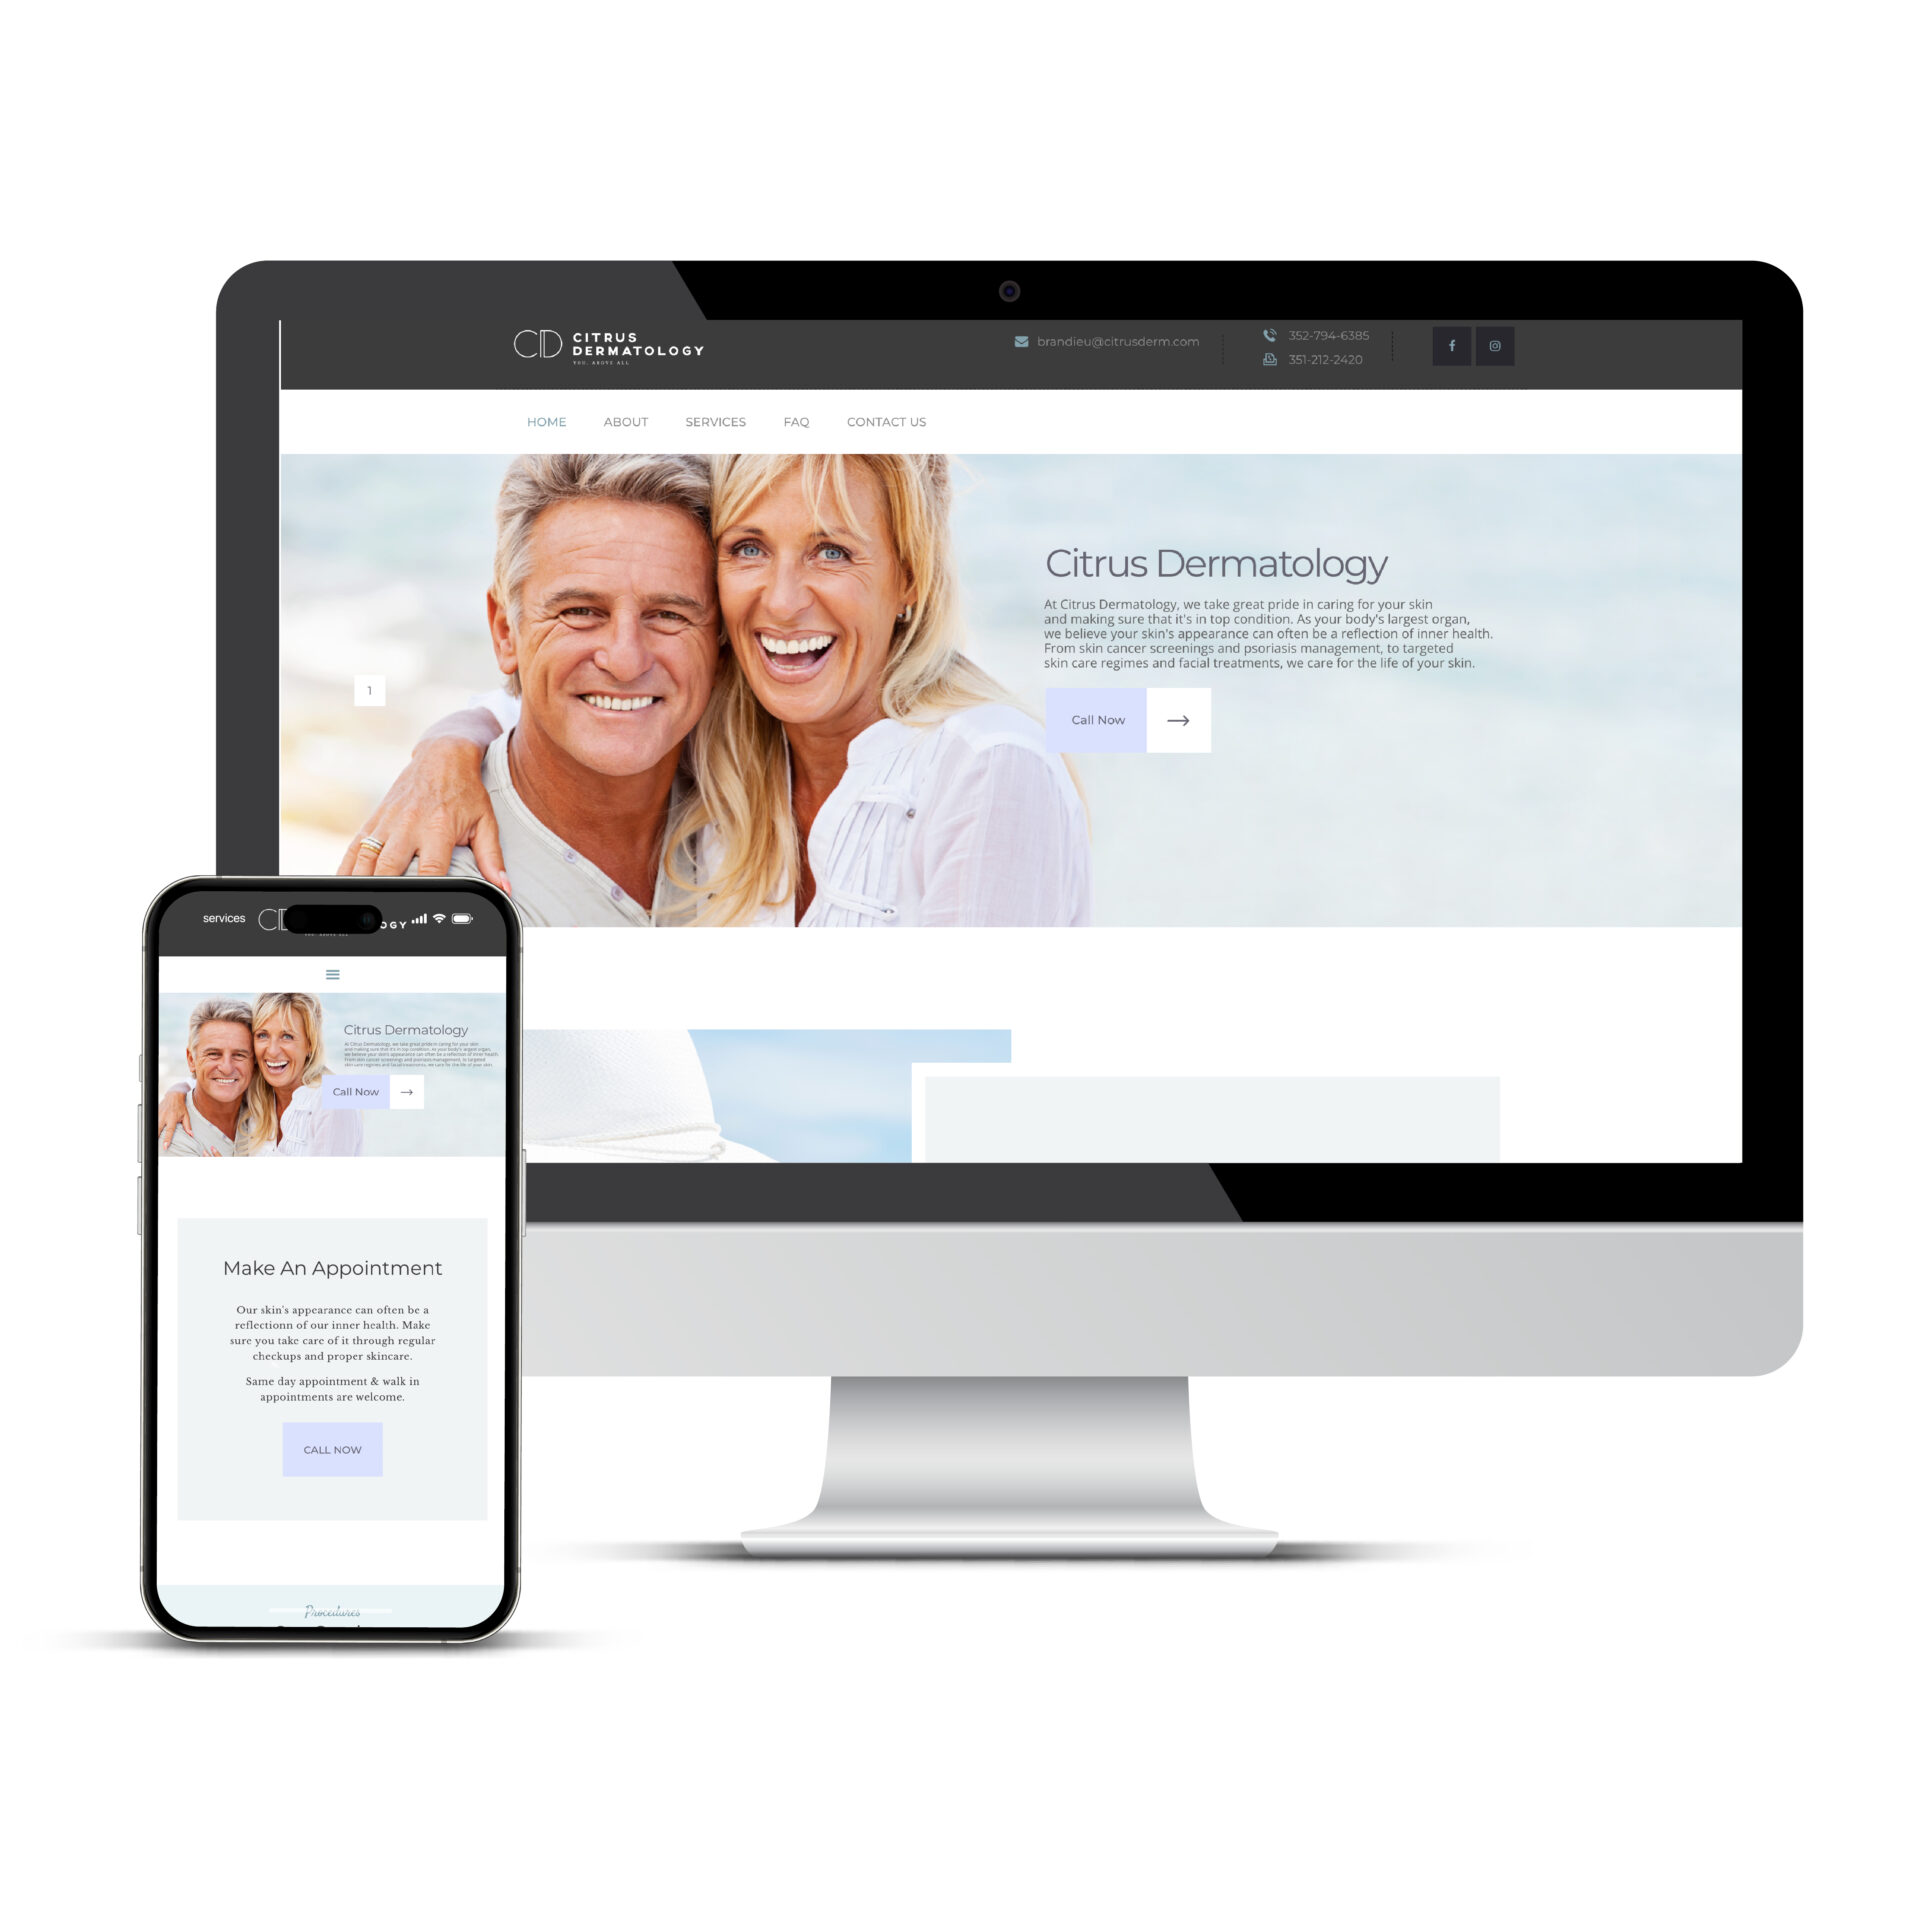
Citrus Dermatology
Website Design Services Portfolio MockUp for Citrus Dermatology
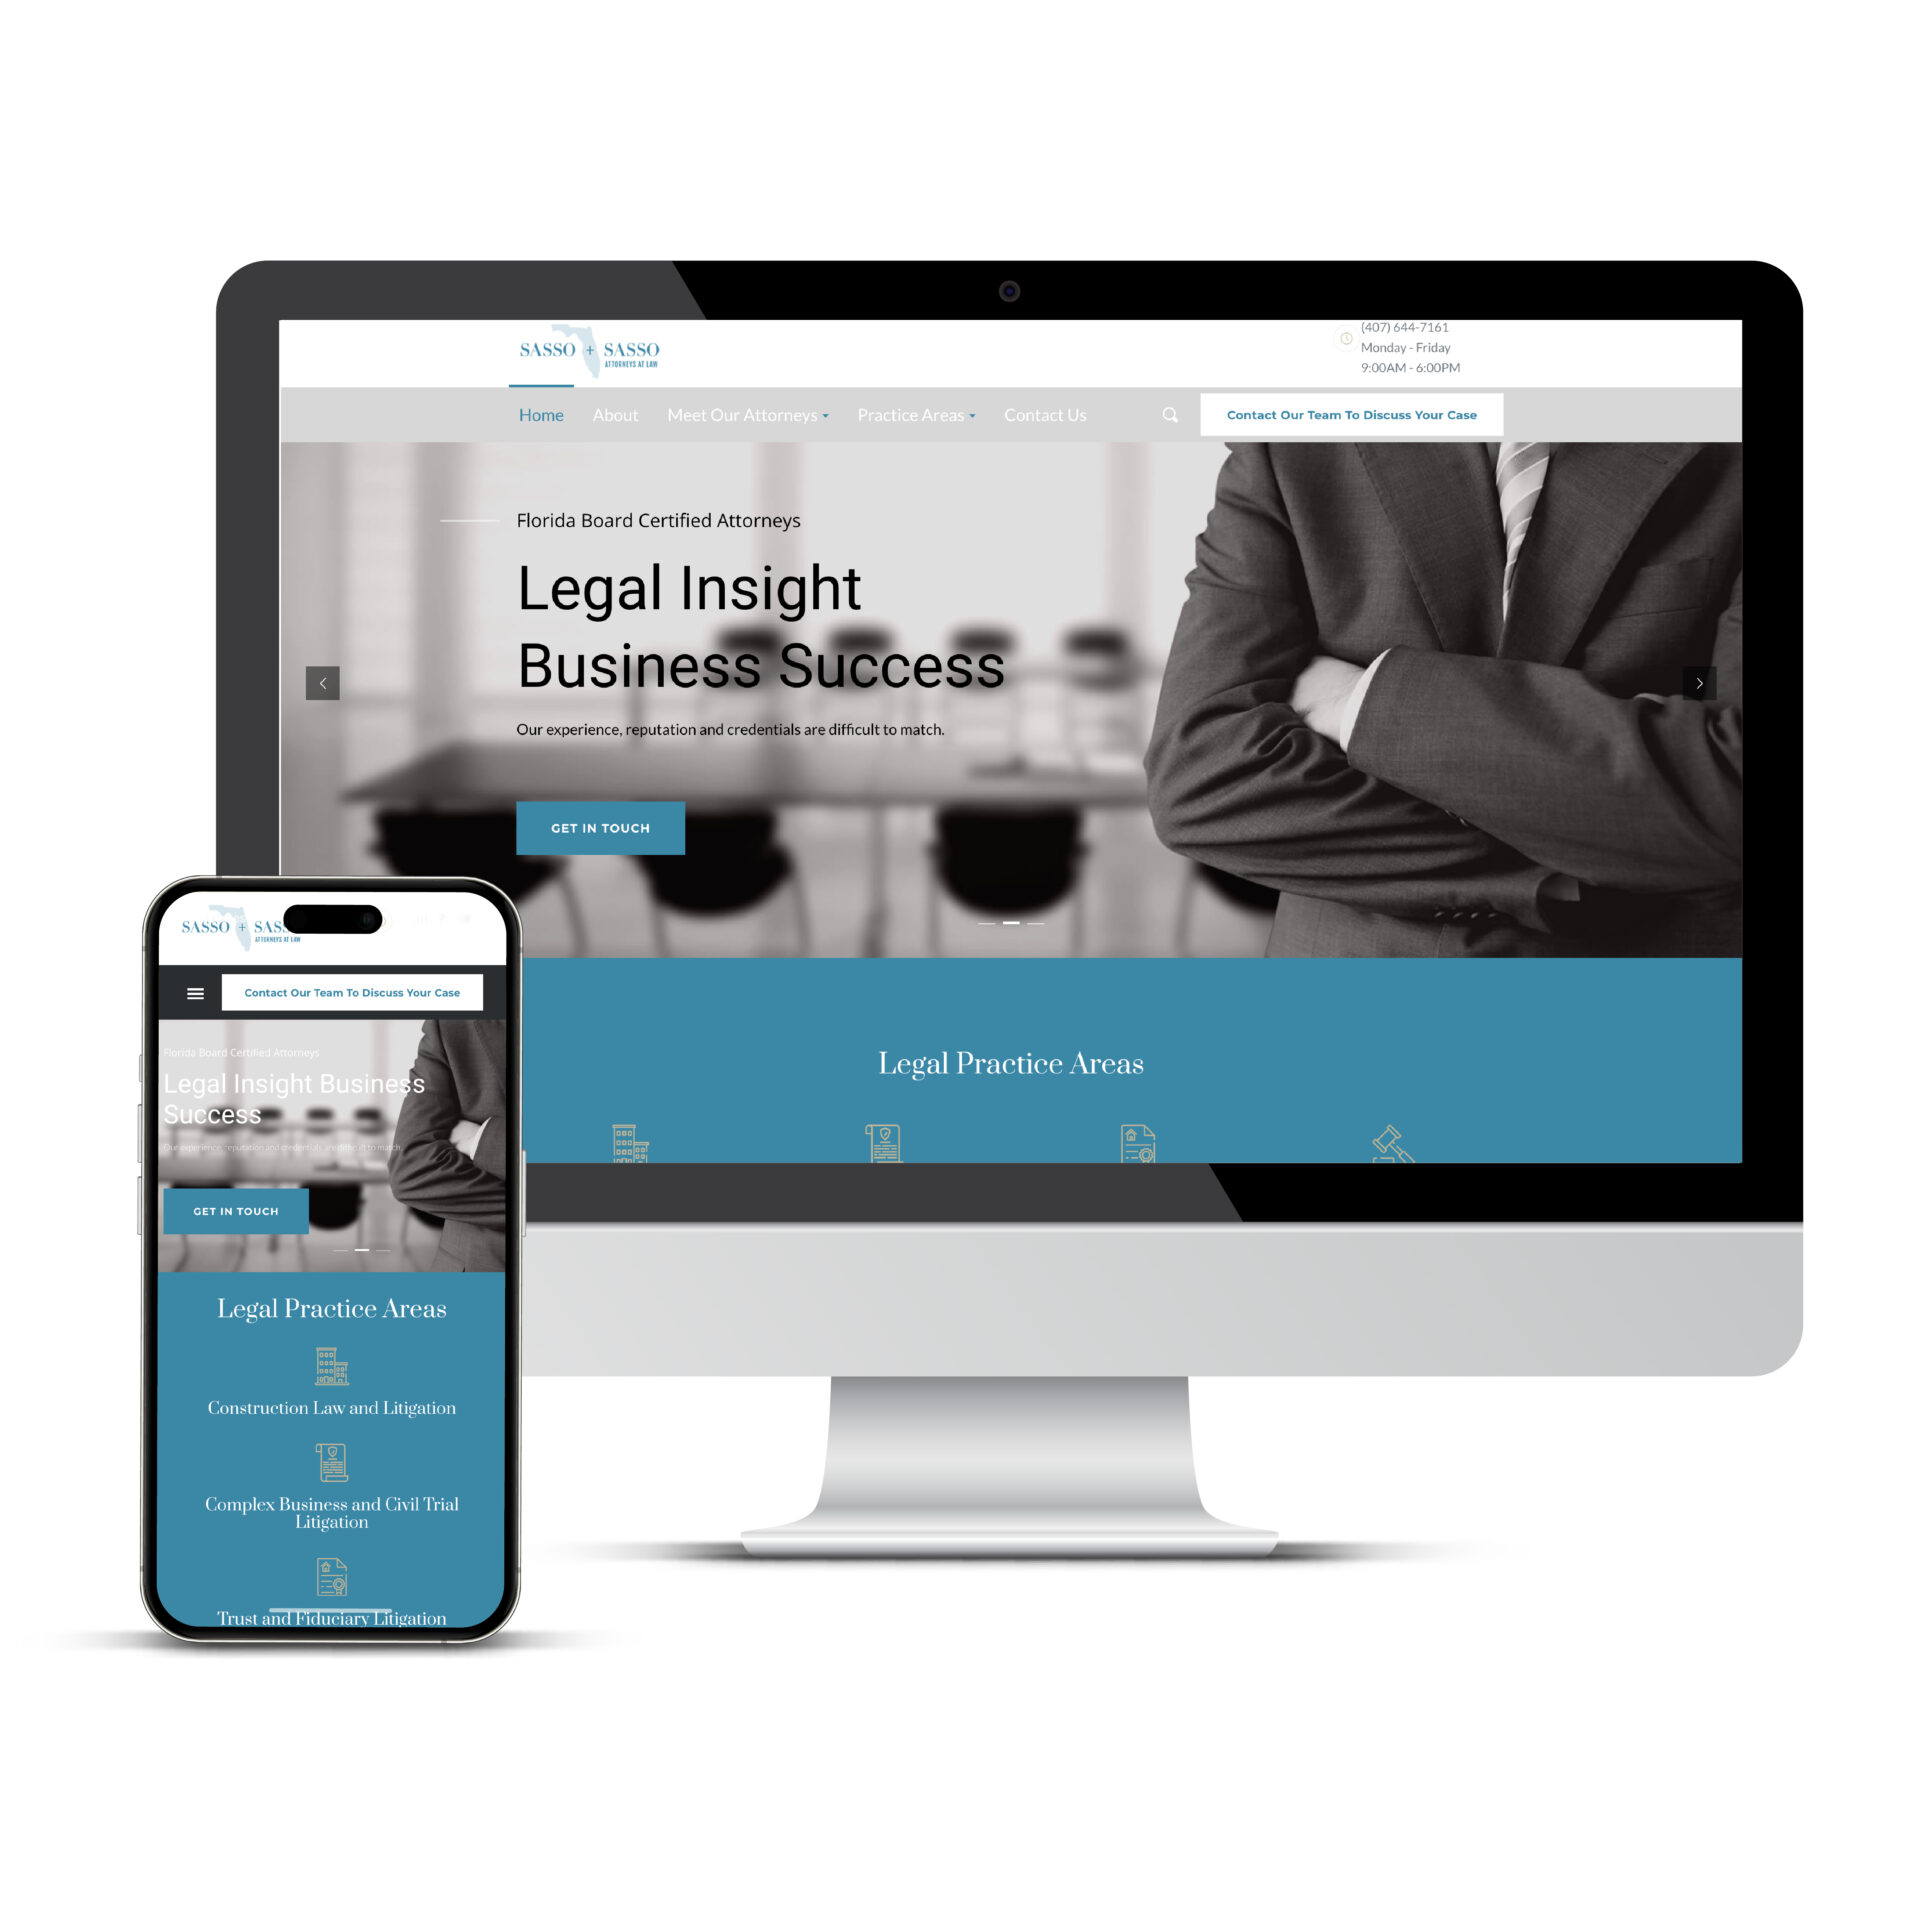
Sasso Law
Website Design Services Portfolio MockUp for Sasso Law
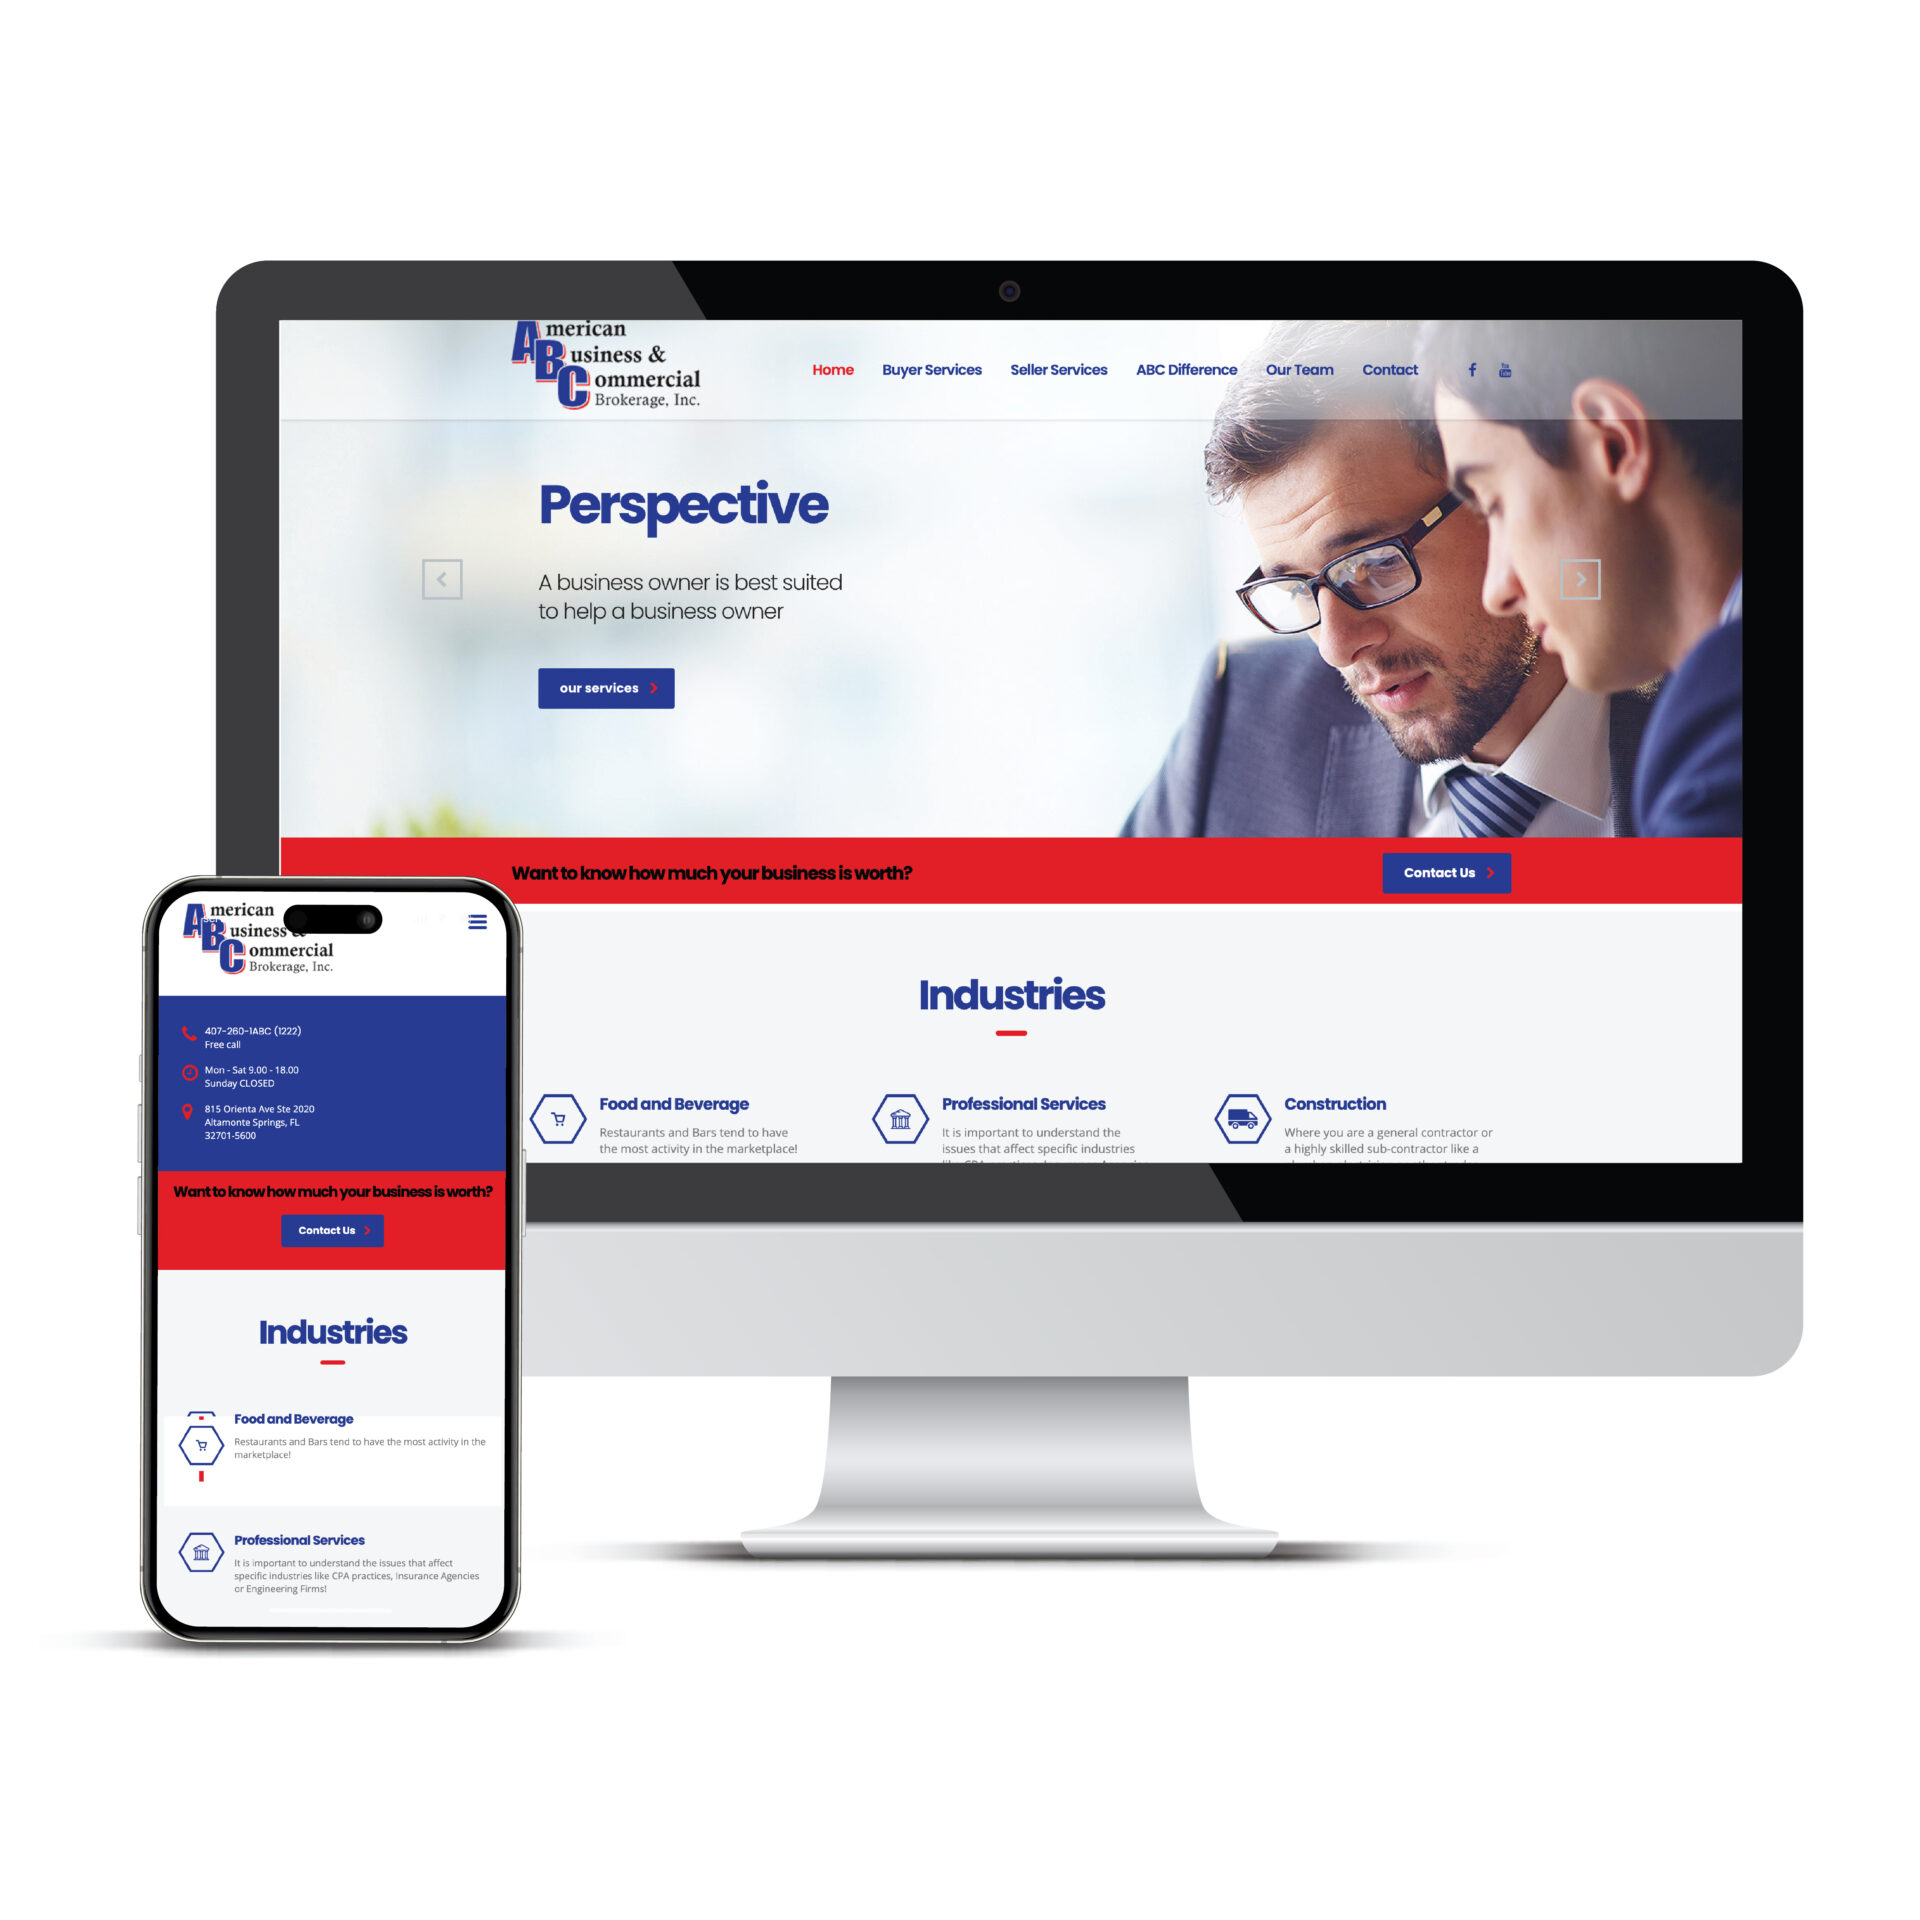
ABC Brokerage
Website Design Services Portfolio MockUp for ABC Brokerage
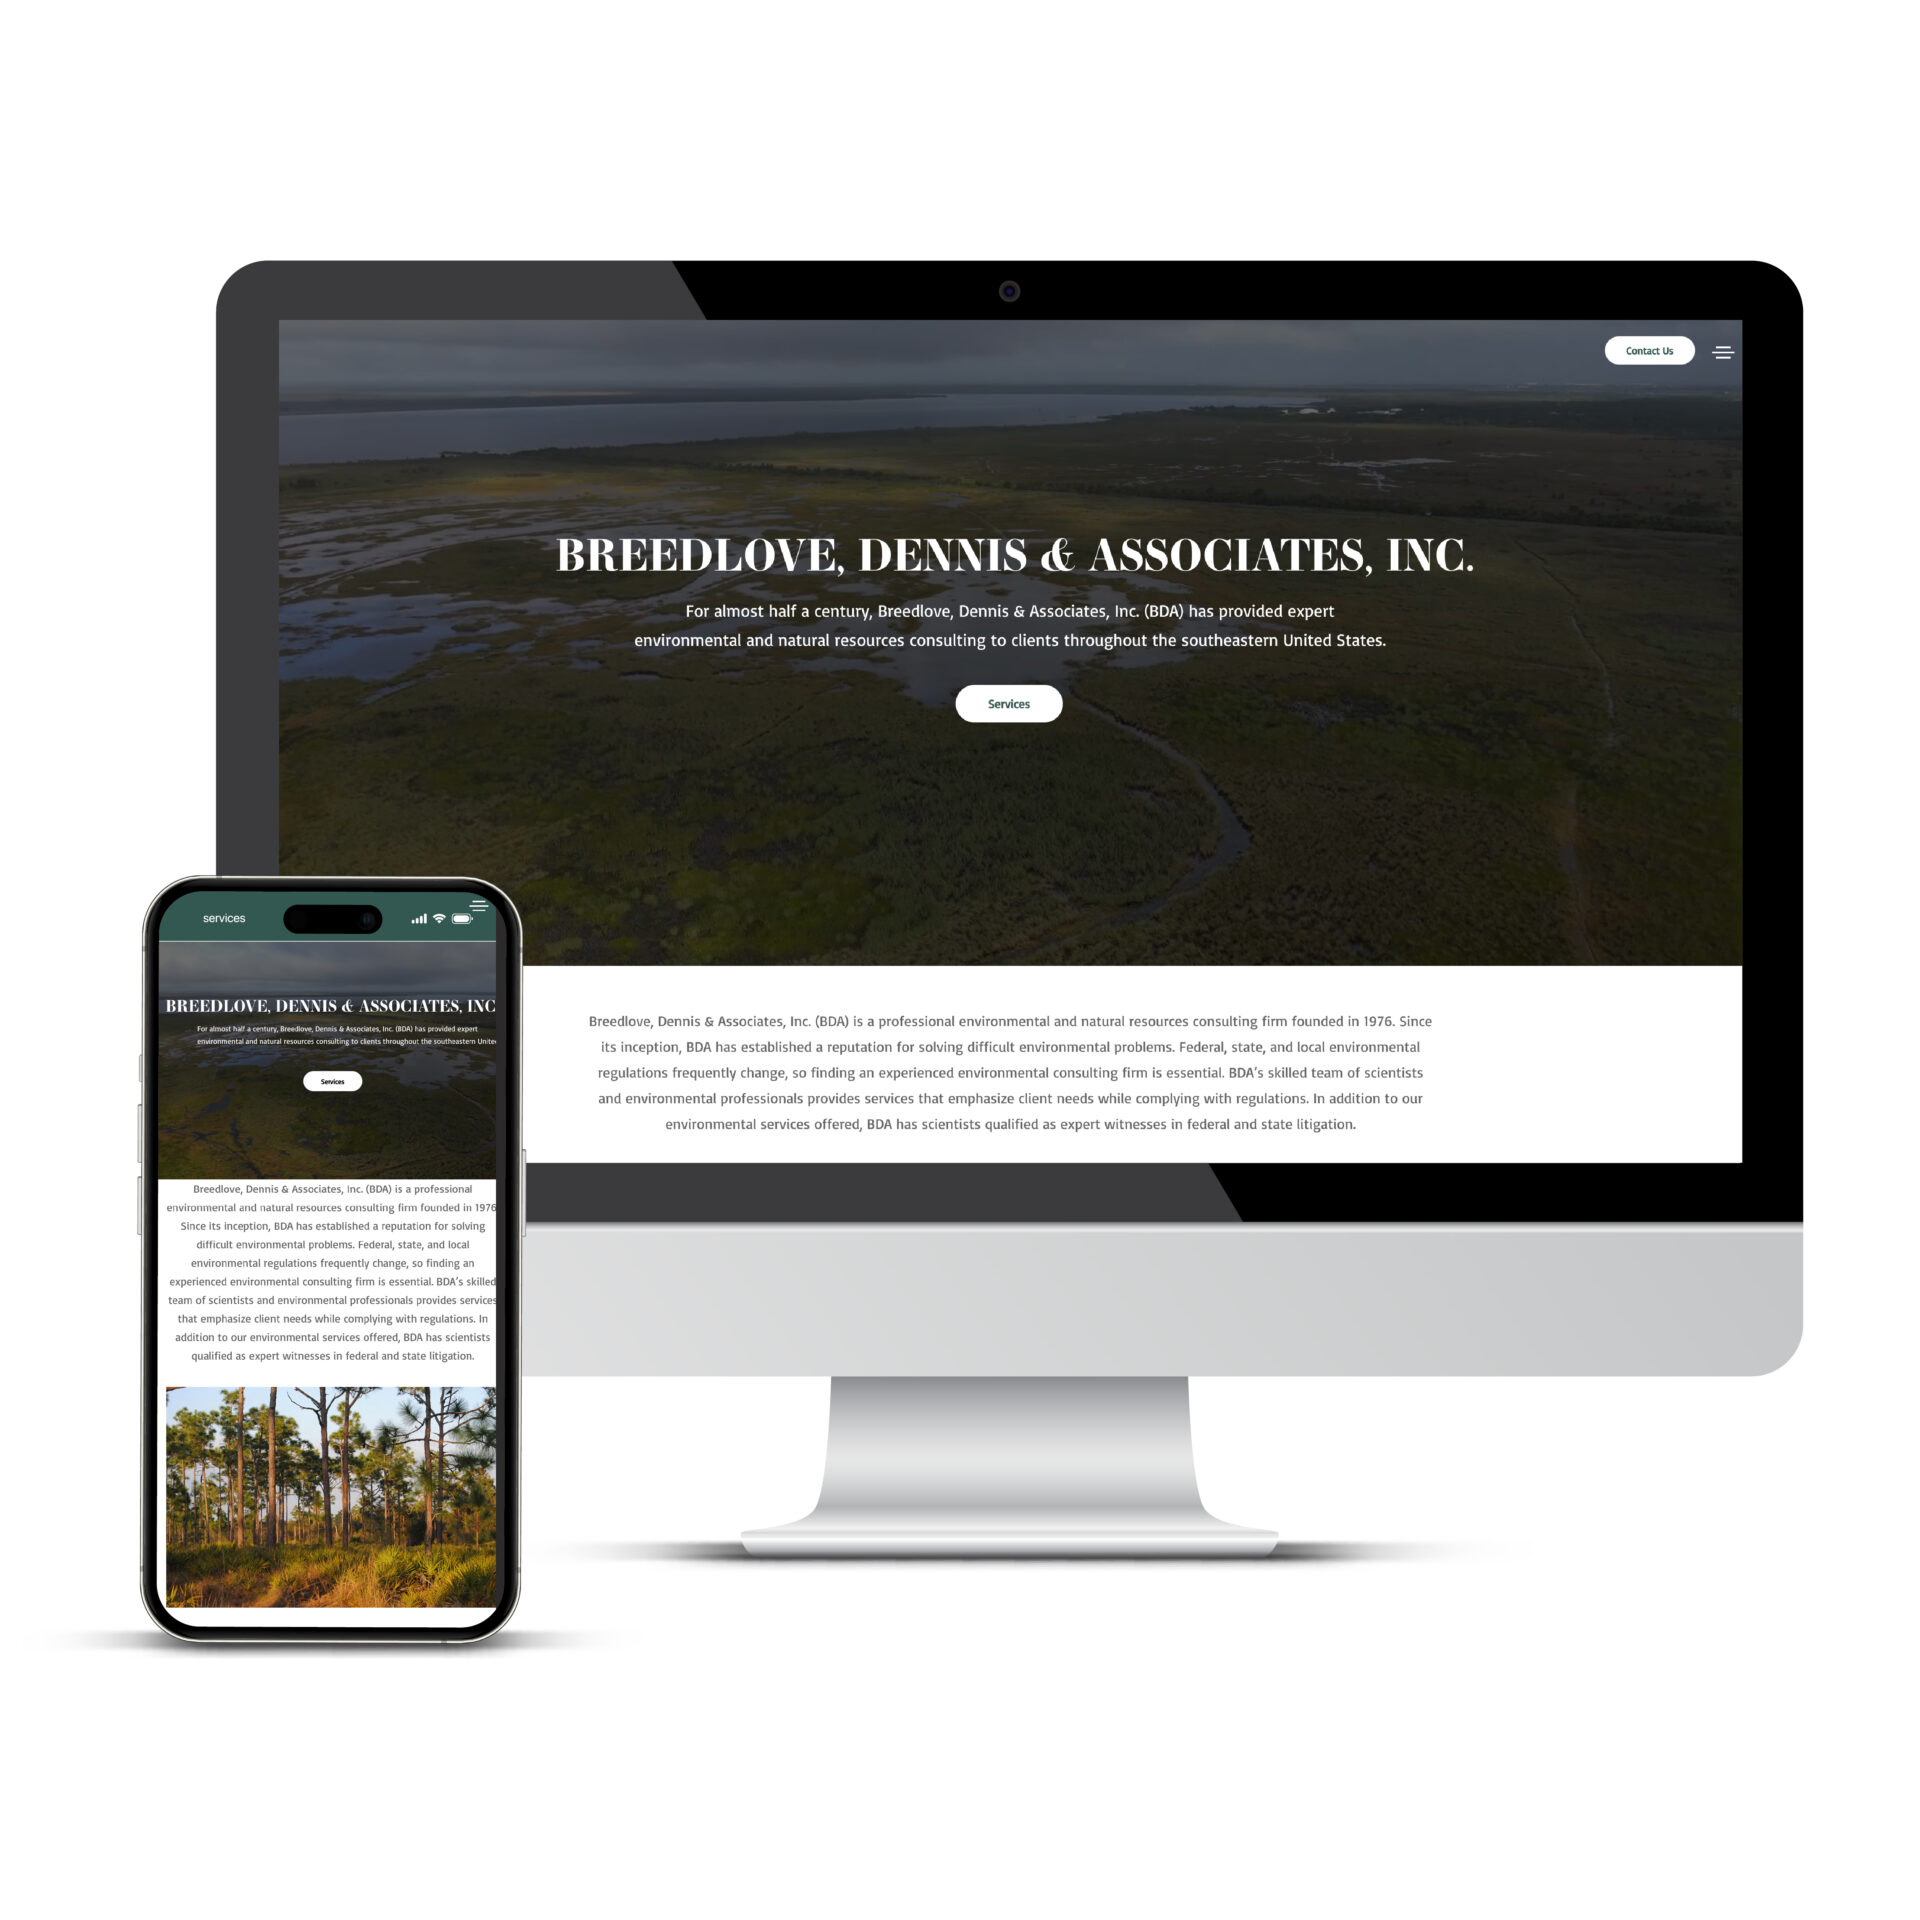
Breedlove, Dennis & Associates, Inc.
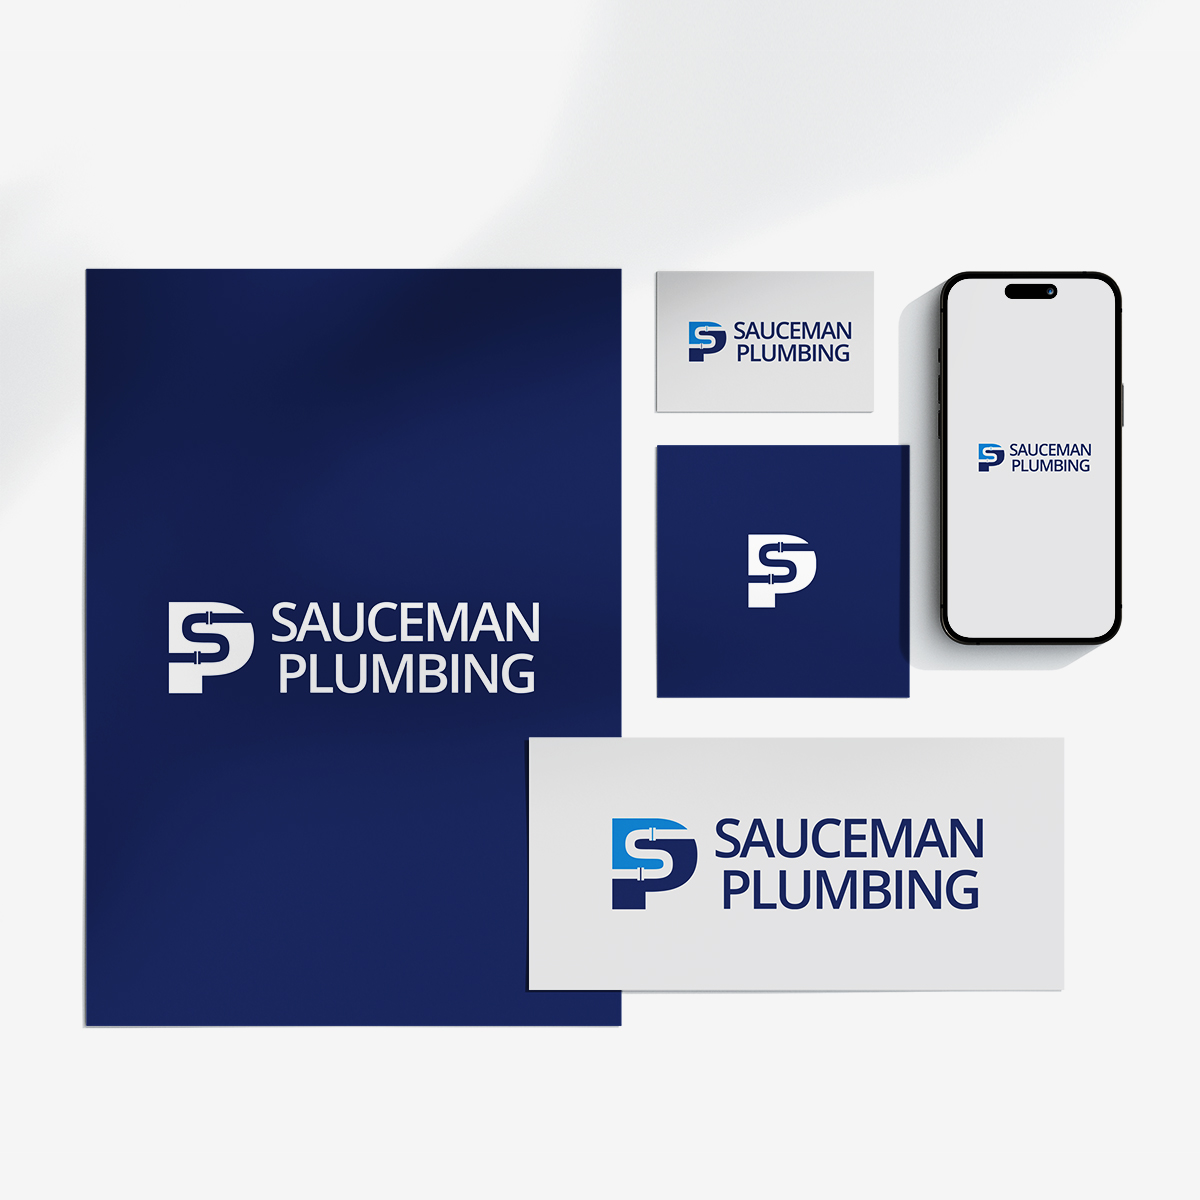
Sauceman Plumbing
Next Level Roofers
Elizabeth Morse Genius Foundation
AGI Construction Services Inc.
CJL Disability

Avennture
CareSeek
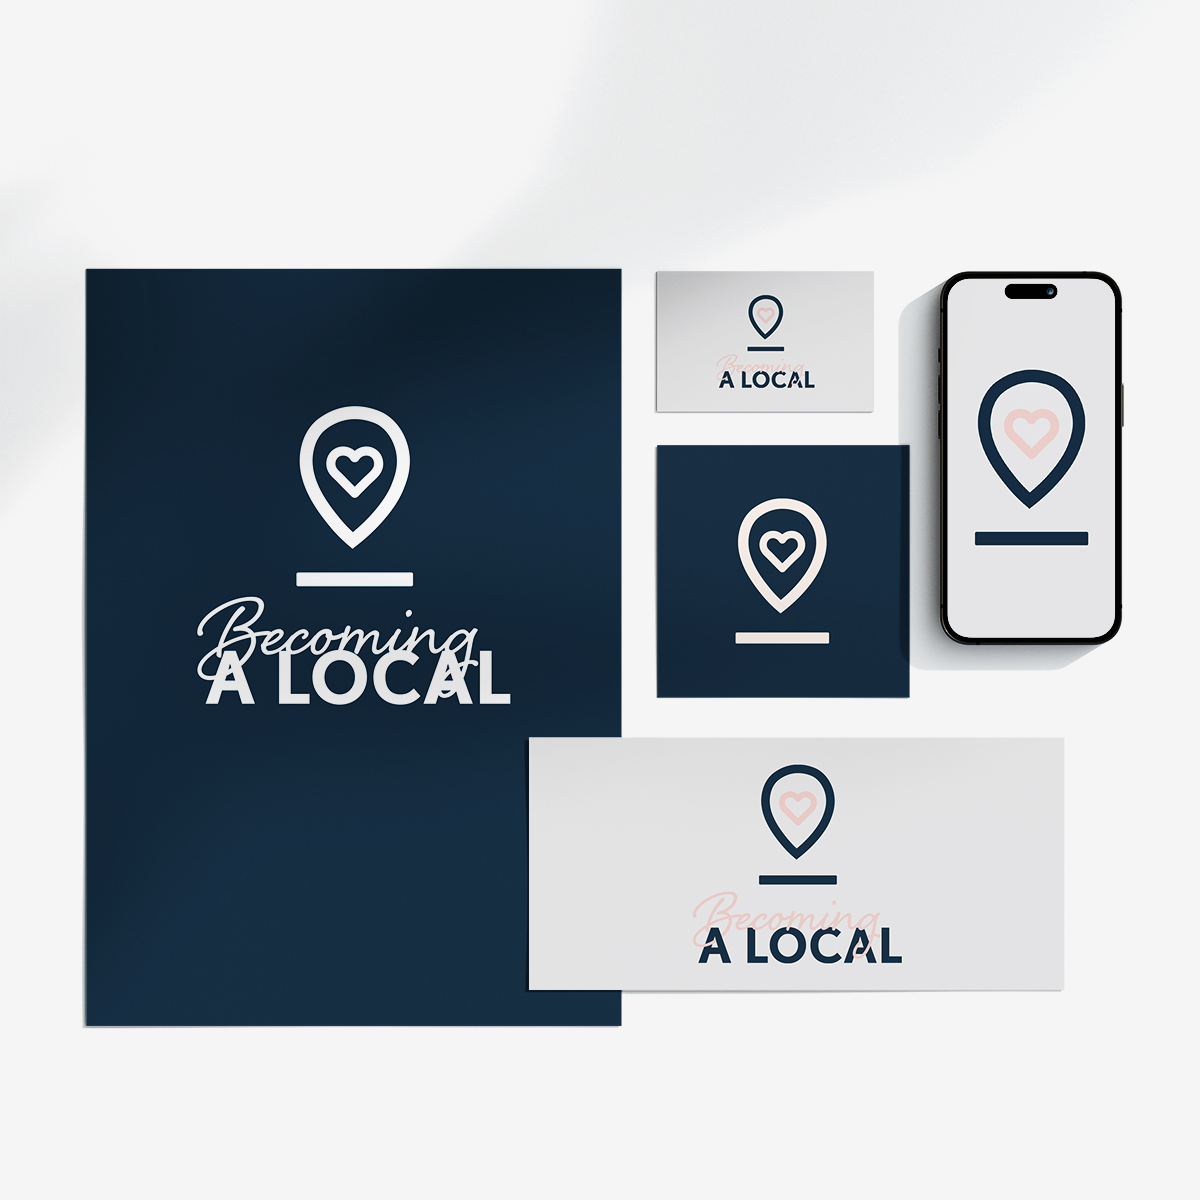
Becoming A Local
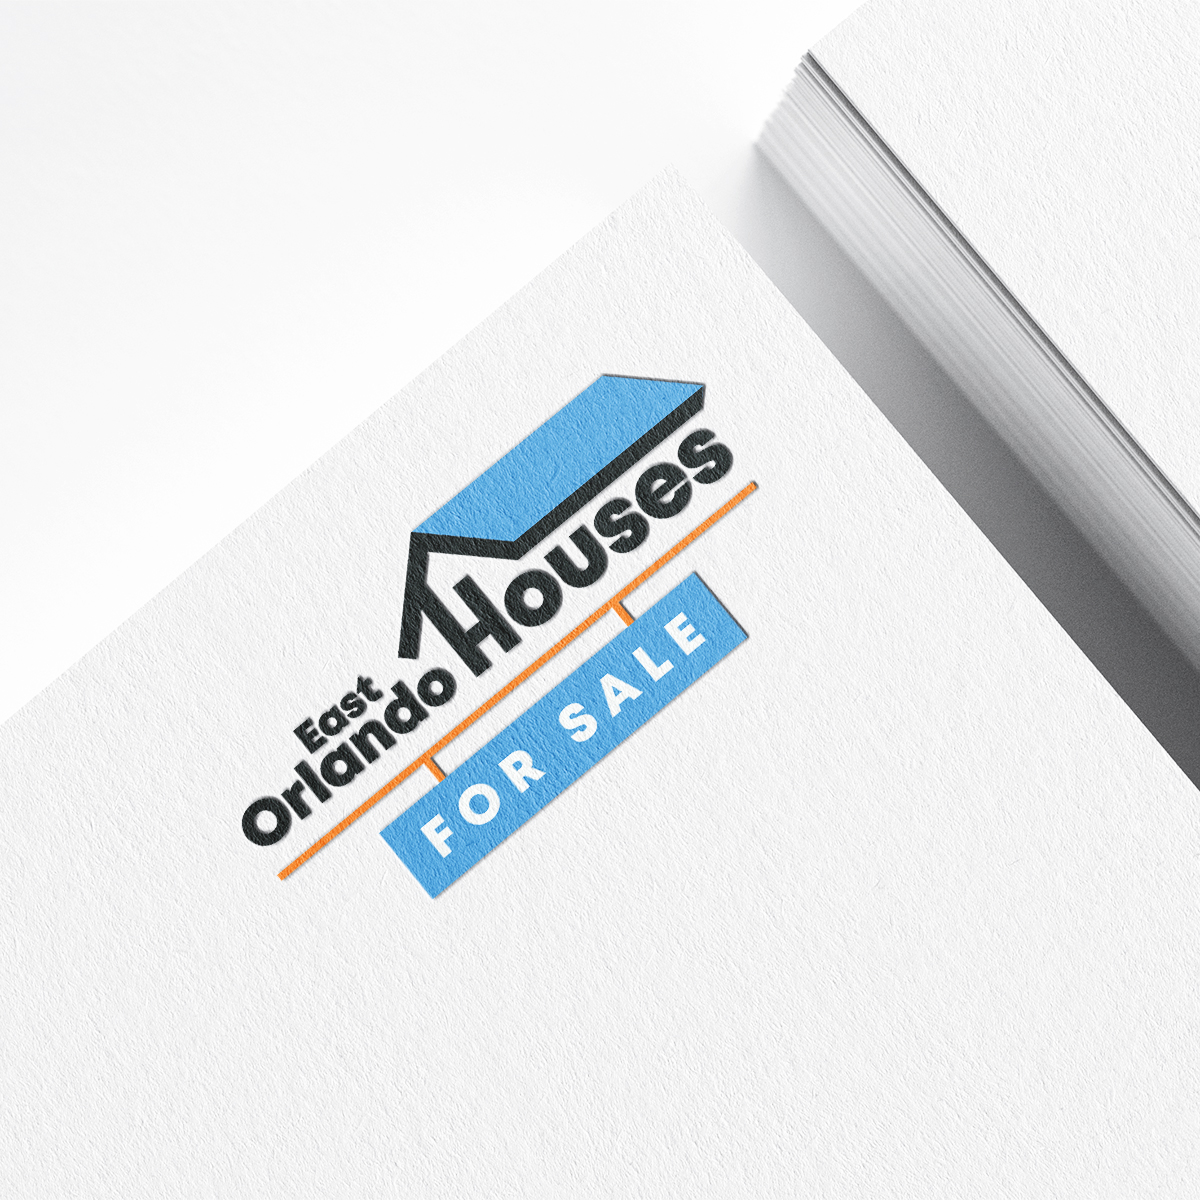
East Orlando Houses For Sale
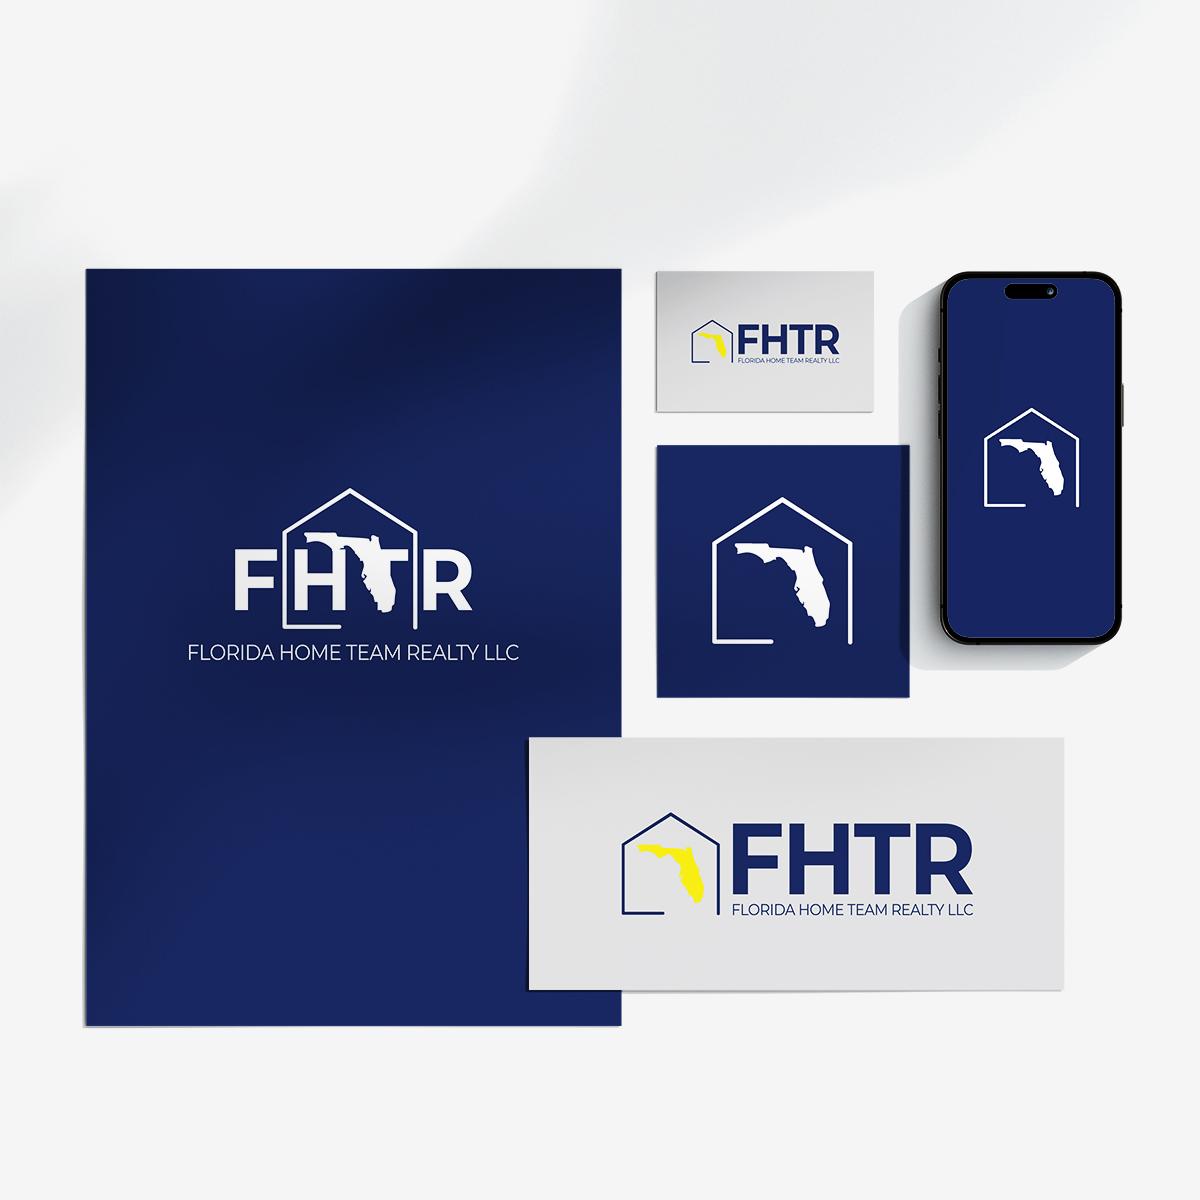
Florida Home Team Realty
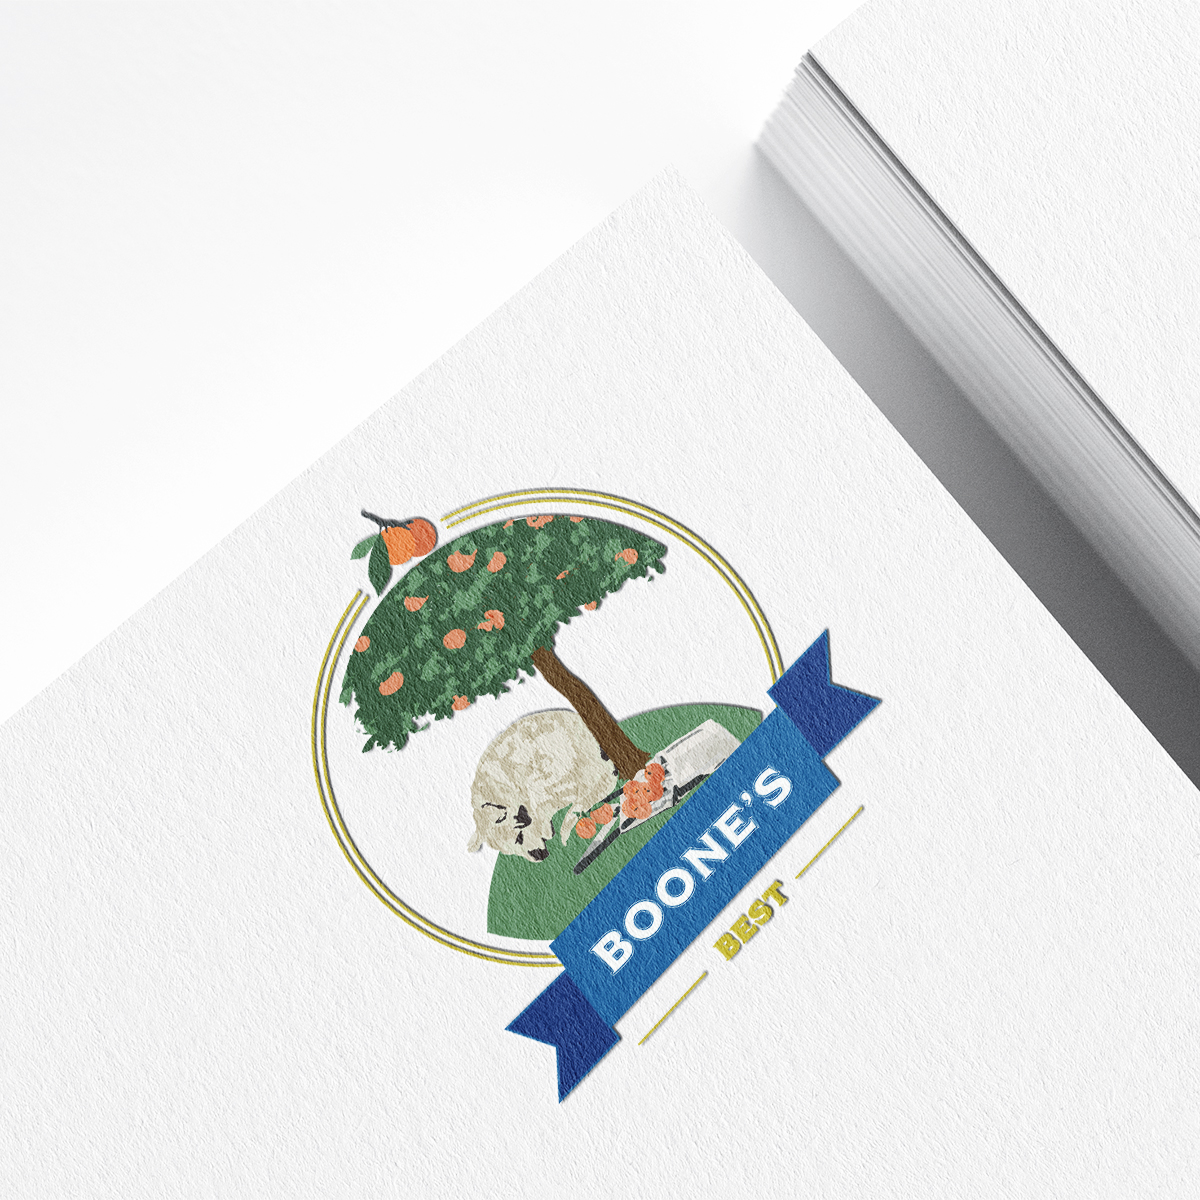
Boone’s Best
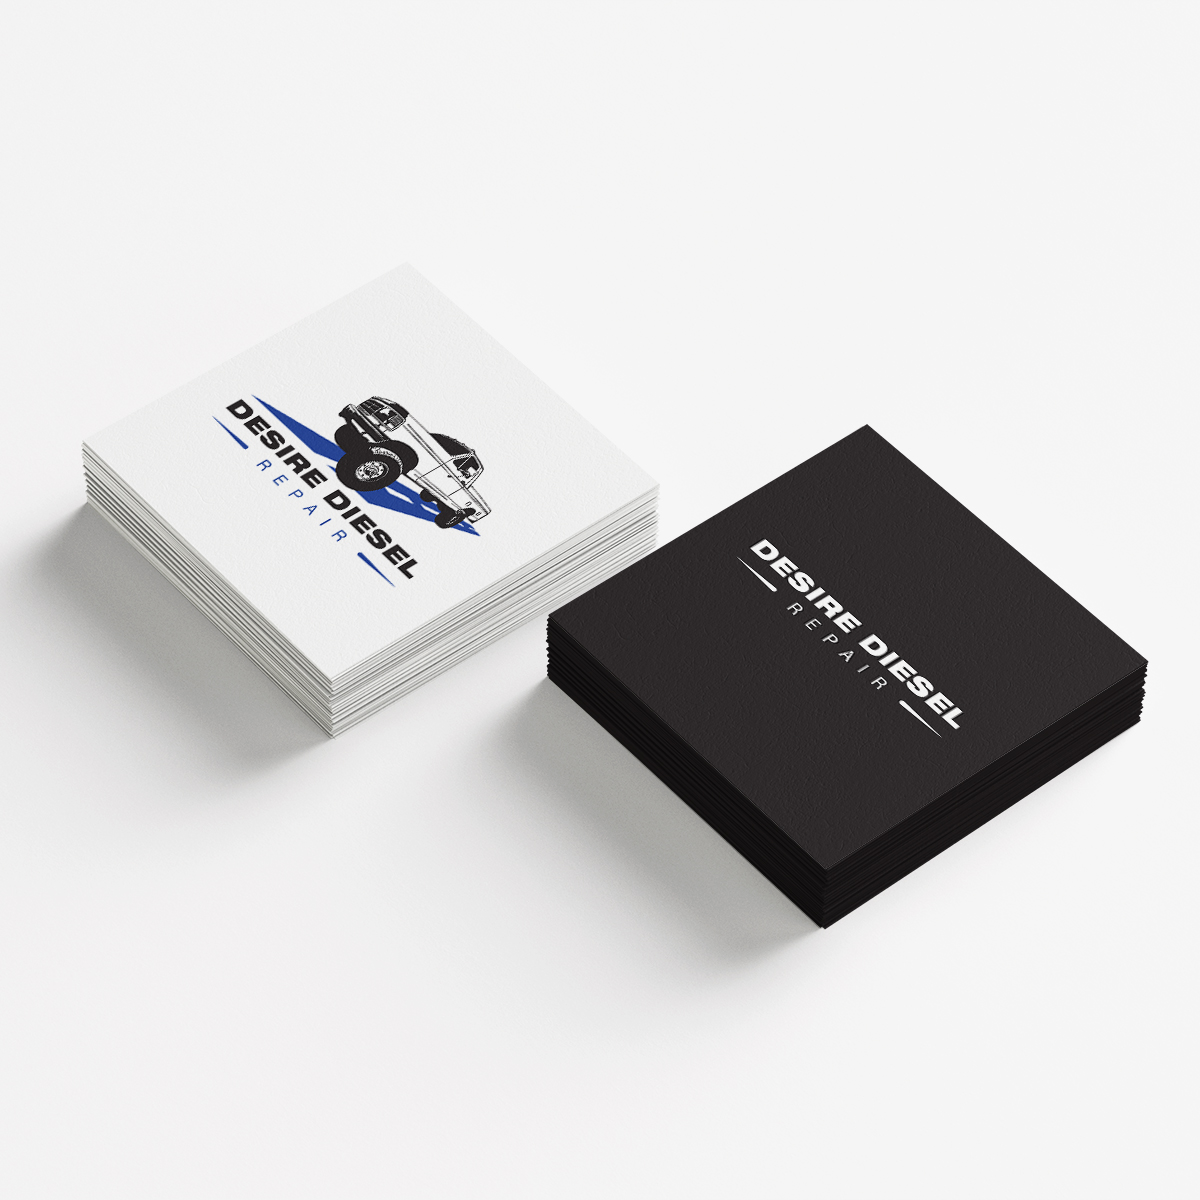
Desire Diesel Repair
Florida Eye Surgeons And Associates
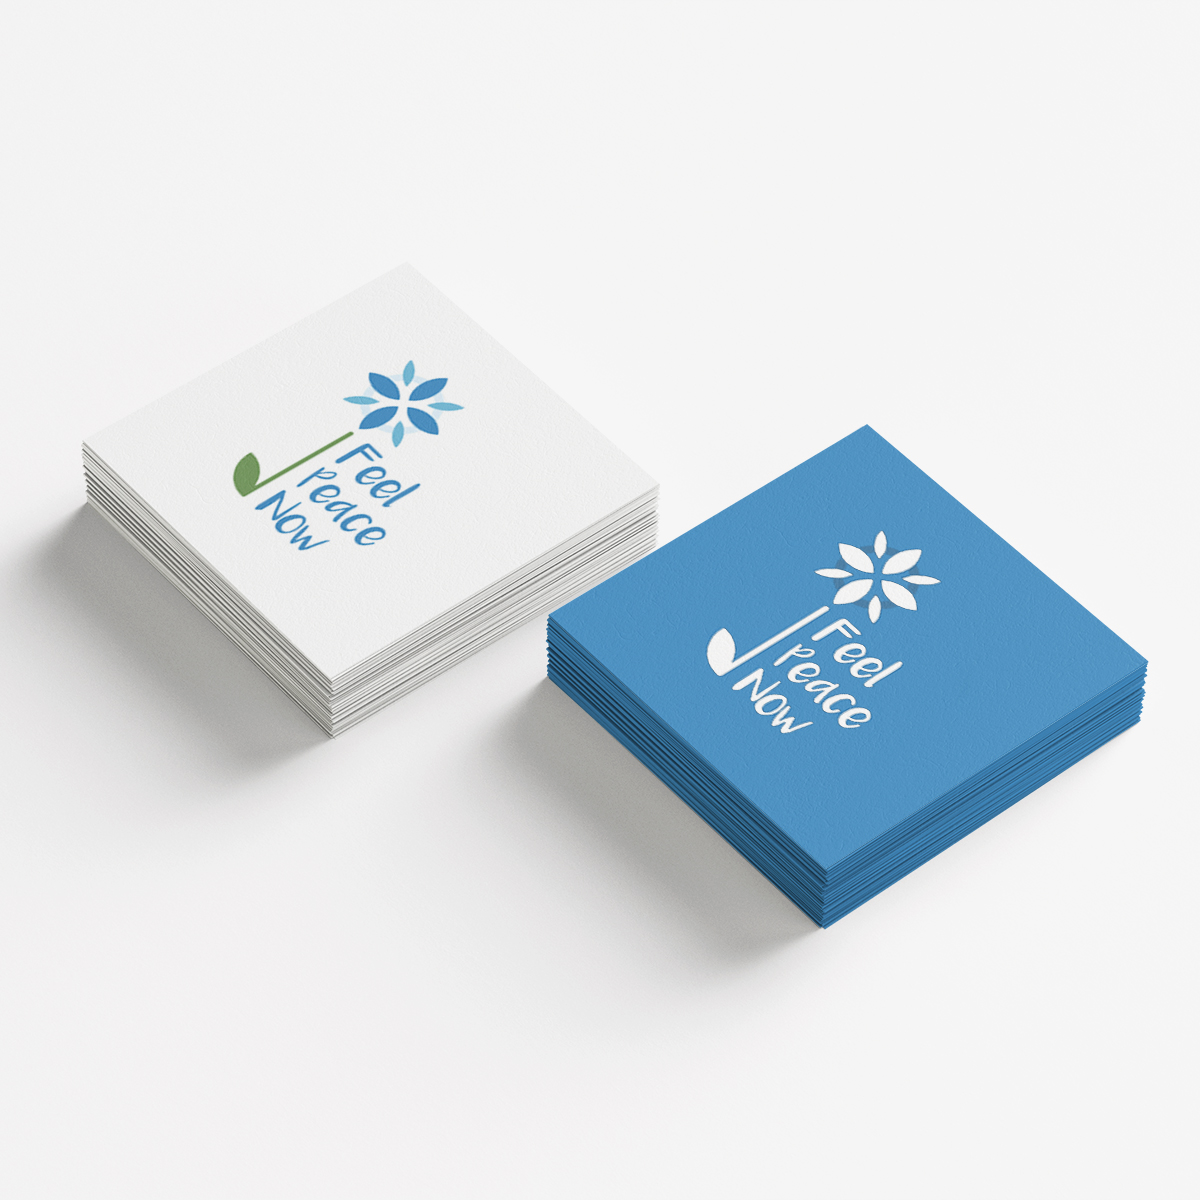
Feel Peace Now
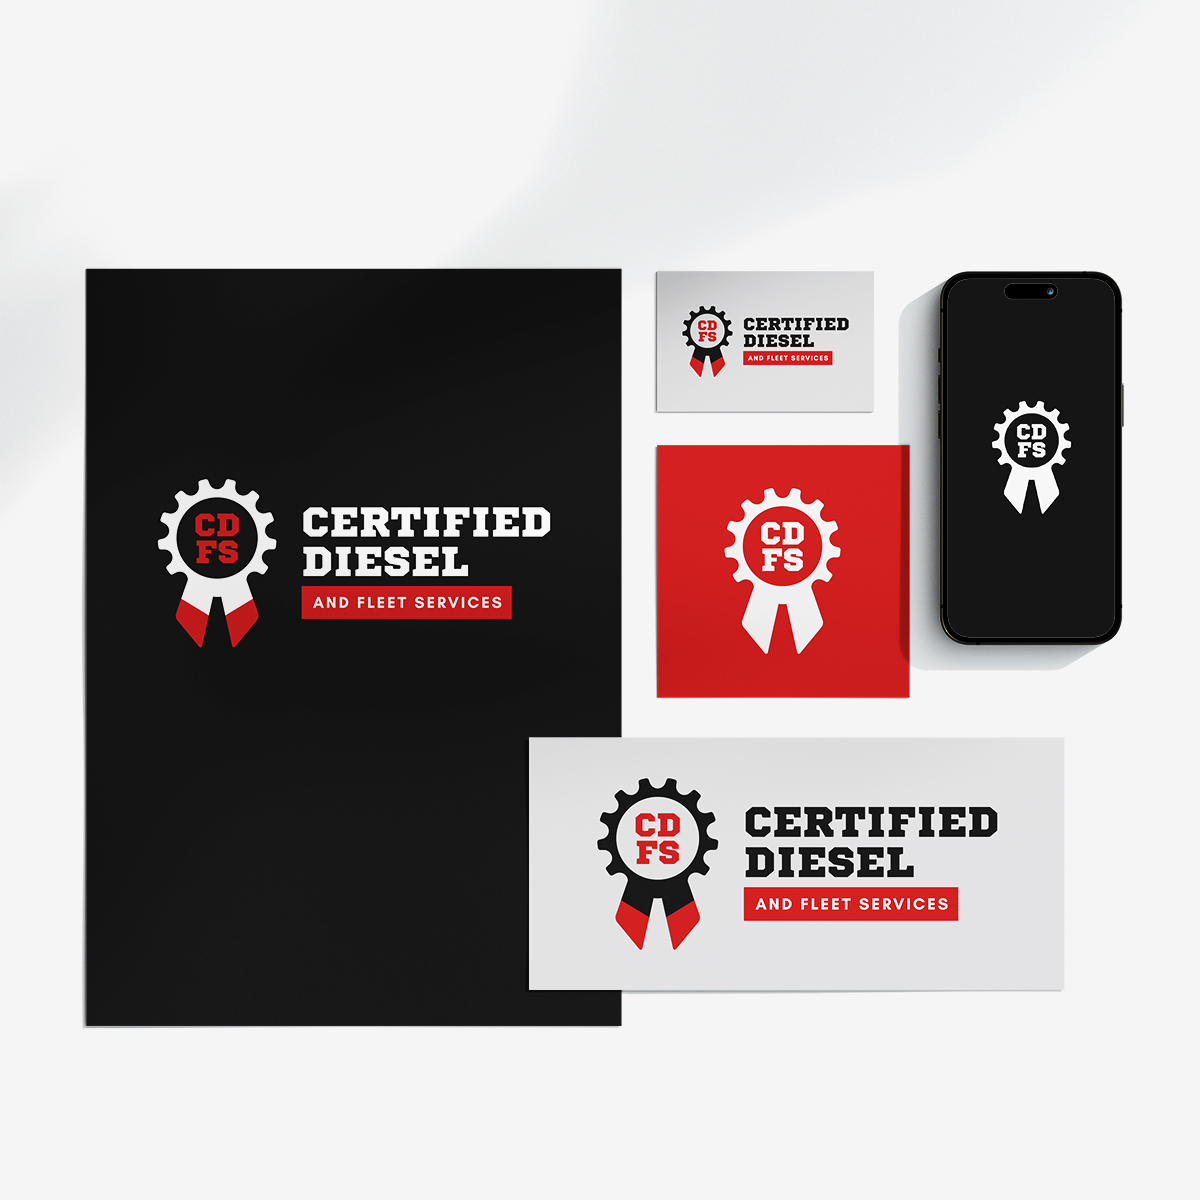
Certified Diesel
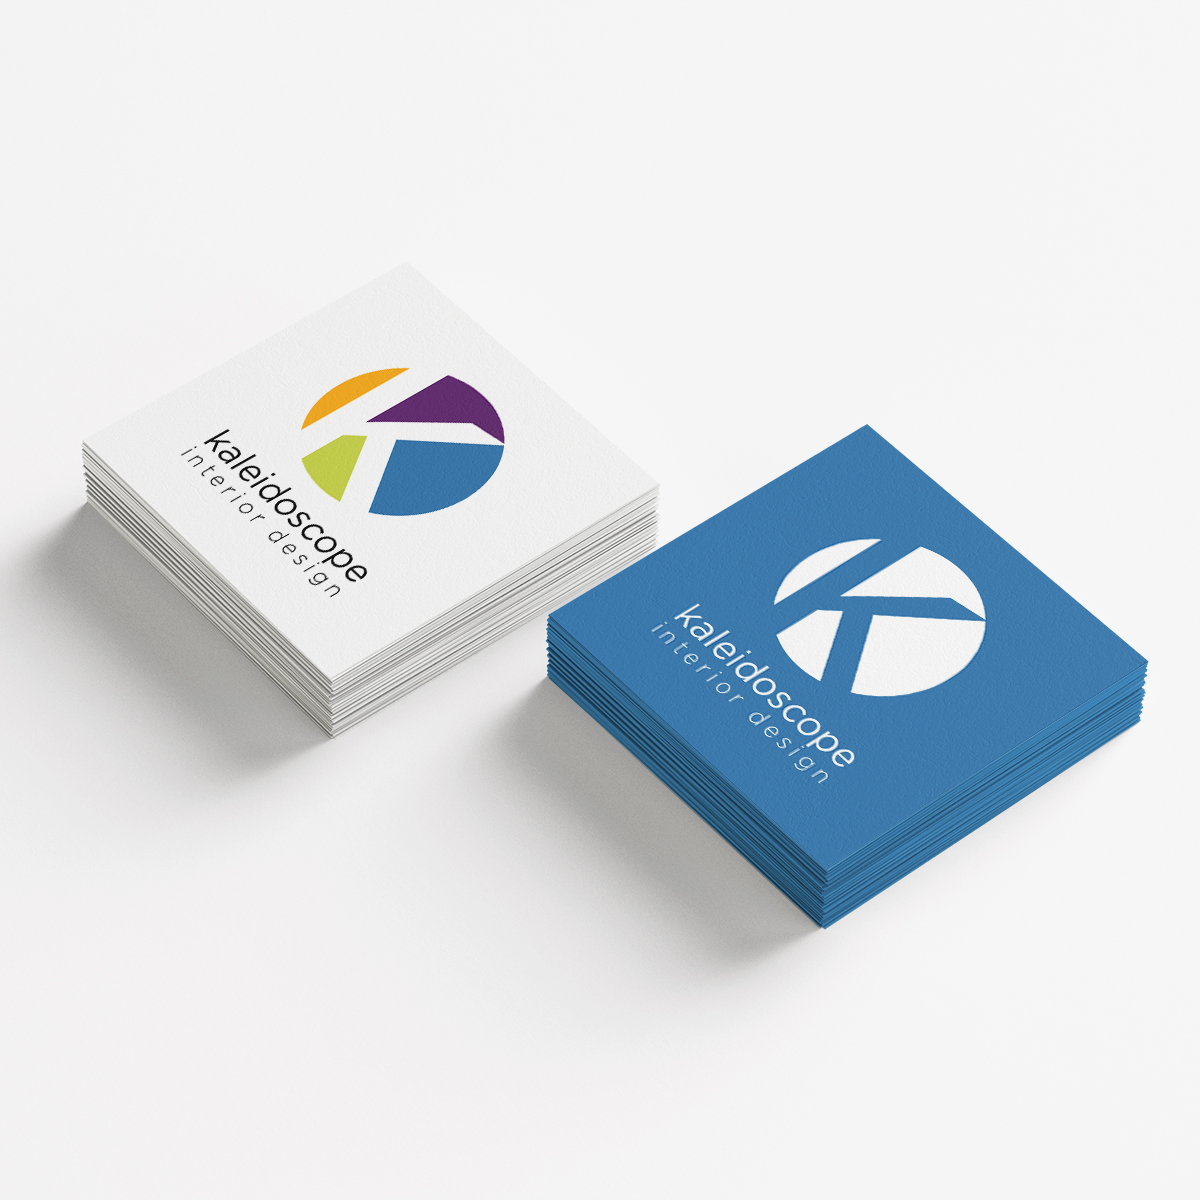
Kaleidoscope Interior
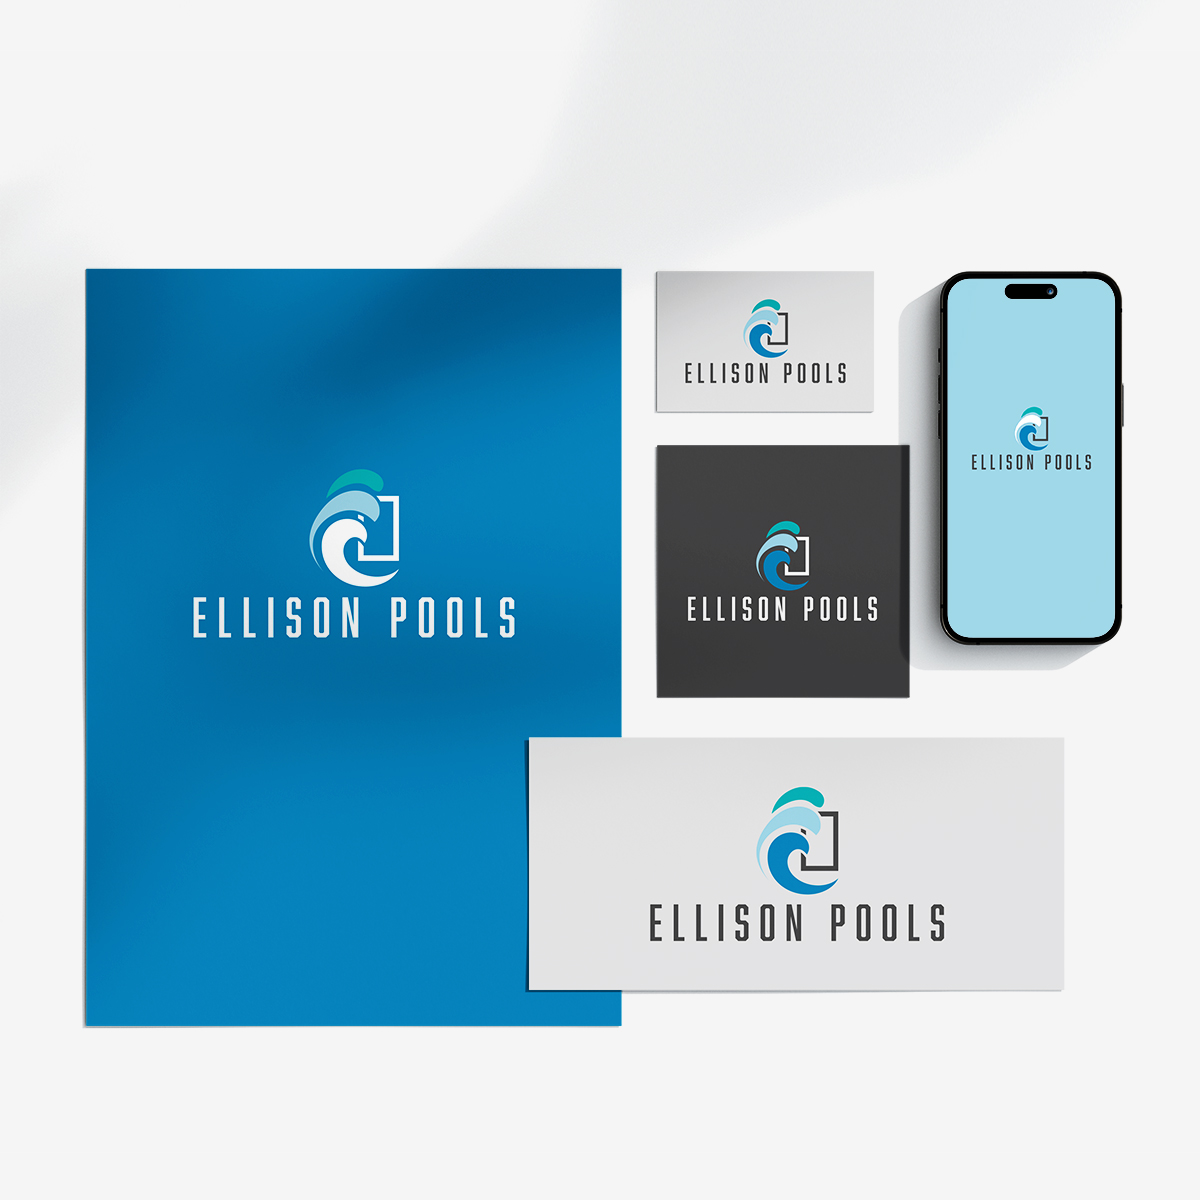
Ellison Pools
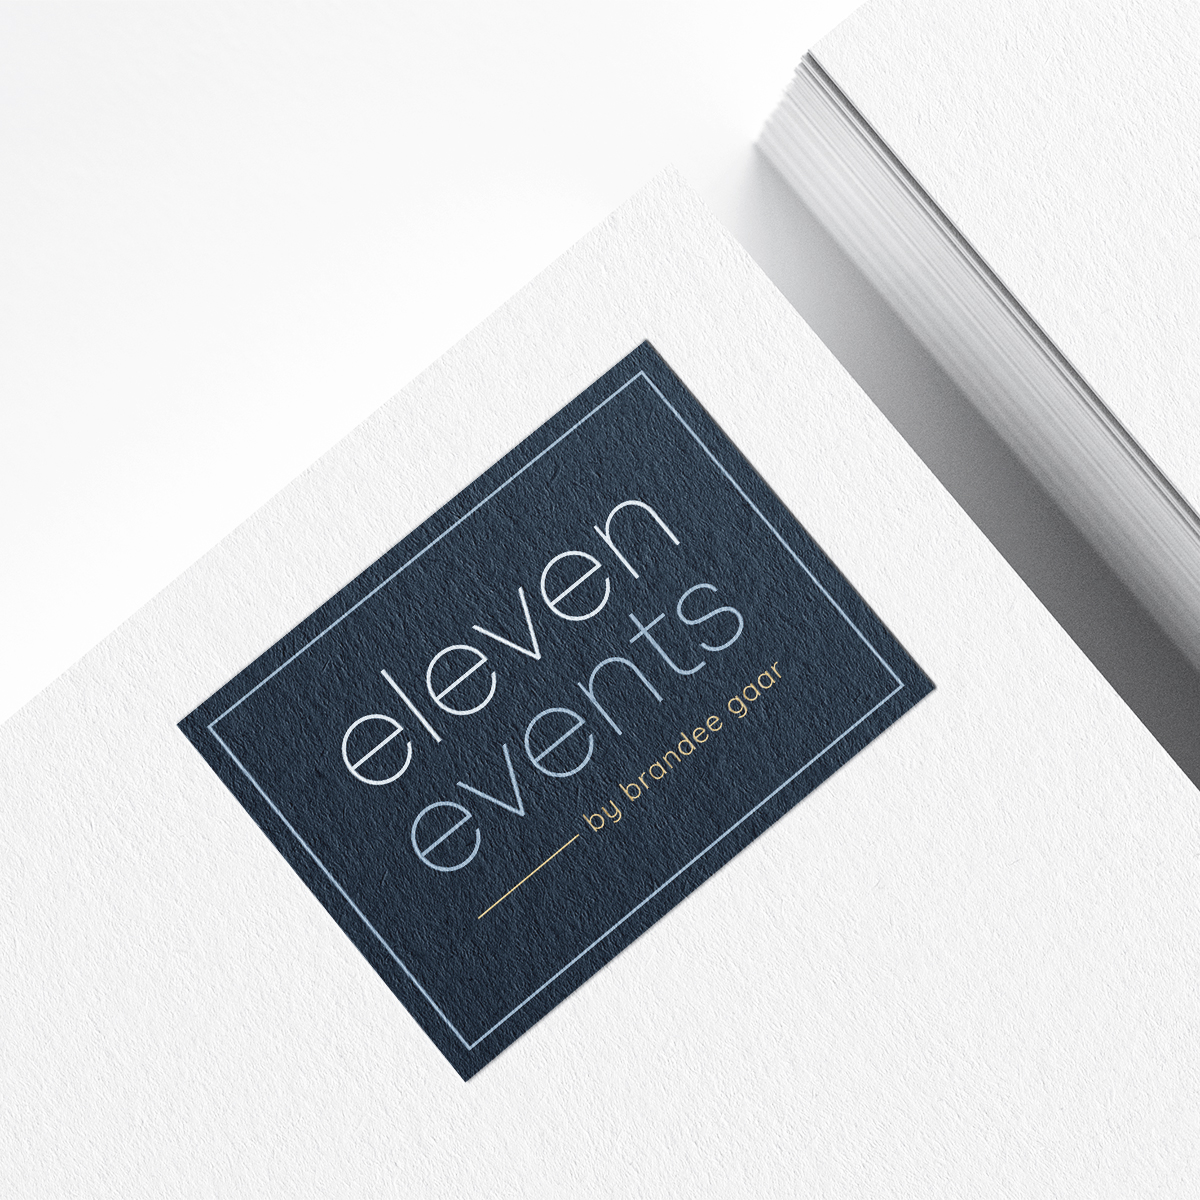
Eleven Events
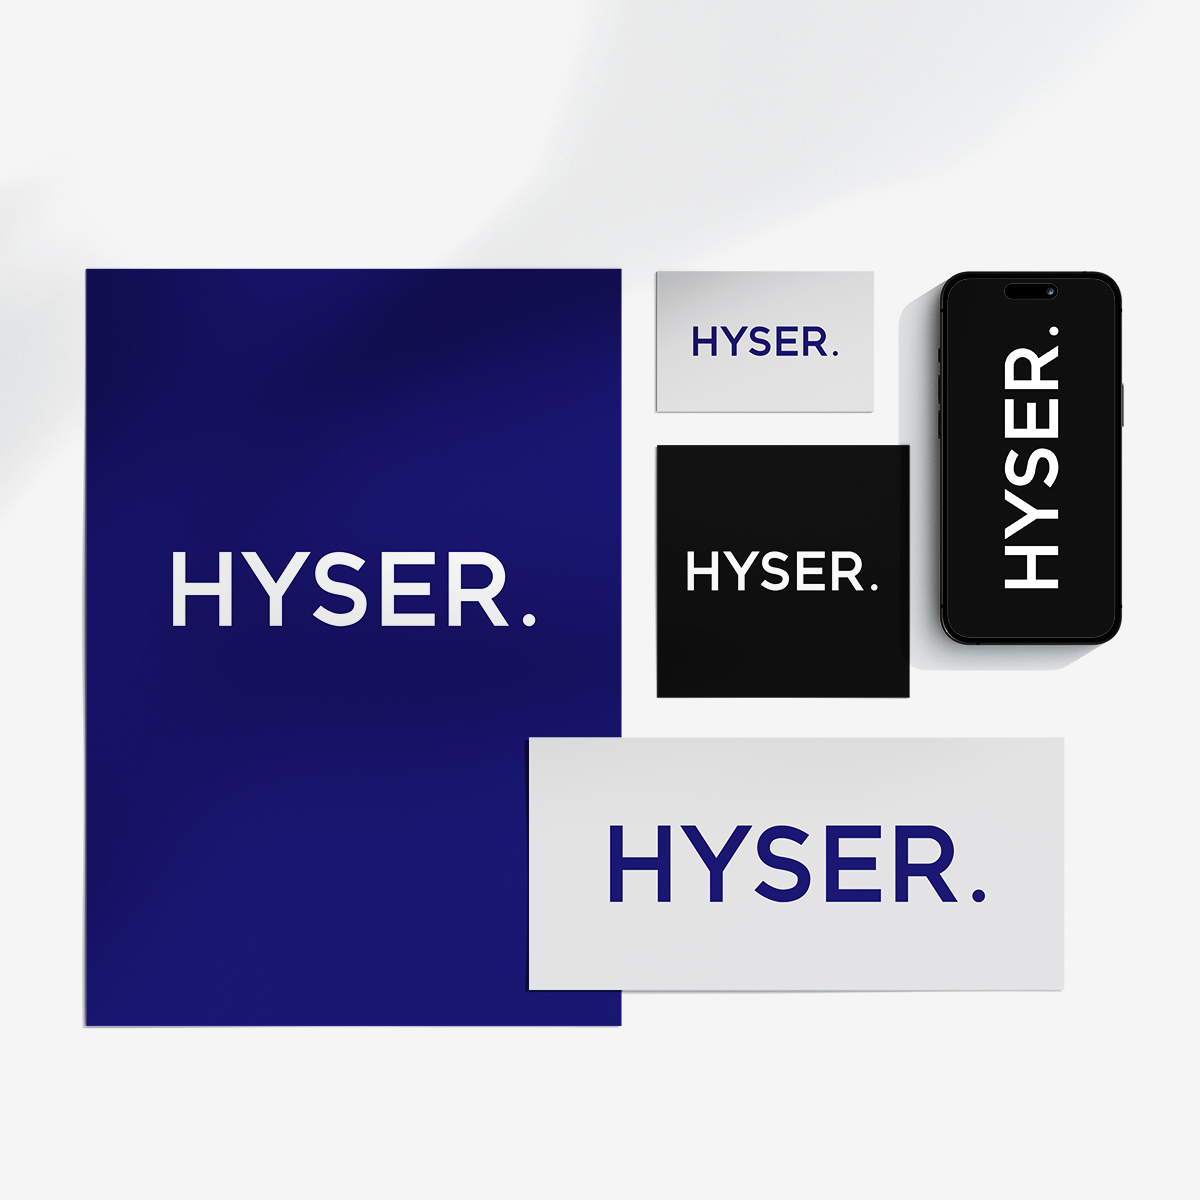
Hyser.
Farrah’s Fancies
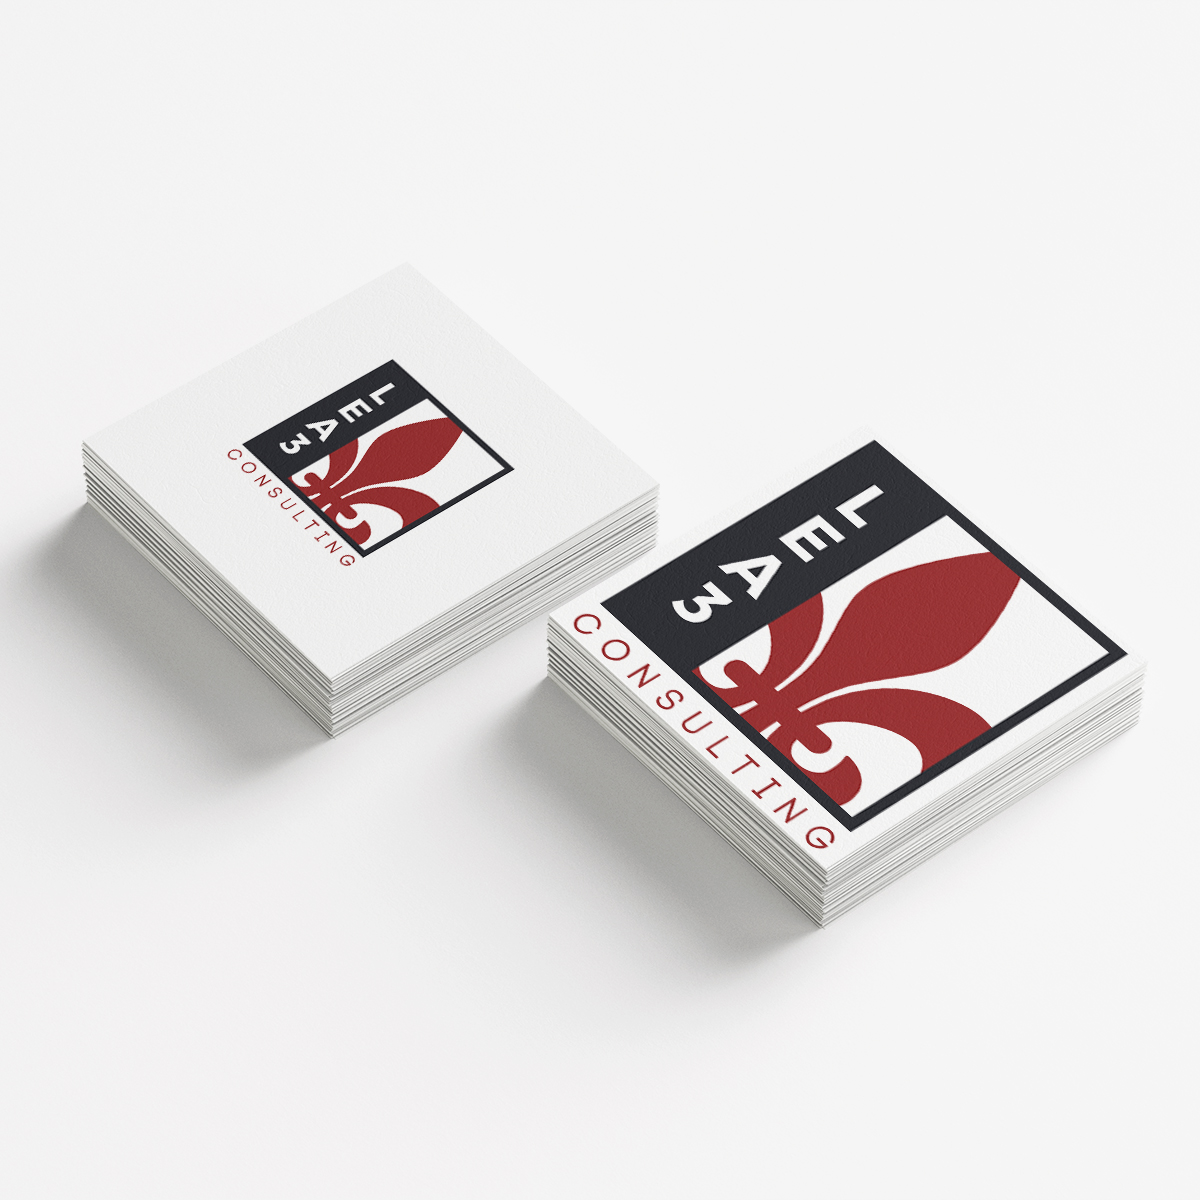
LEA3 Consulting
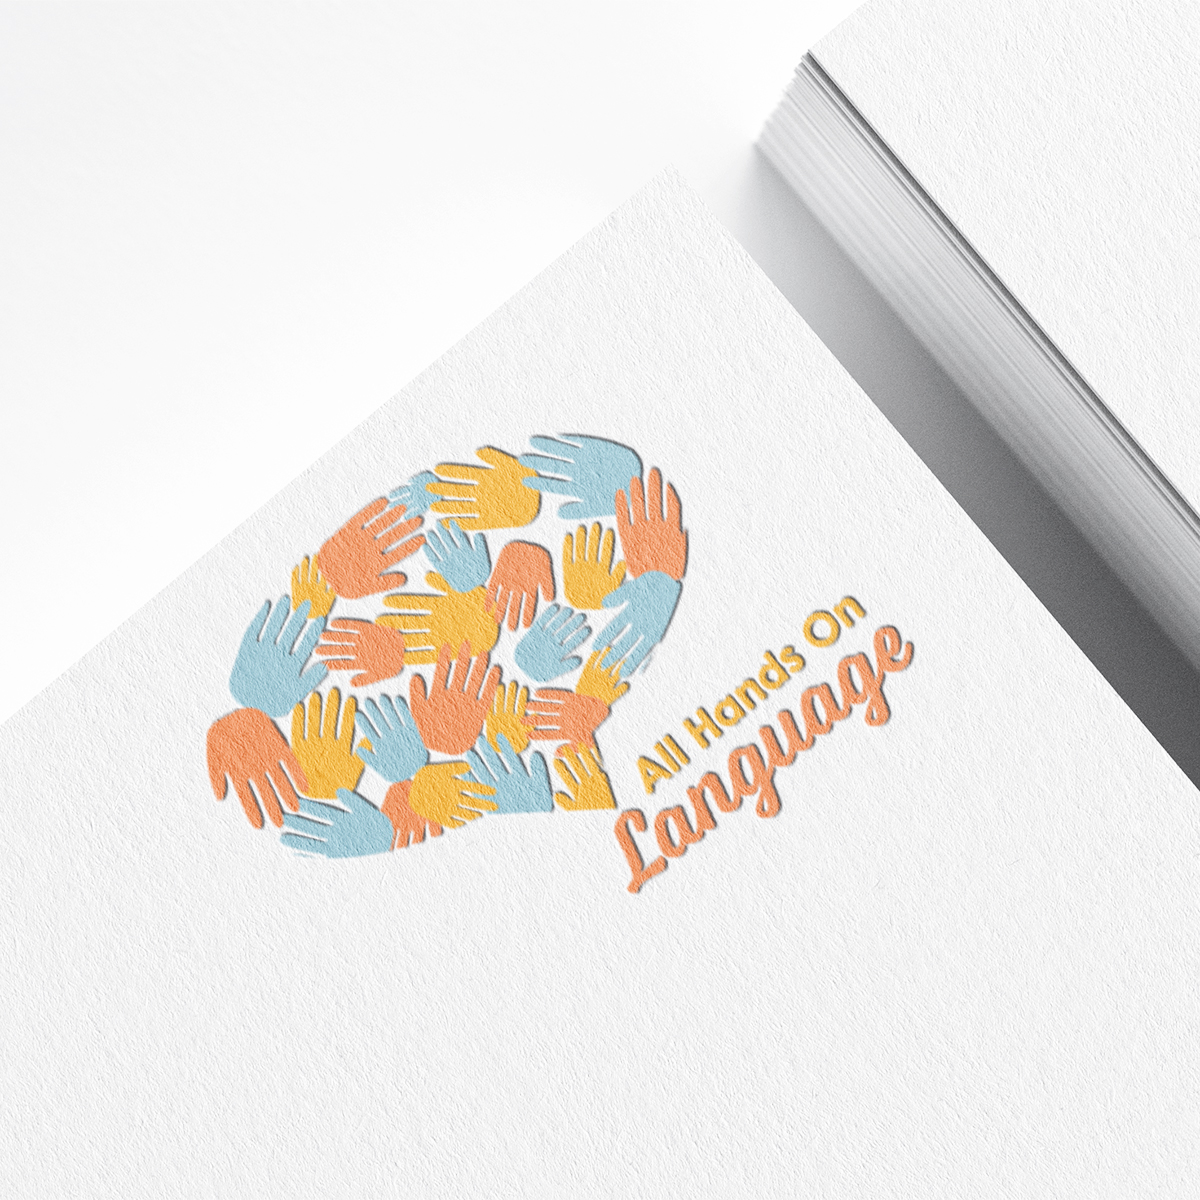
All Hands On Language
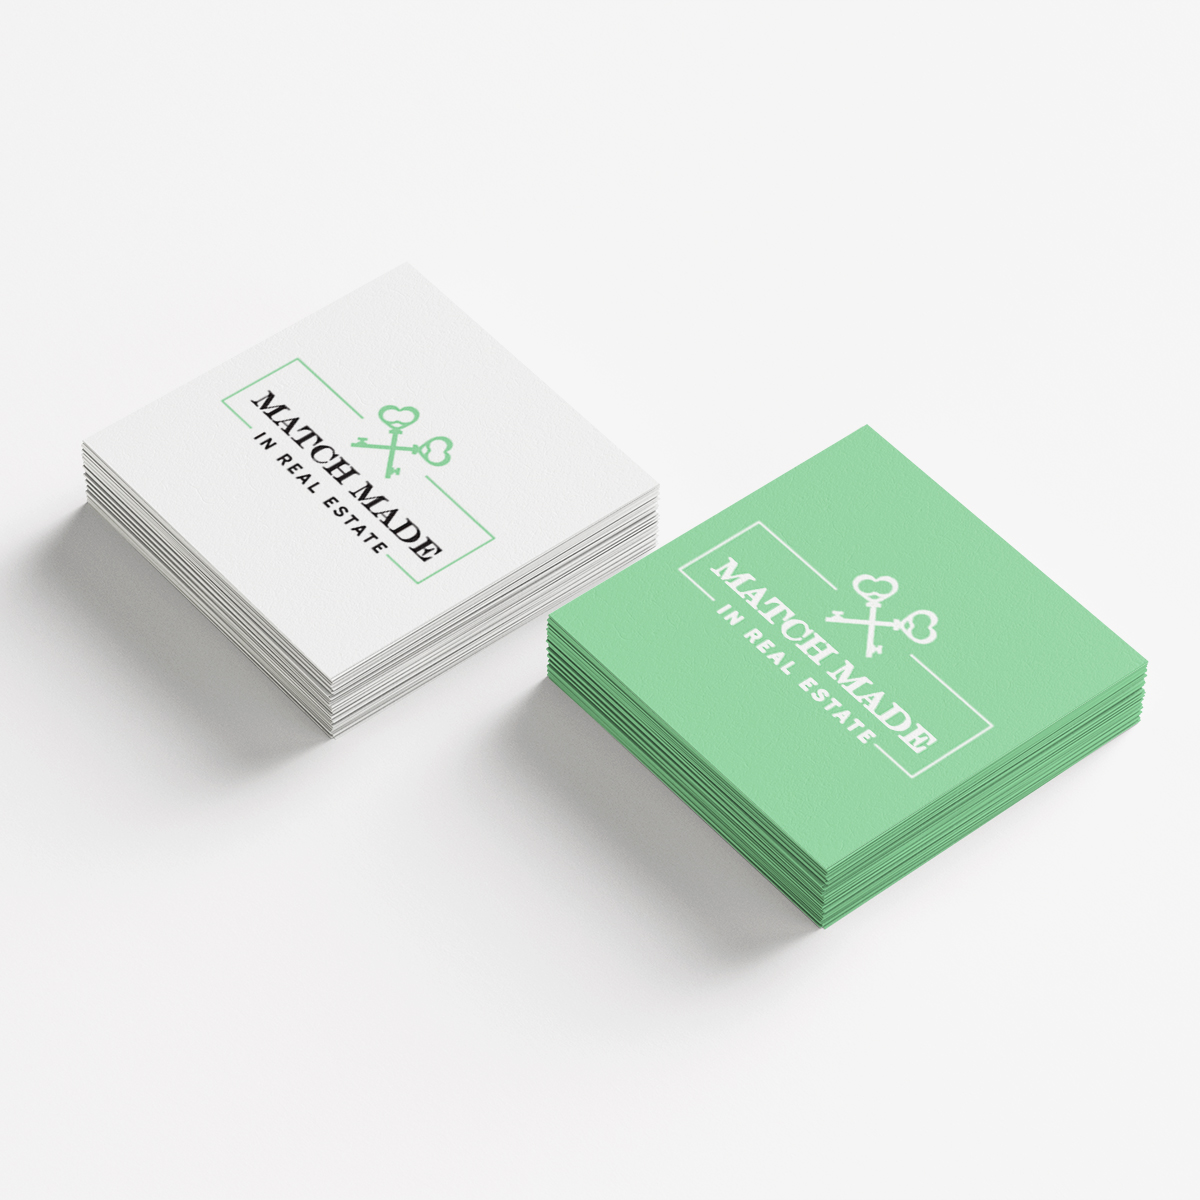
Match Made In Real Estate
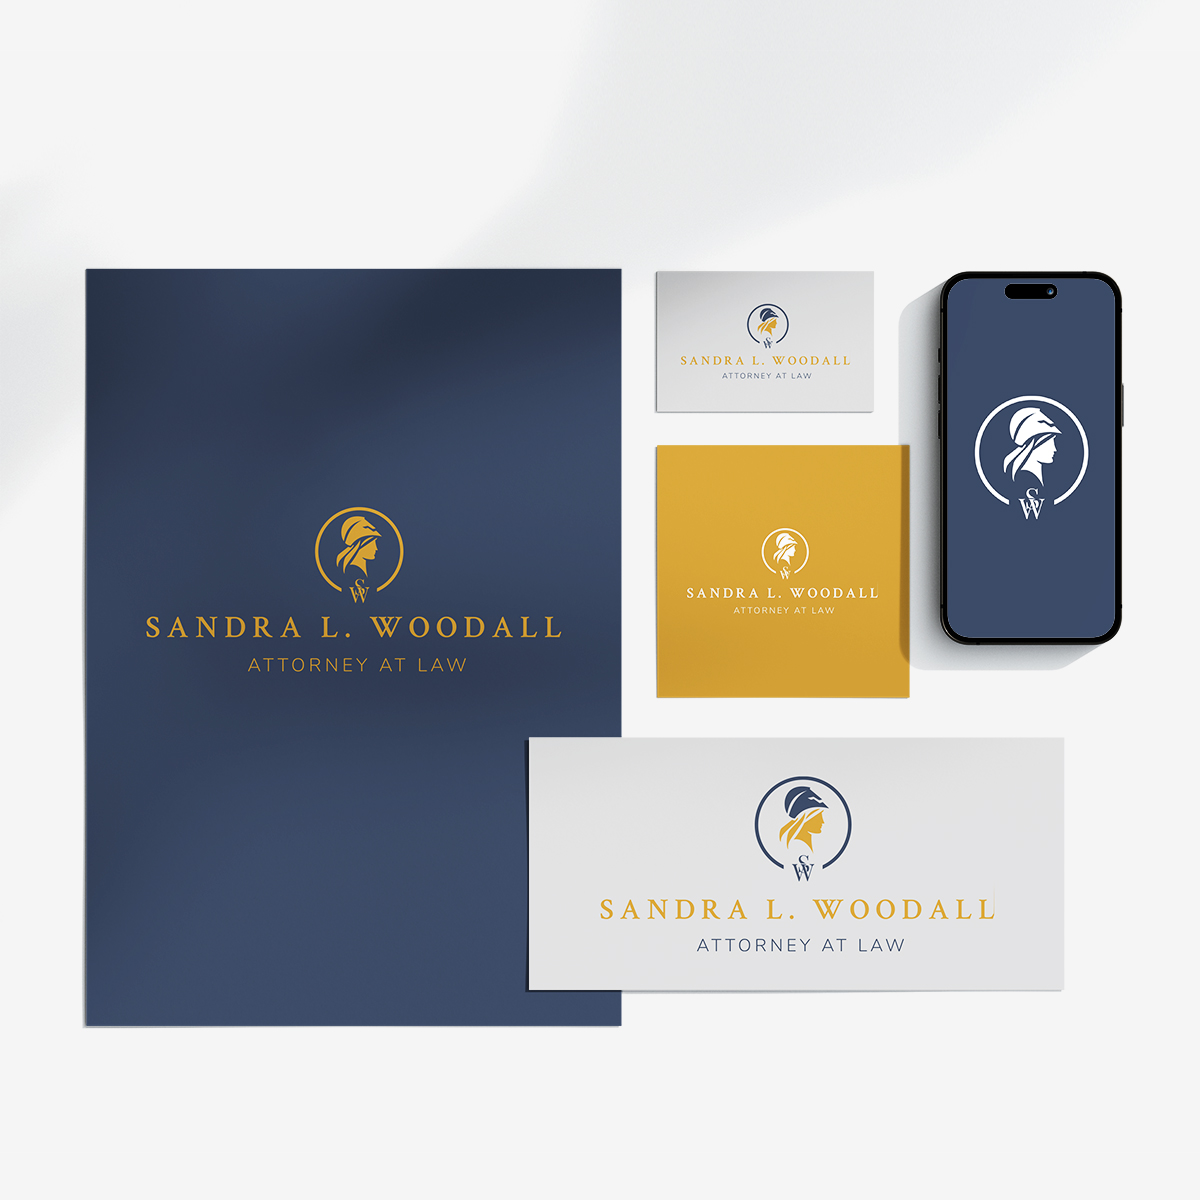
Sandra L. Woodall
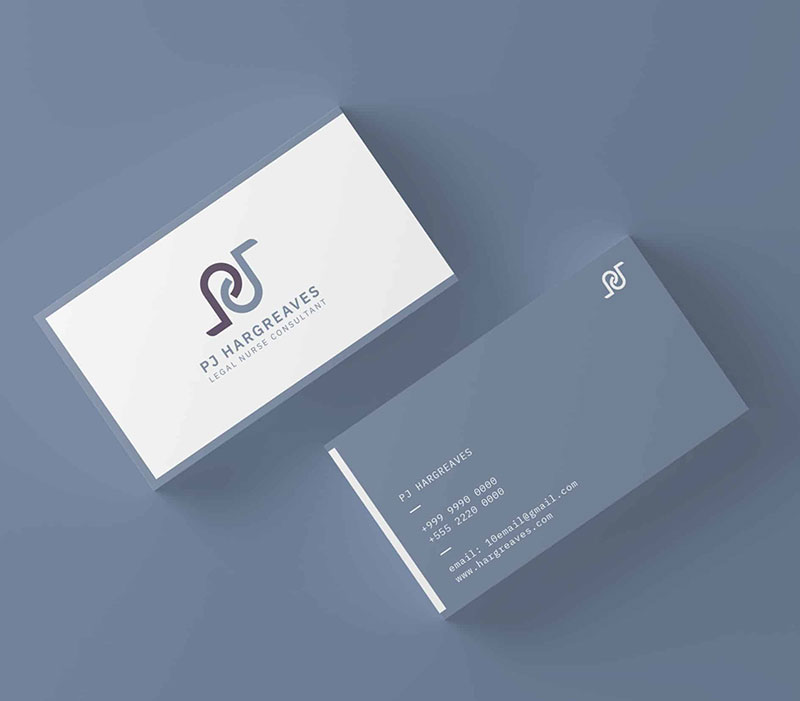
PJ Hargreaves
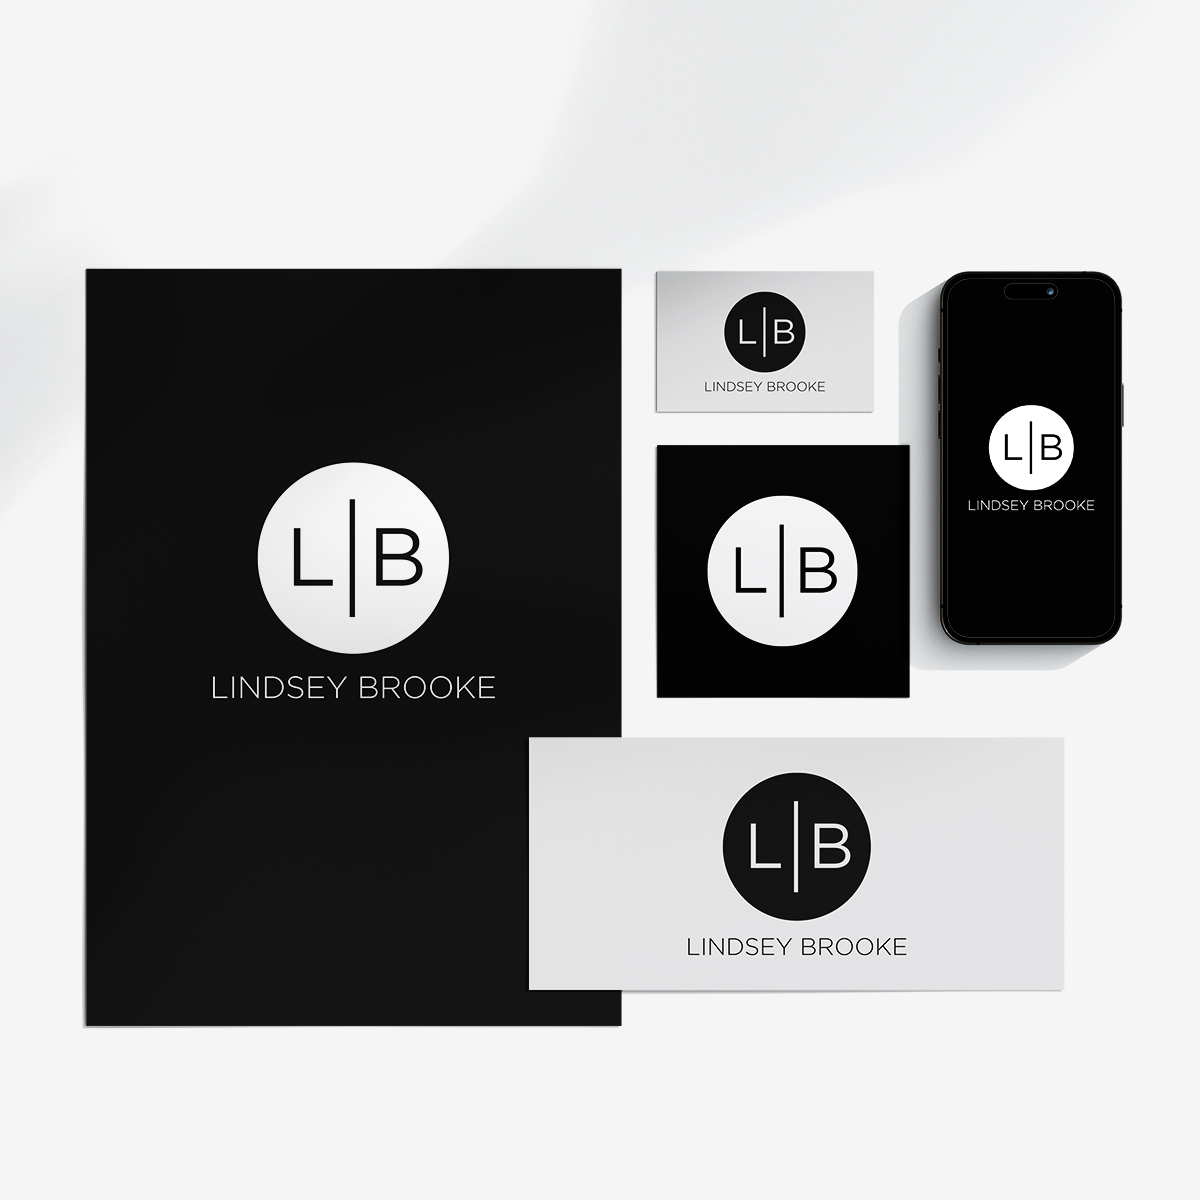
Lindsey Brooke
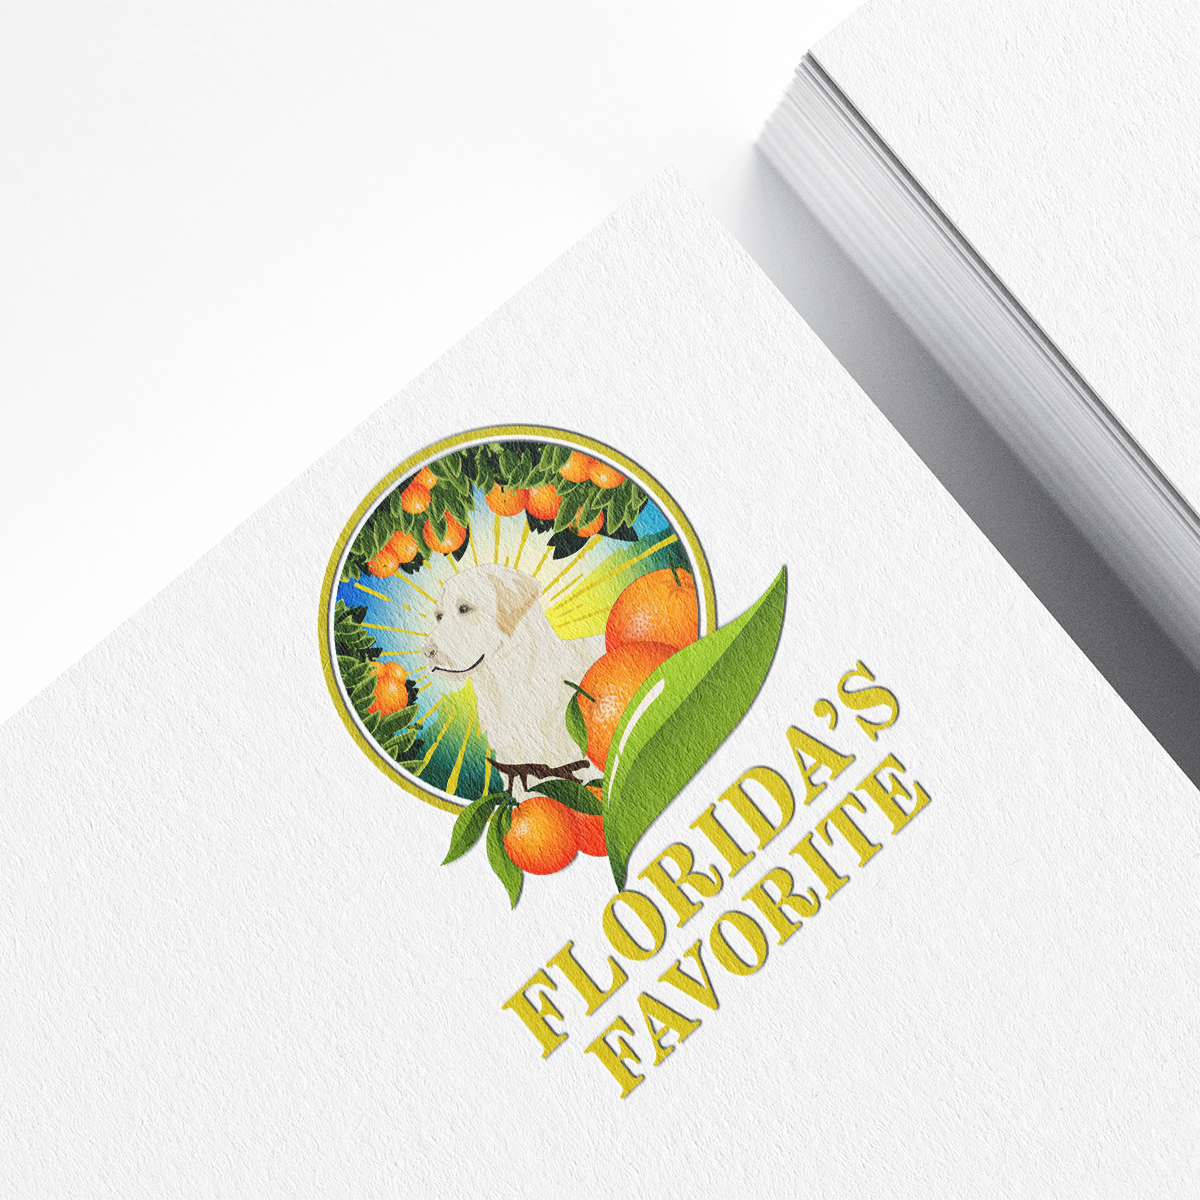
Florida’s Favorite
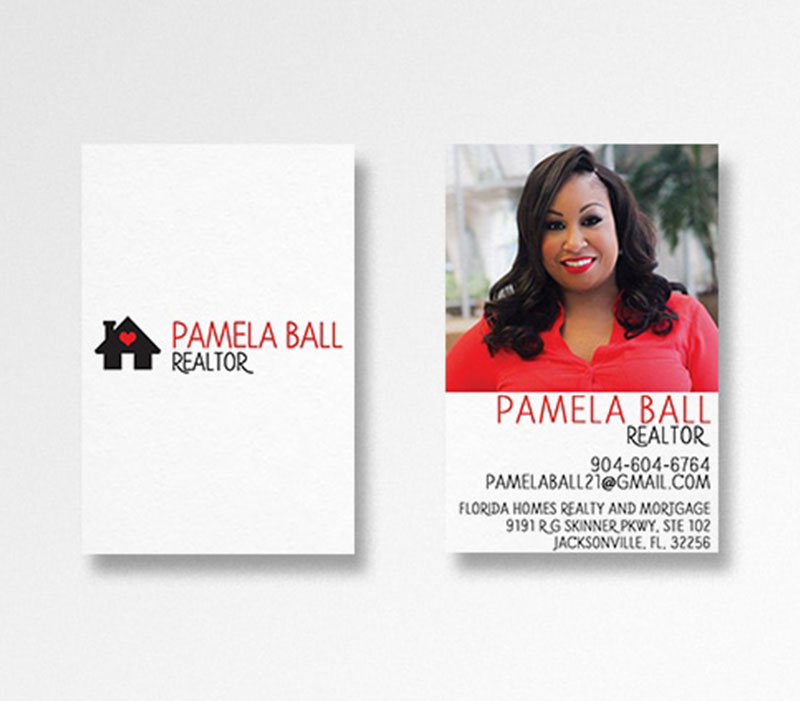
Pamela Ball Realtor
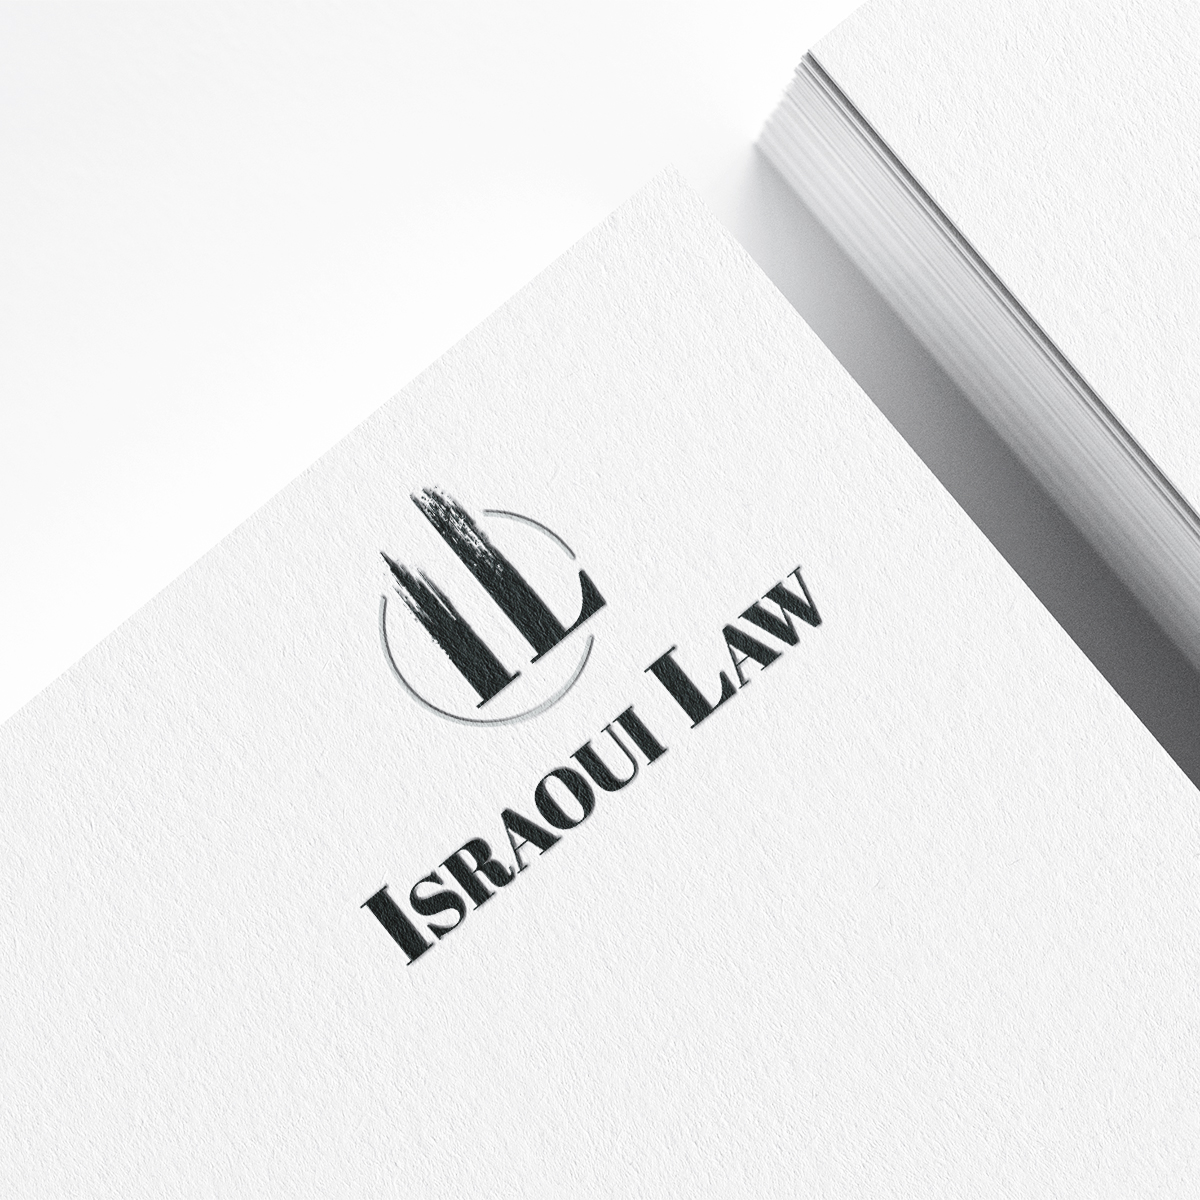
Israoui Law
MammoAid
Kann Advisory Group
Roseus
Sunline
RT Photography
SkyView HD
The Tiny Orchid Co.
The Klein Practice
The Travel Guys

Unsell
Uptown Stitch Design Studio
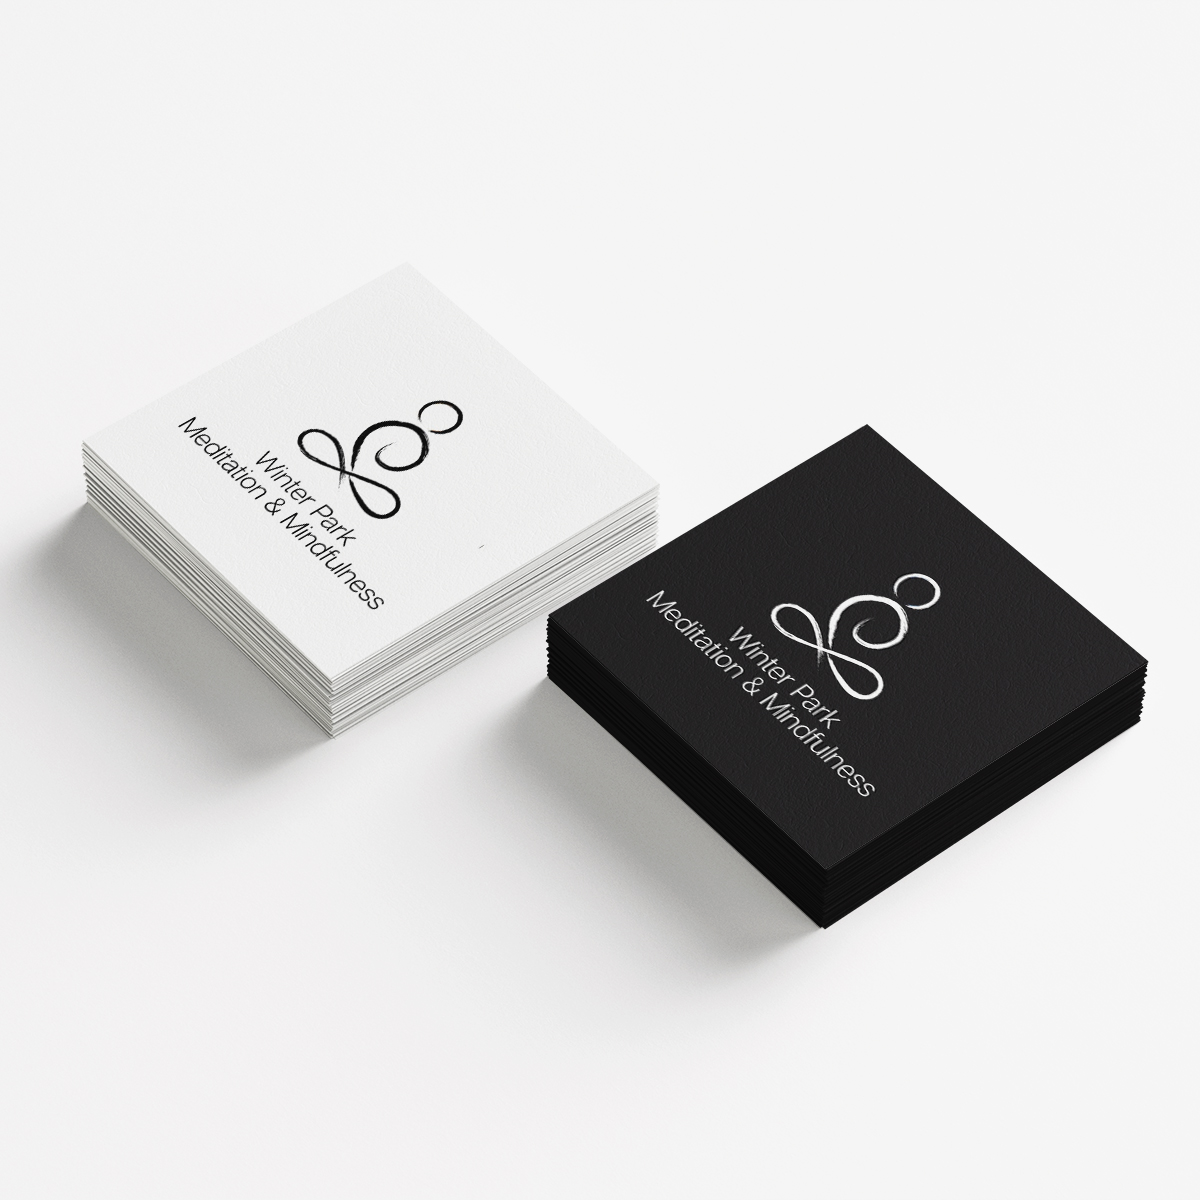
Winter Park Meditation & Mindfulness
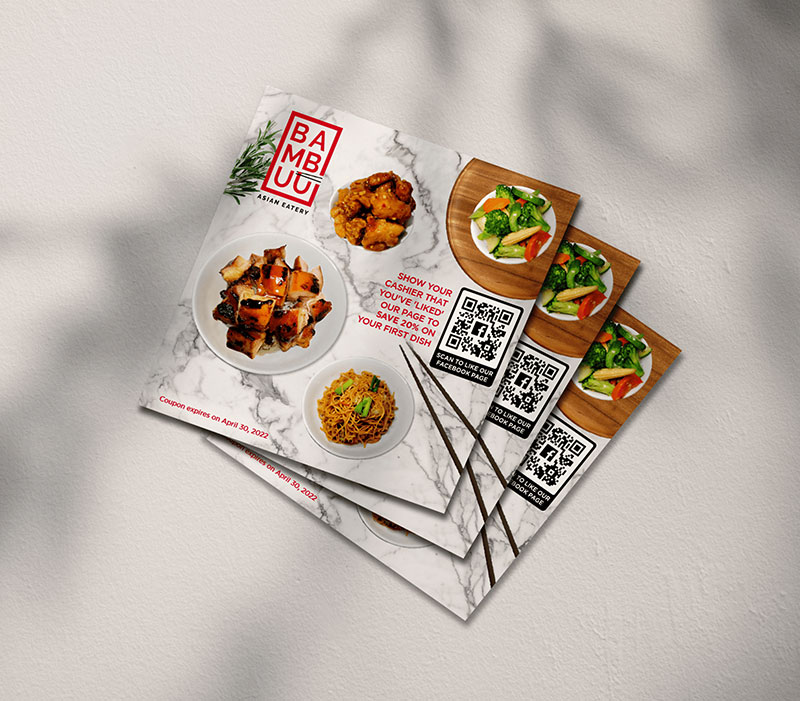
Bambuu Asian Eatery Flyer Design
Roseus Vacations Postcard Design

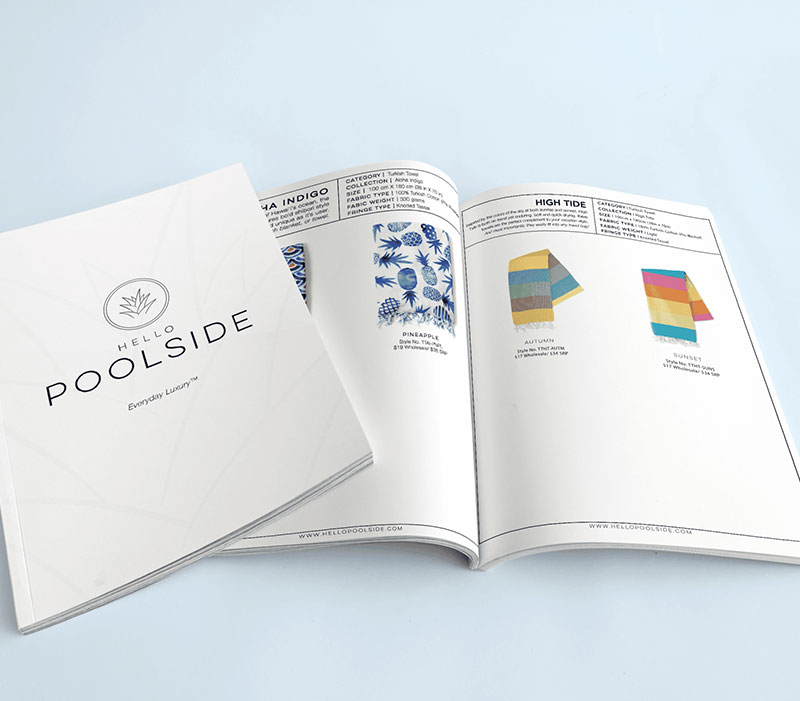
Hello Pool Side Line Sheet
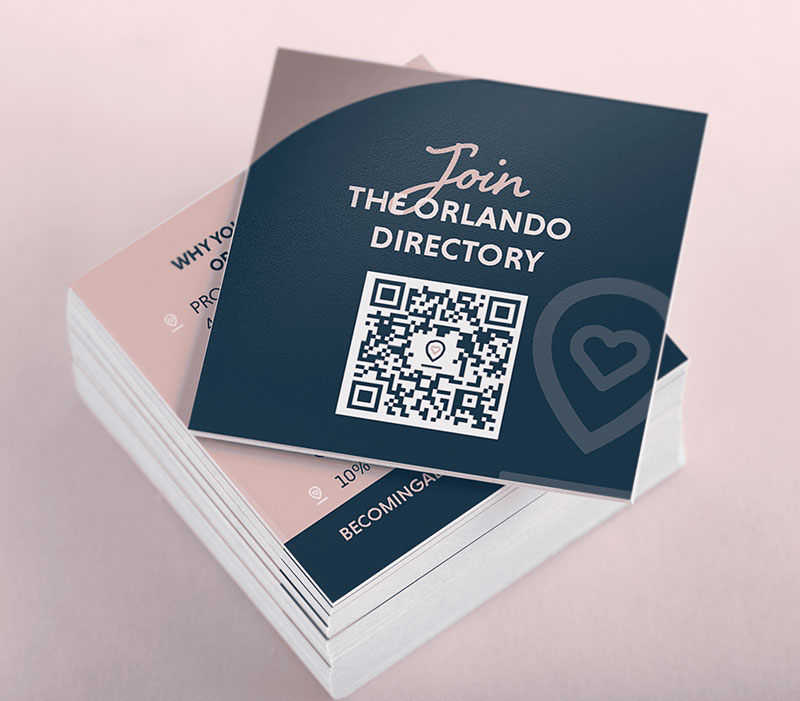
Becoming a Local Connect Cards
Blake Howard Greeting Card

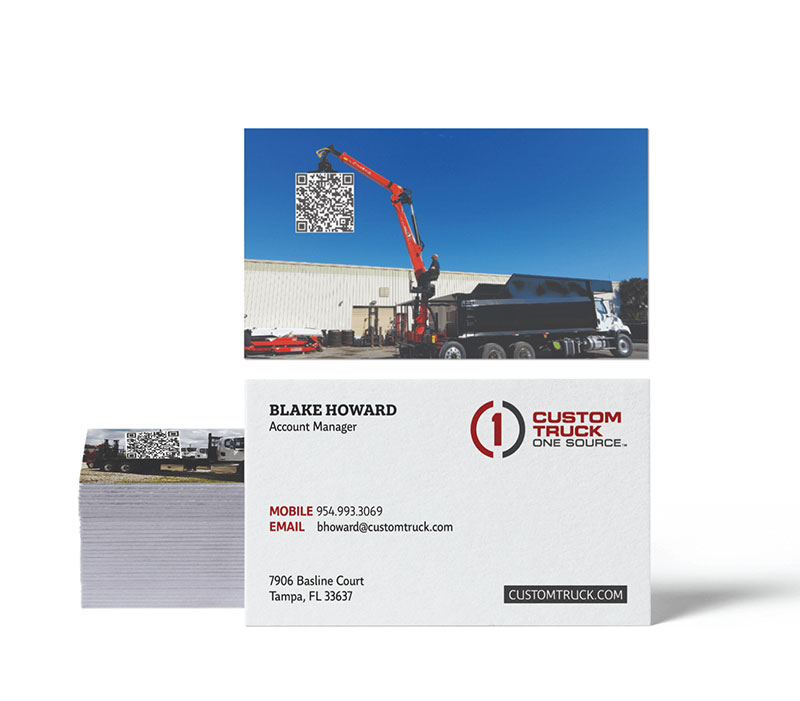
Blake Howard Business Cards
Print Design
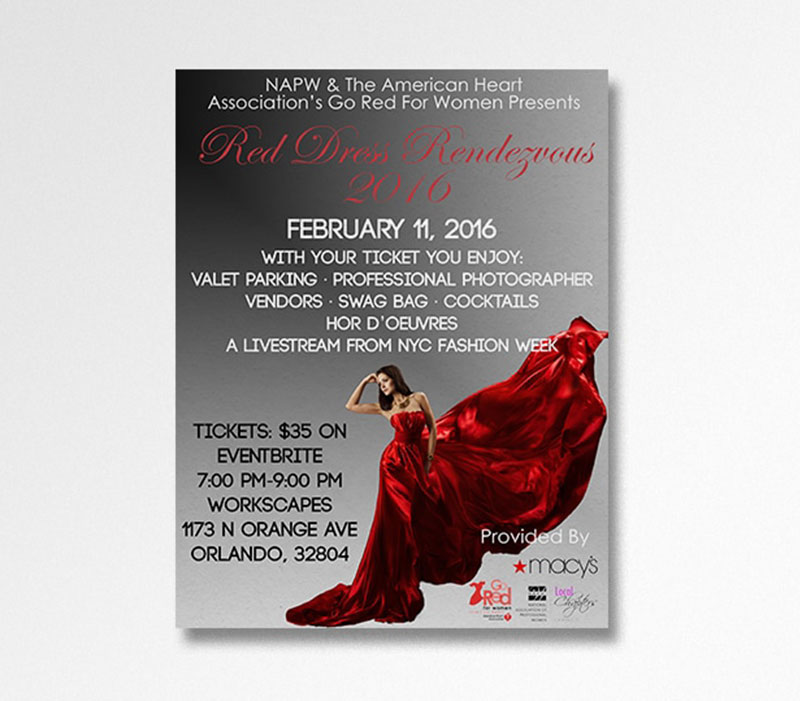
American Heart Association Flyer
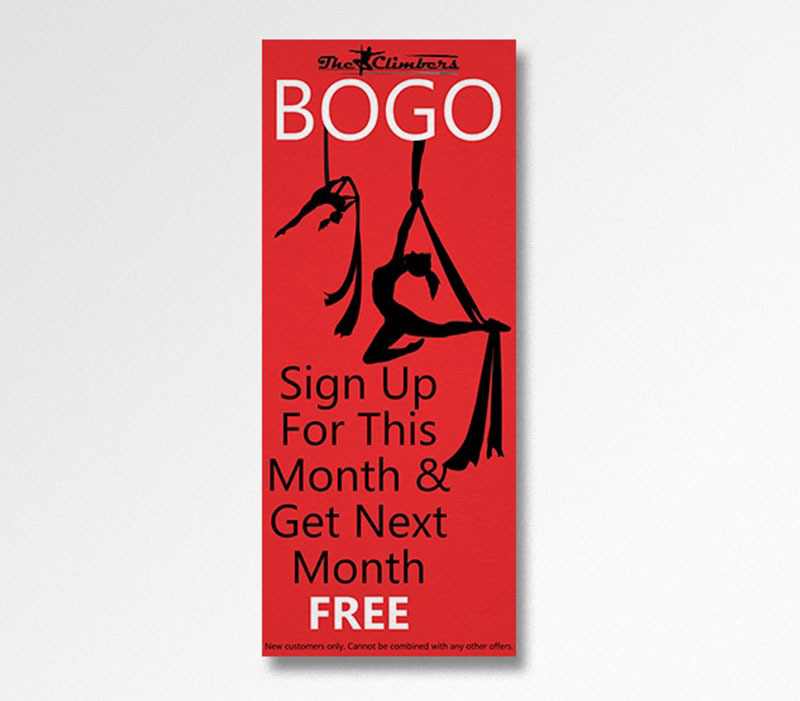
Bogo Poster
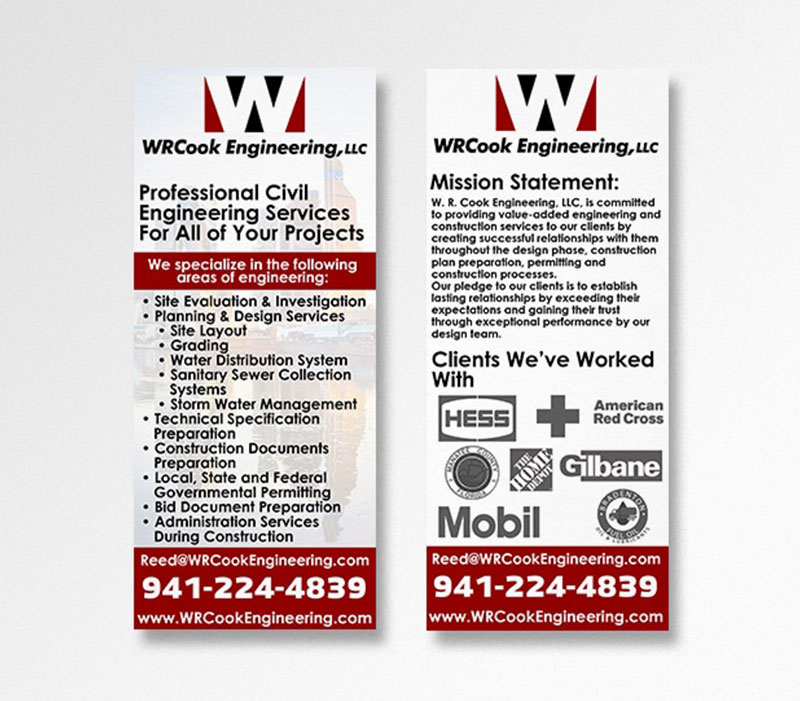
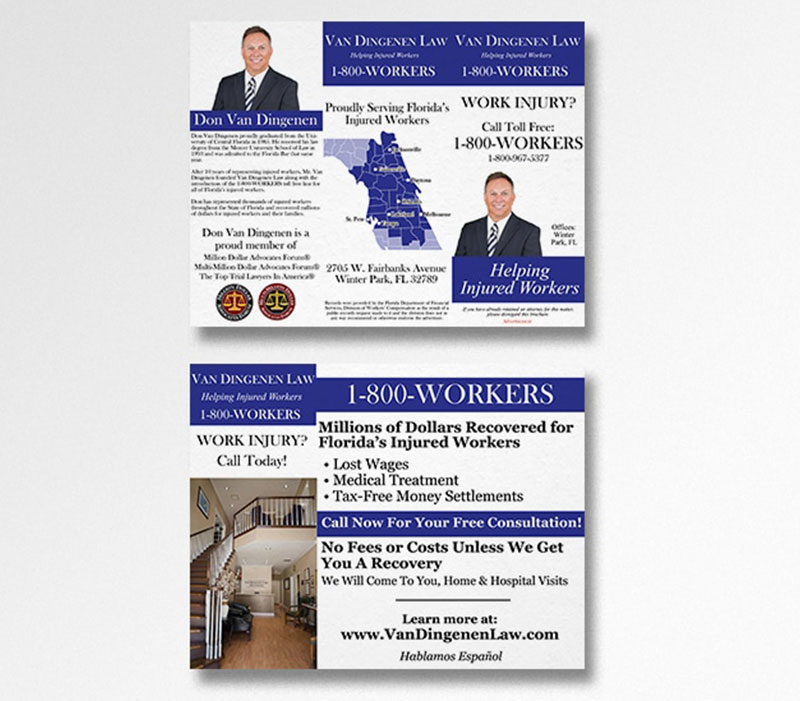
Engineering Rack Card Front & Back
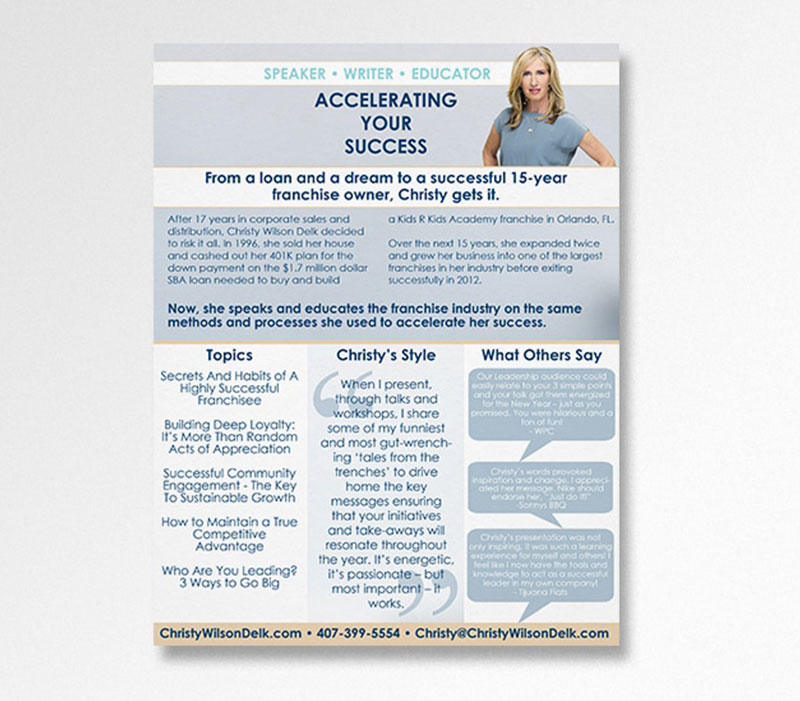
Speaker Sheet
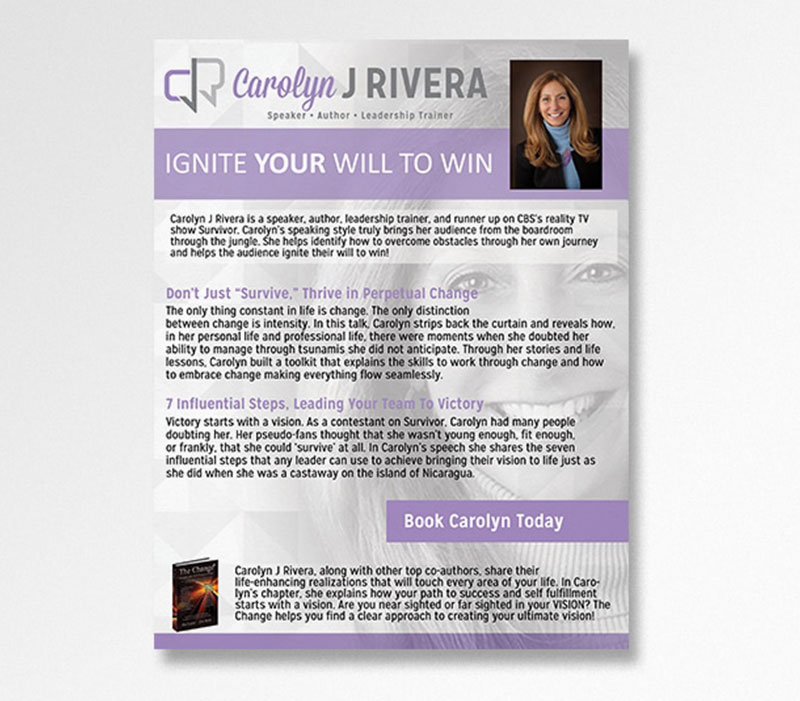
SPEAKER SHEET
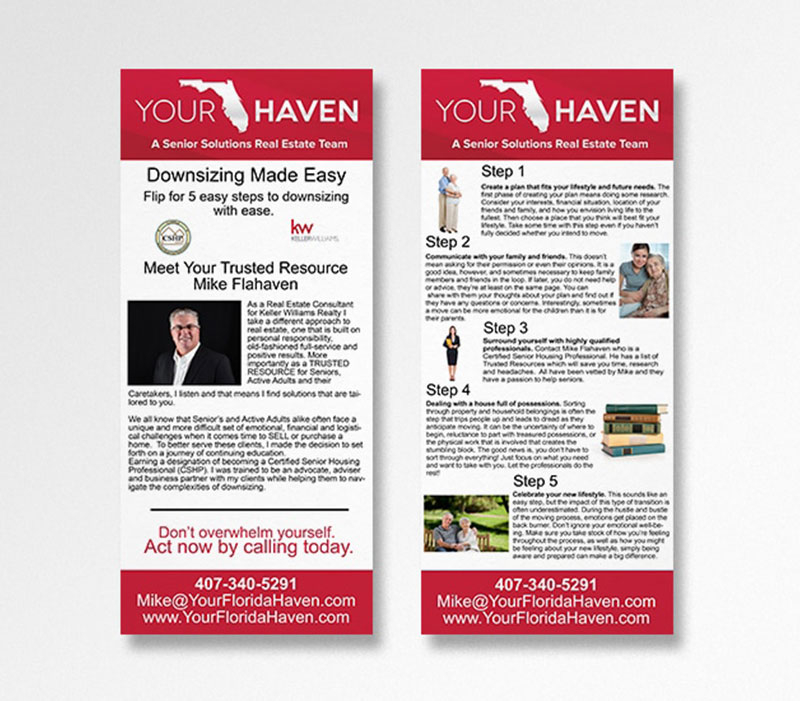
Rack Card Front & Back
Poster
Business Card Front & Back
Business Card Front & Back
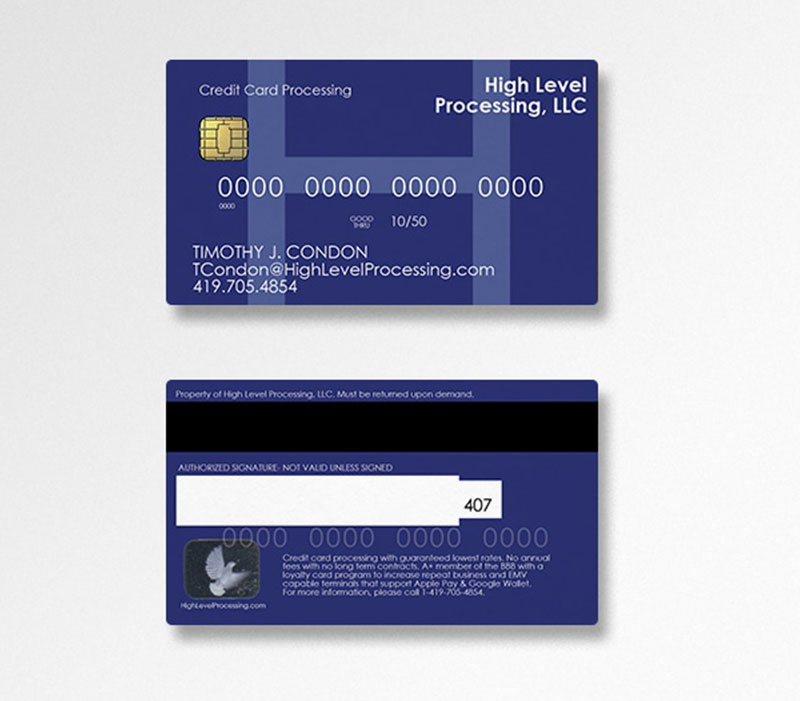
Business Card
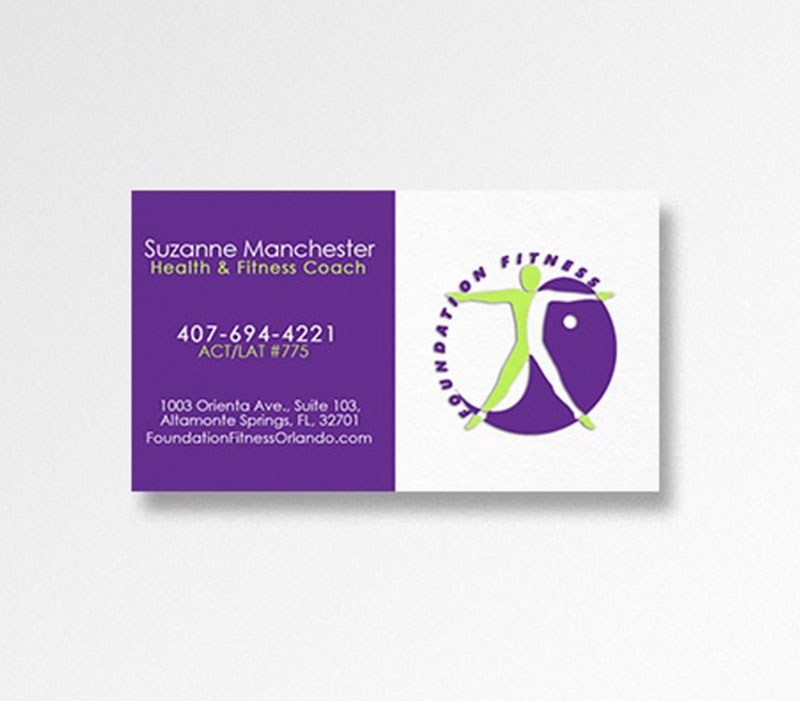
Business Card
Postcard

Postcard
Postcard
Postcard Front & Back
Postcard Front & Back
Postcard Front
Business Card
Brochure
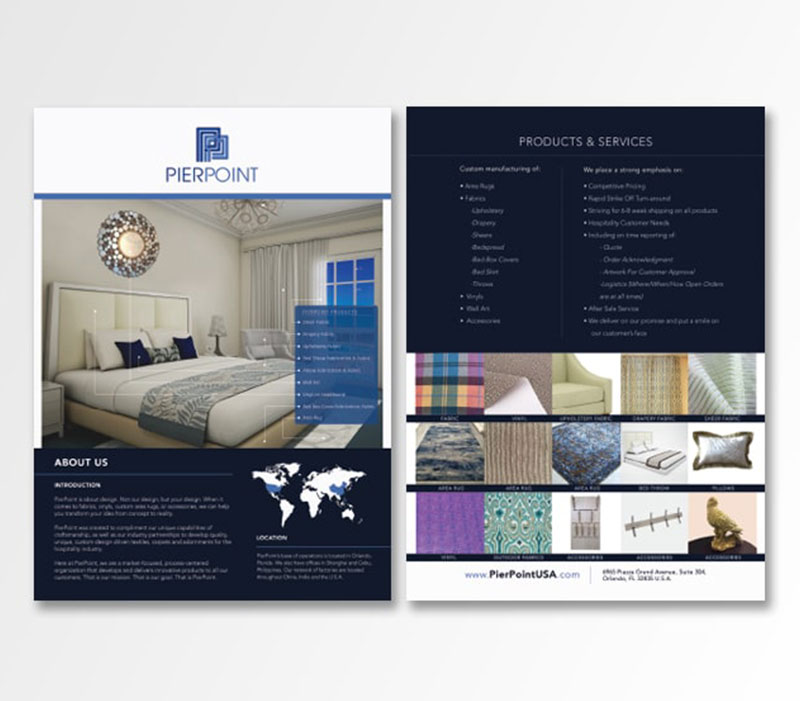
Company One Sheet
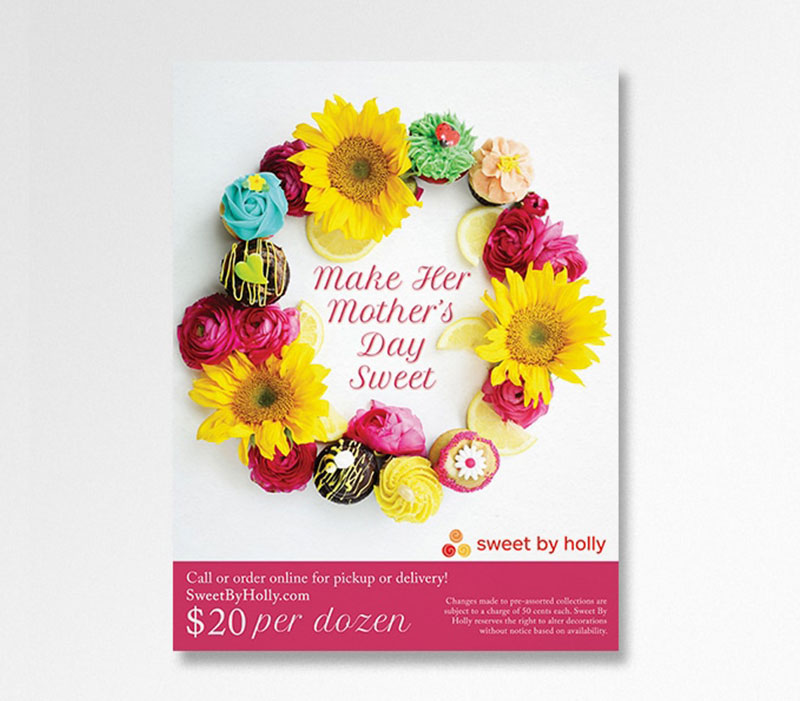
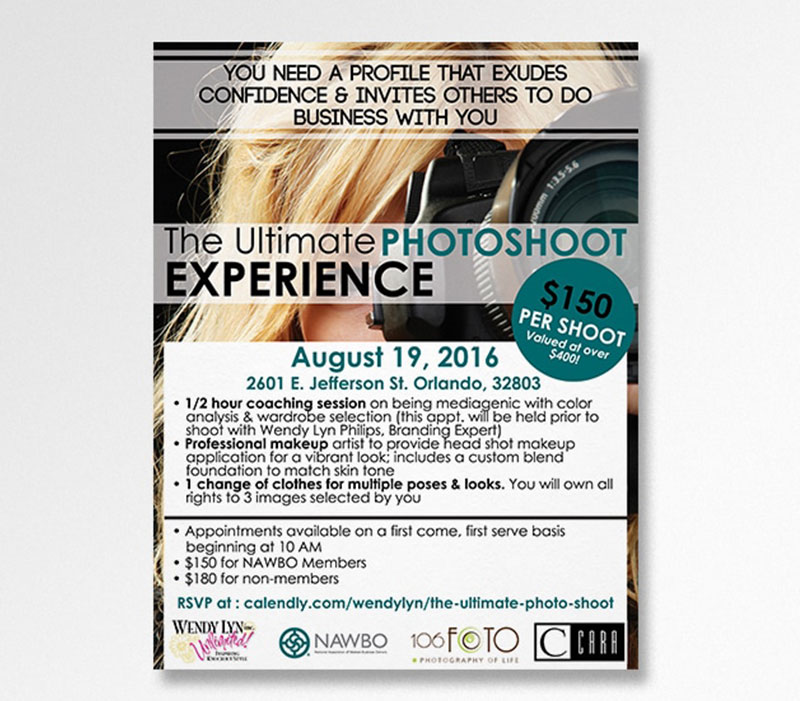
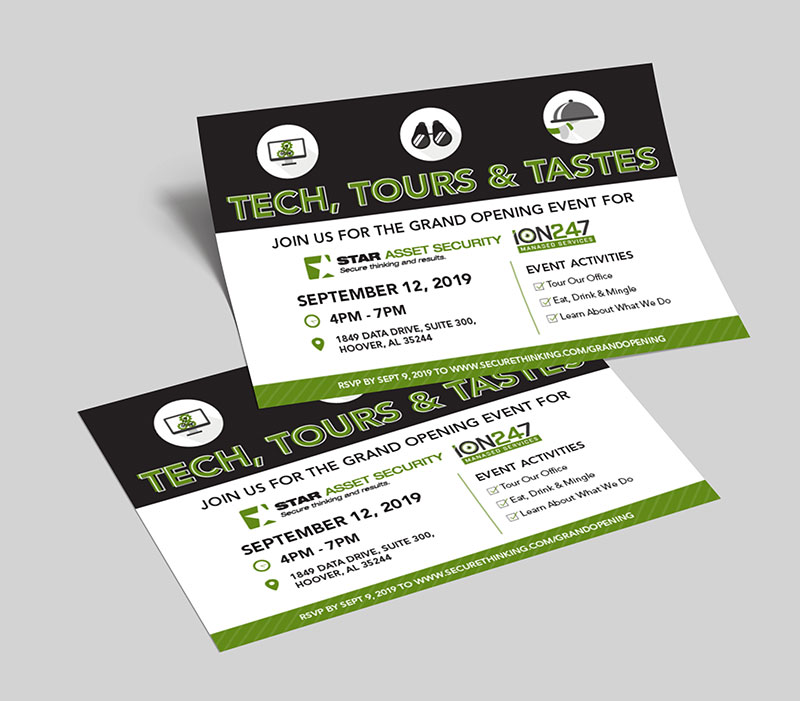
Flyer
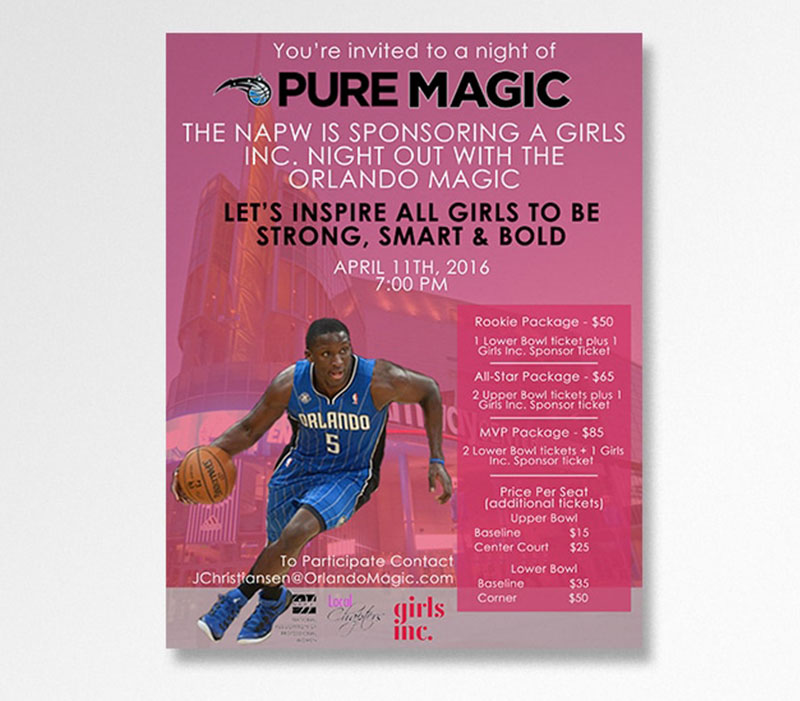
Magic & Napw Event
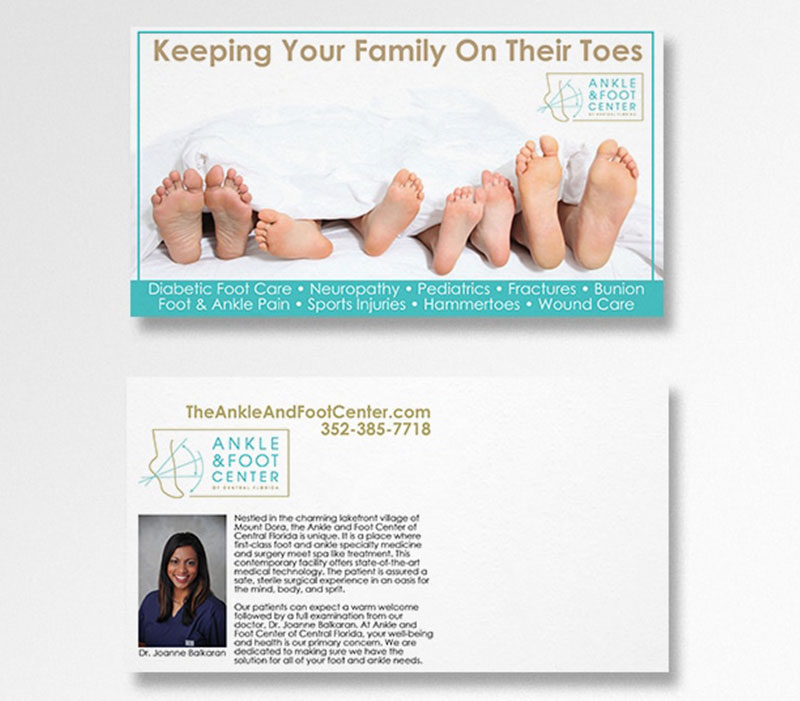
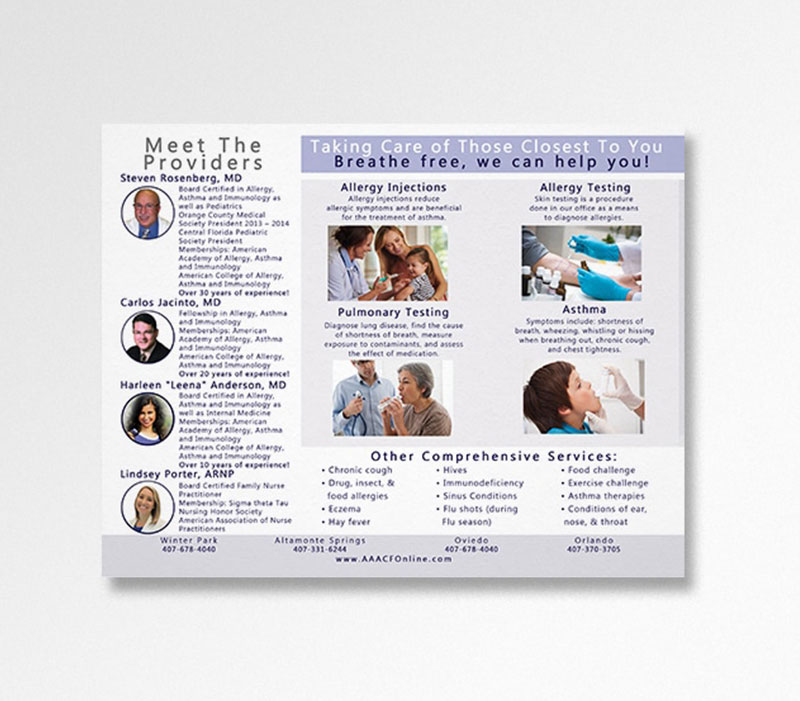
Medical Trifold
Print Flyer
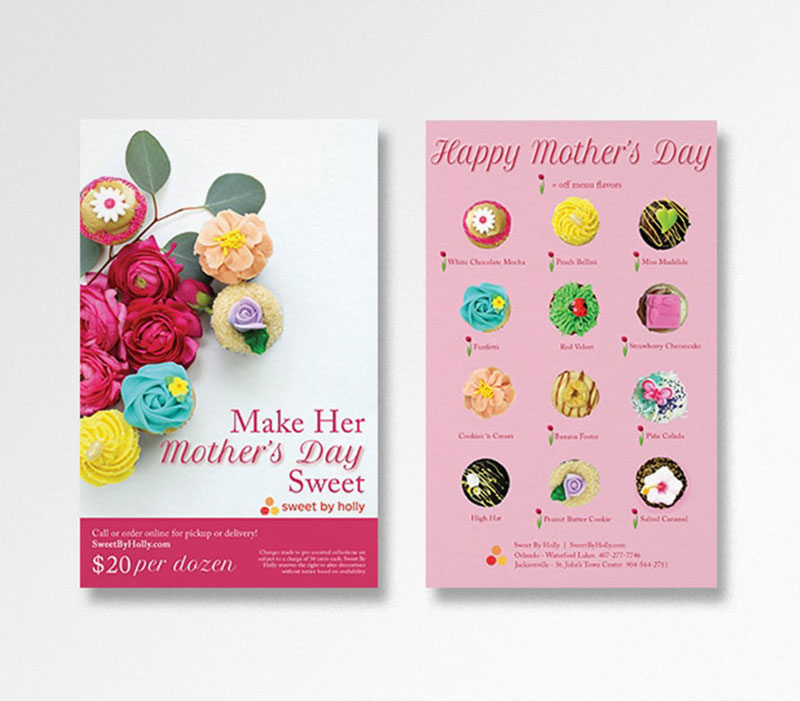
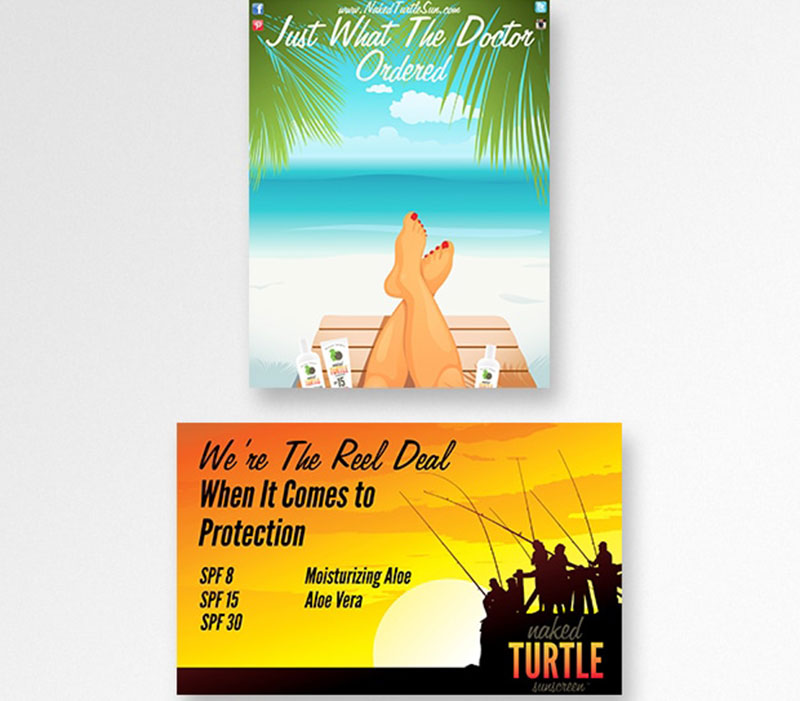
Product Promotion
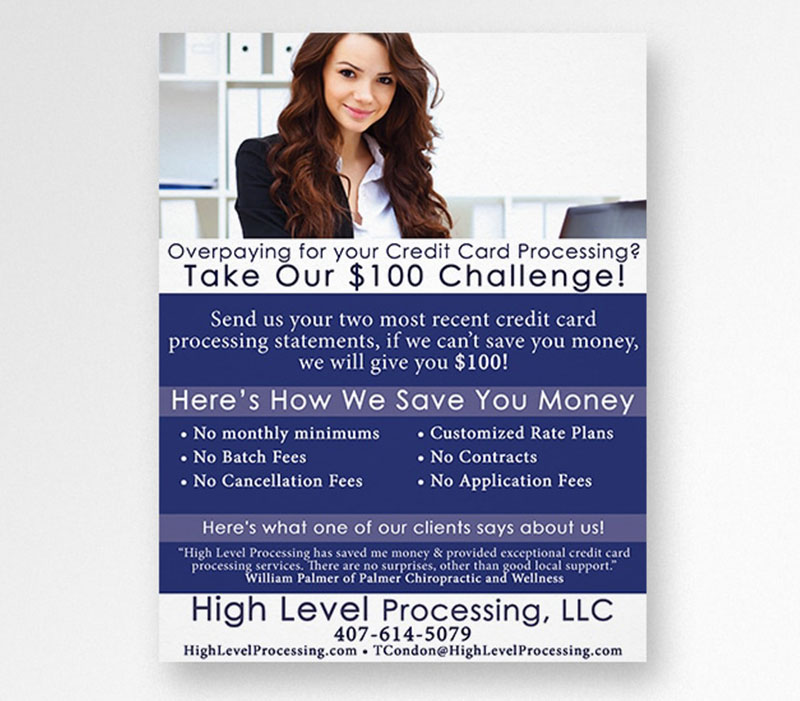
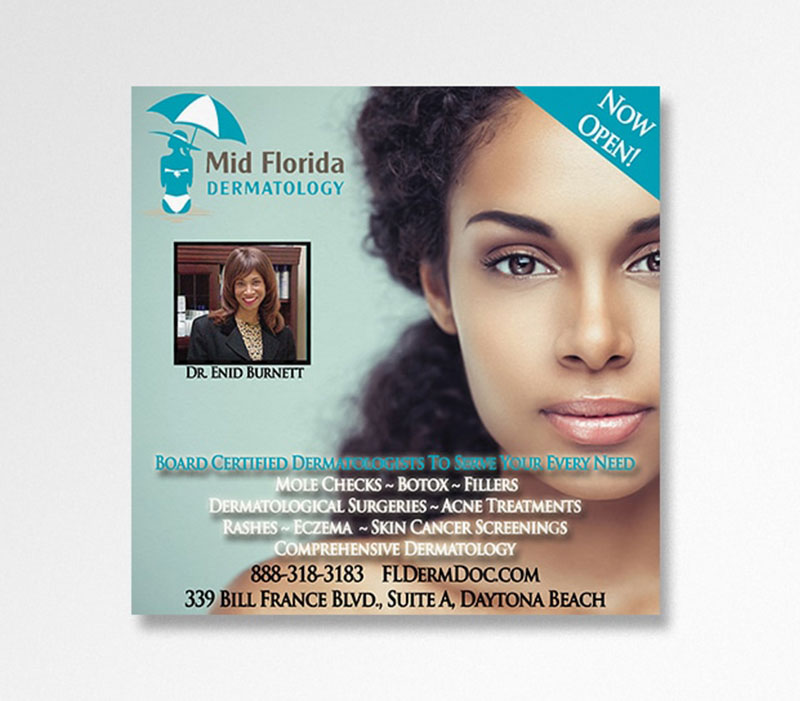
Print AD
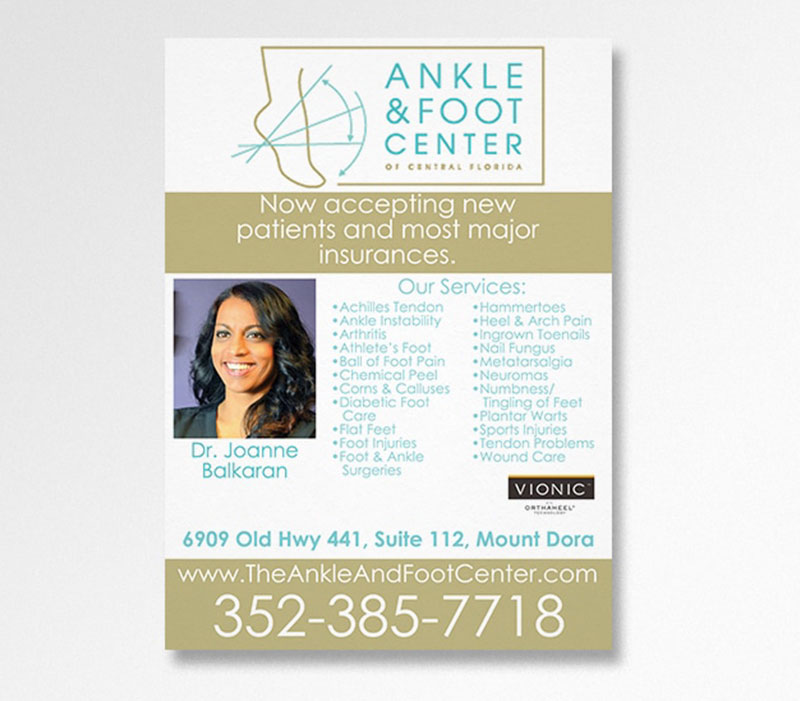
Print AD
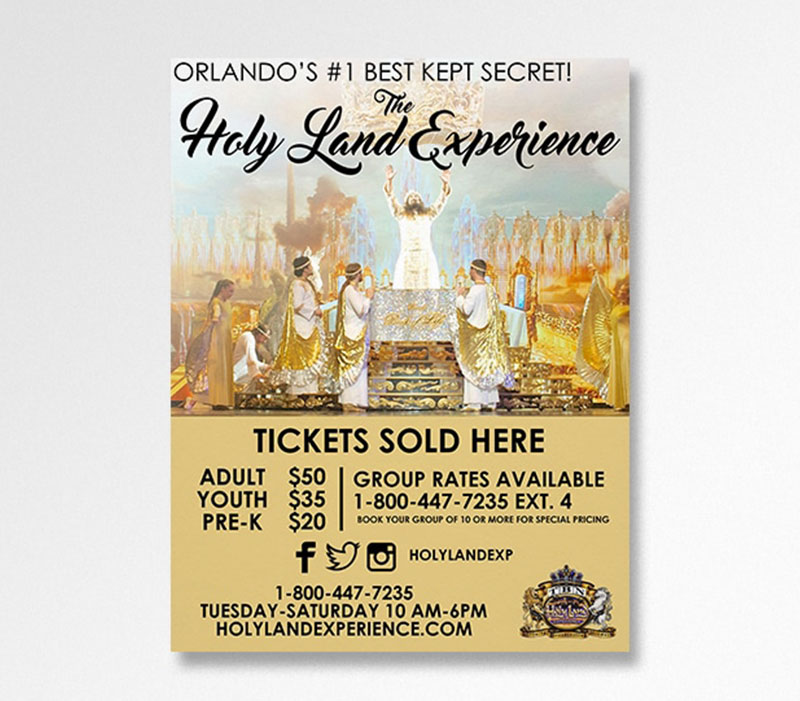
Print Flyer
Print Flyer
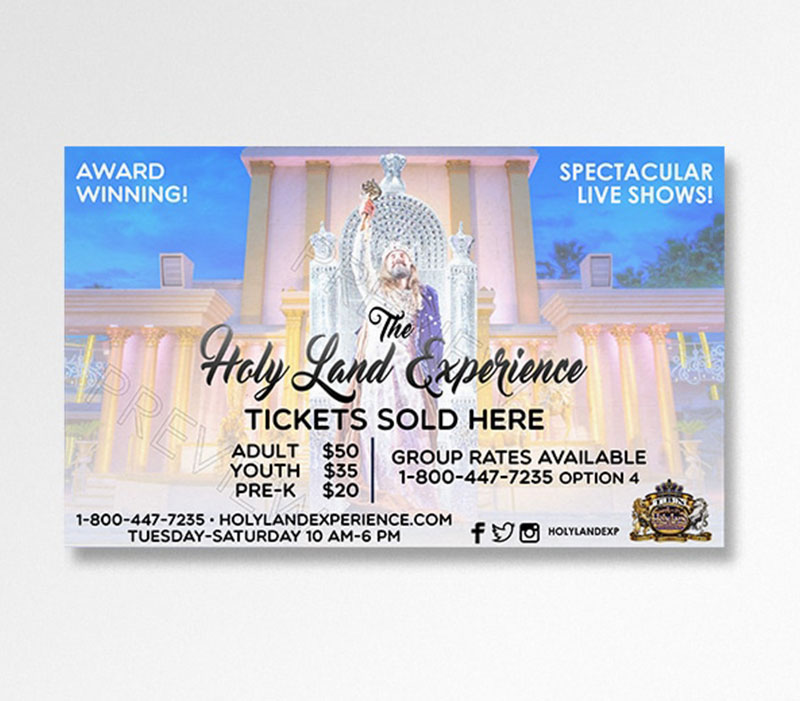
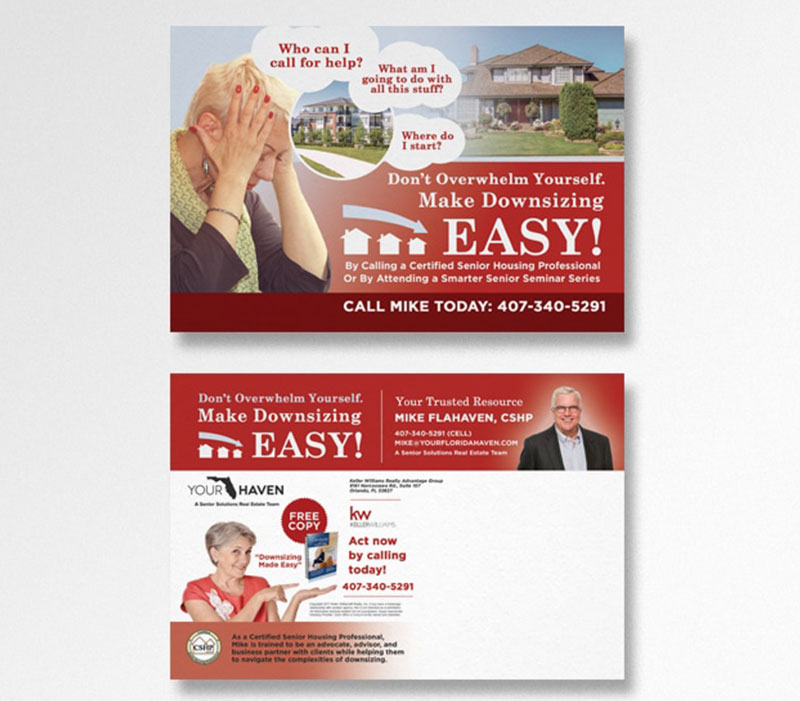
Postcard
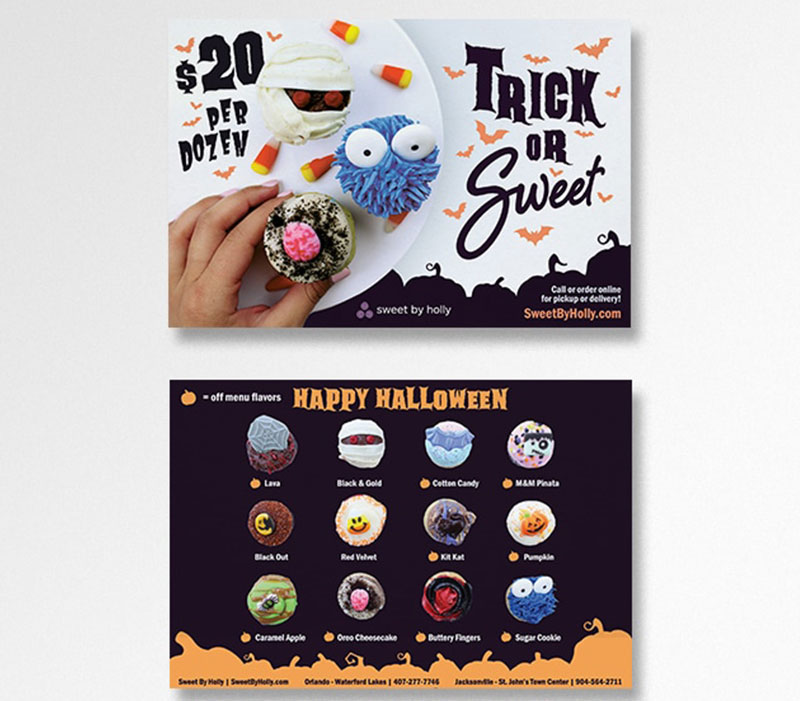
Print Flyer
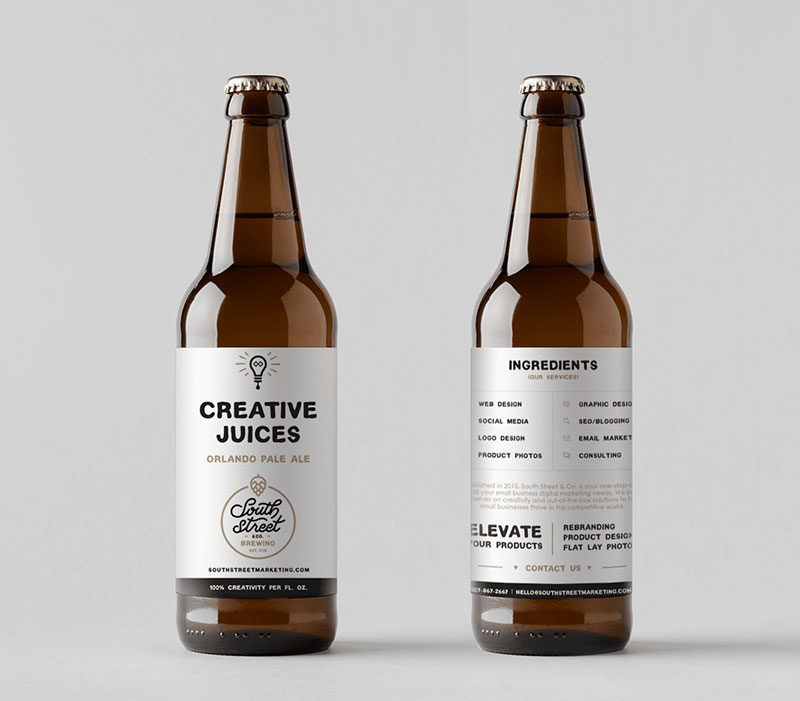
South Street & CO. Beer Label Mockup
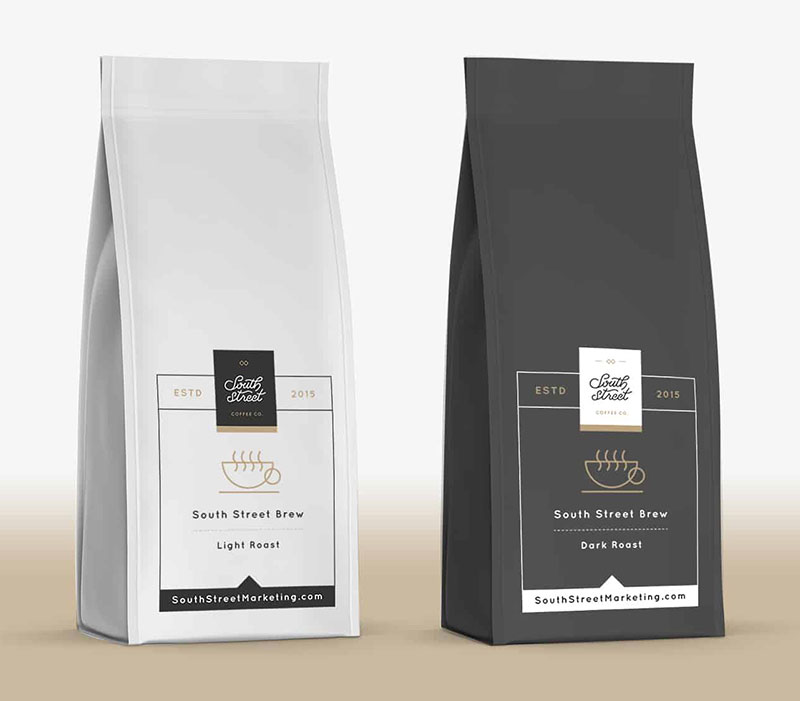
South Street & Co. Coffee Label Mockup
Computer Screen Investigators Print Ad

Folder Design

Howey Mansion Signage
Business Cards
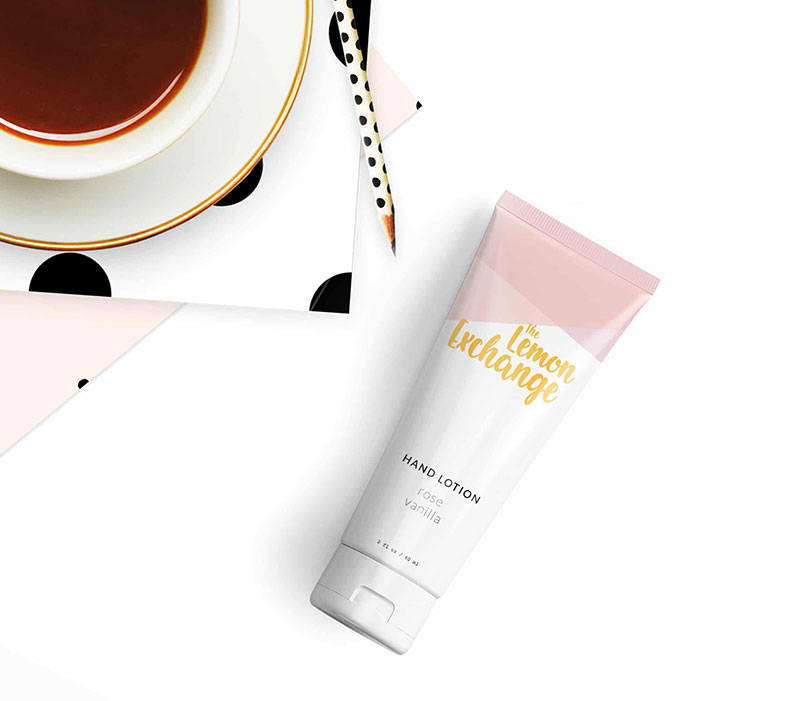
Hand Lotion Packaging Design
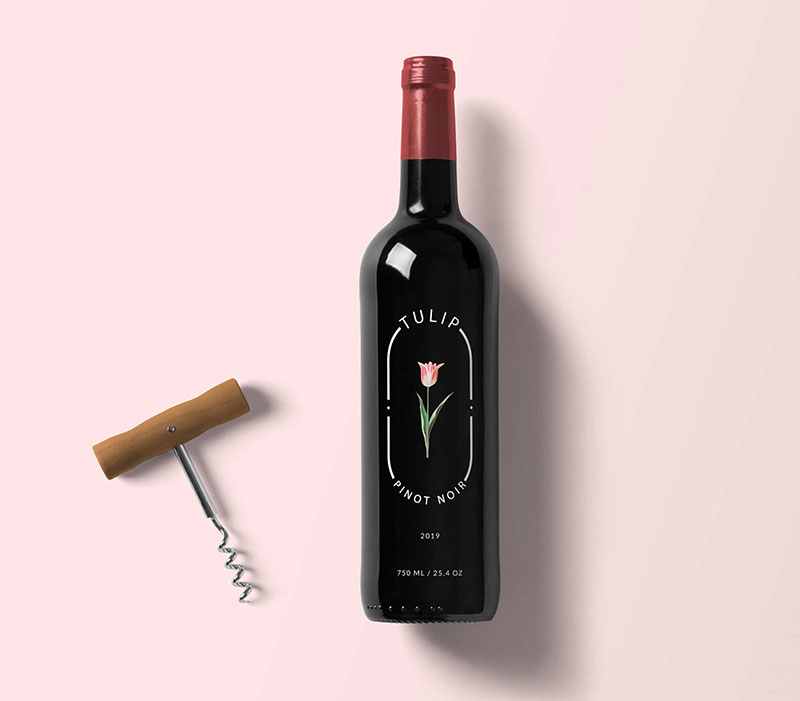
Wine Bottle Design & Mockup
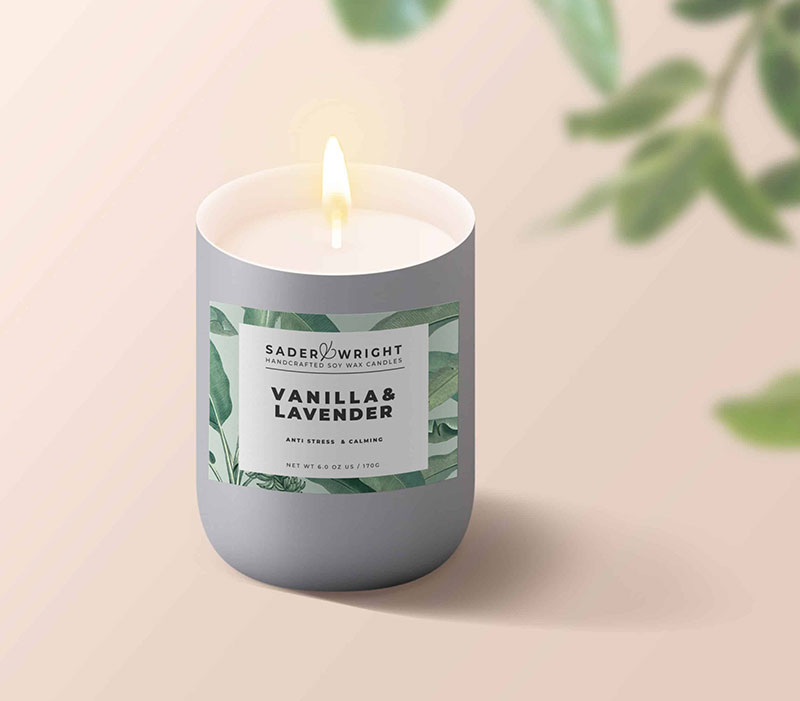
Candle Design
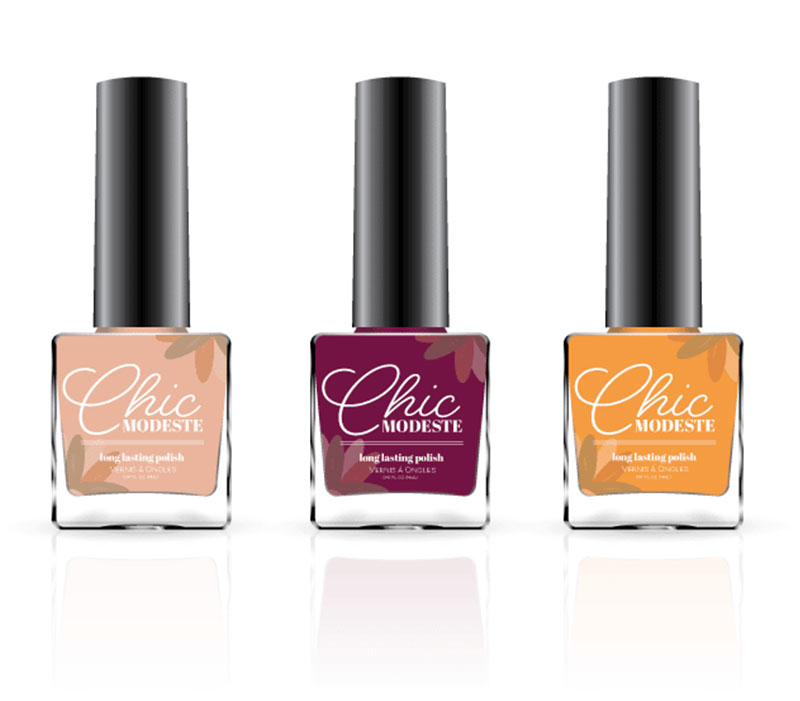
Nail Polish Design
Lotion Design
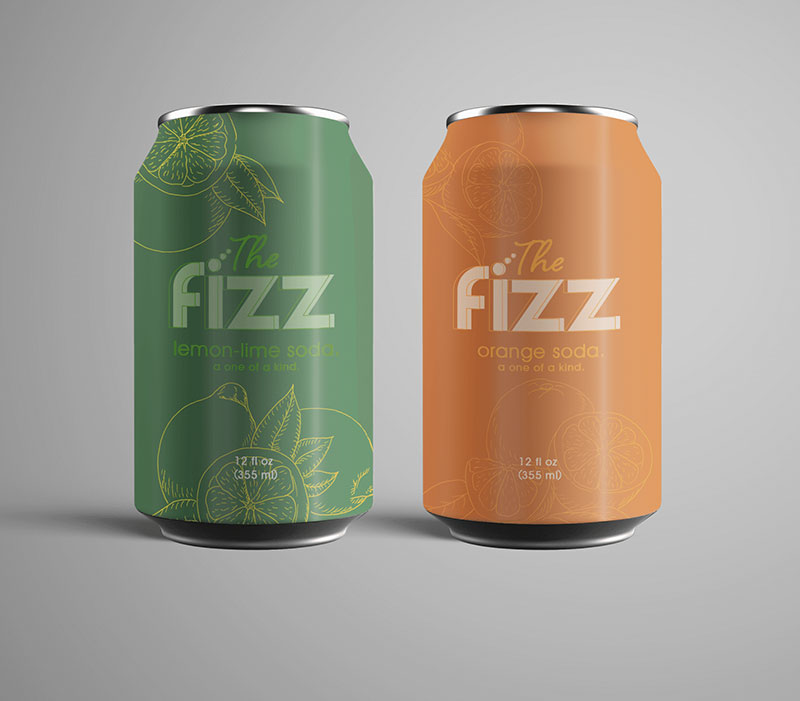
Craft Soda
In Bloom Florist Corporate Brochure

Pillow Design

Brochure

Flyer Design
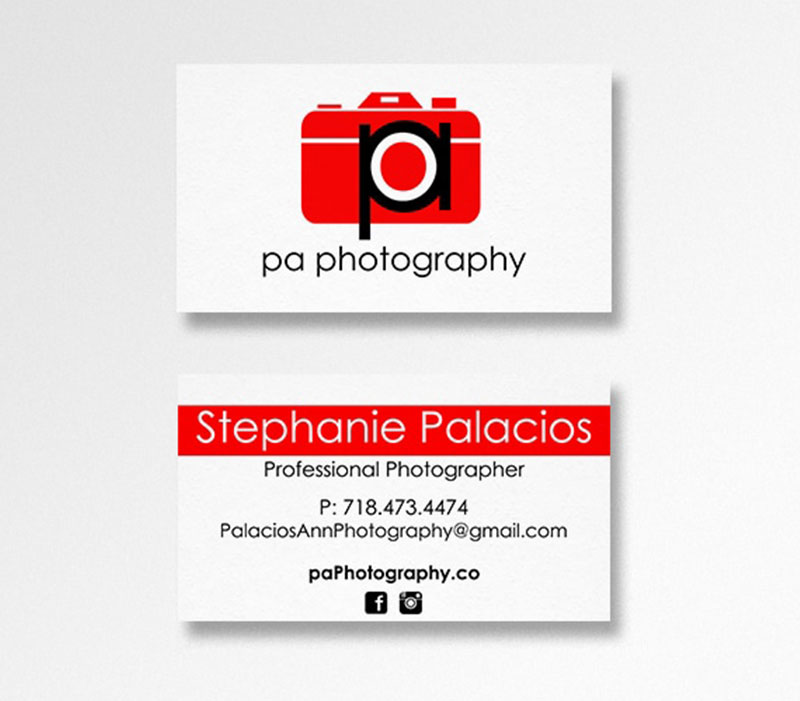
Business Card Design
Sticker Design

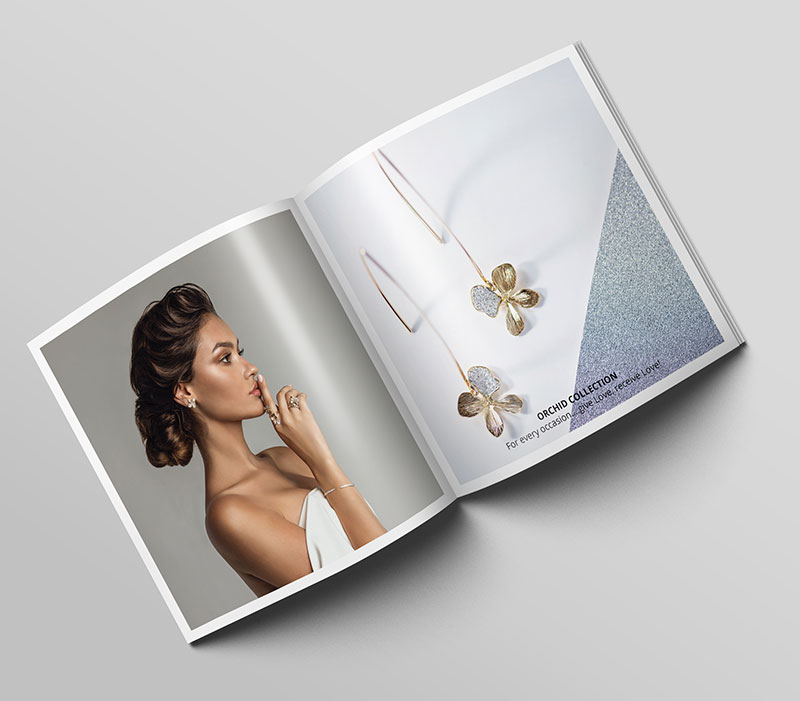
Jewelry Brochure Design
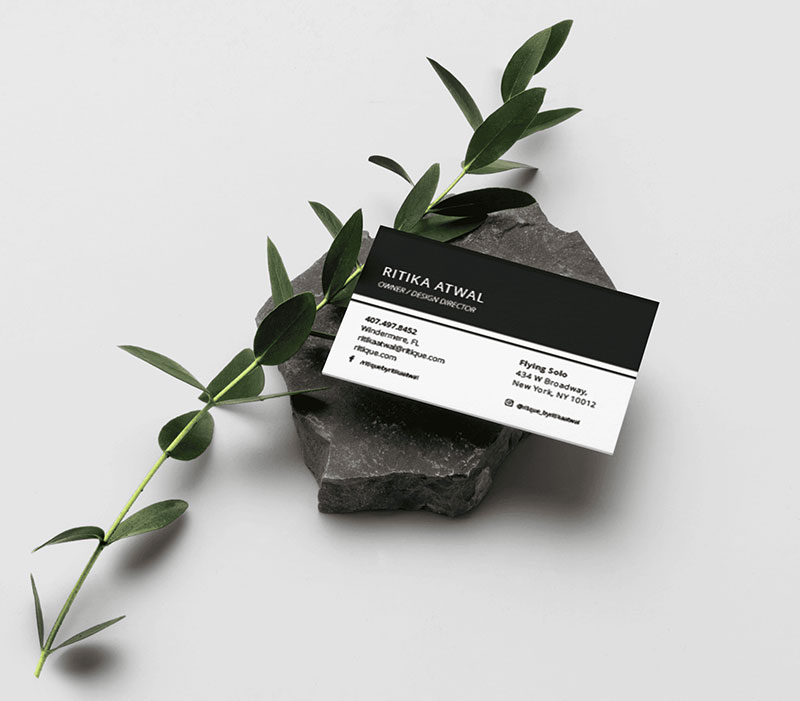
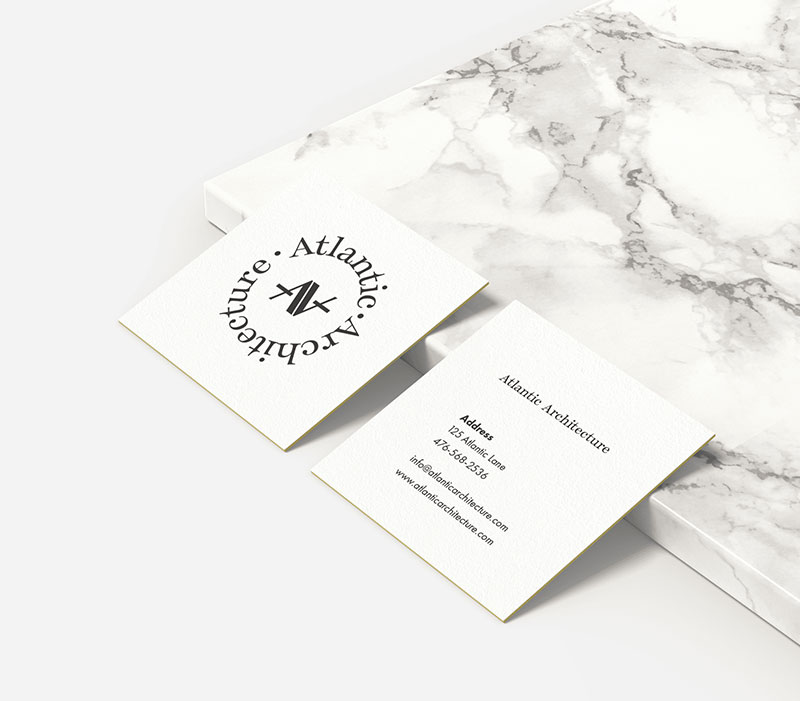
Business Card Design
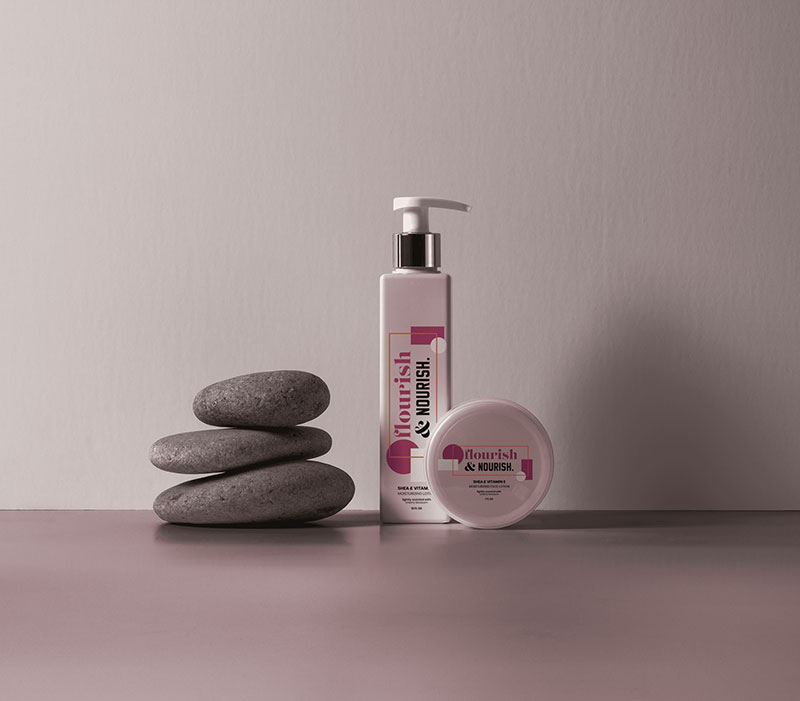
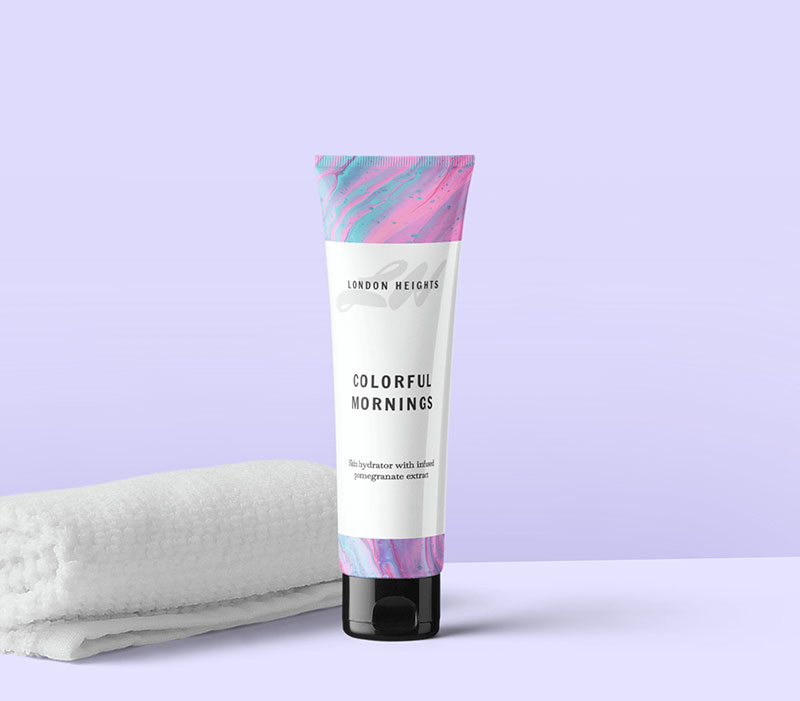
Face Lotion Design
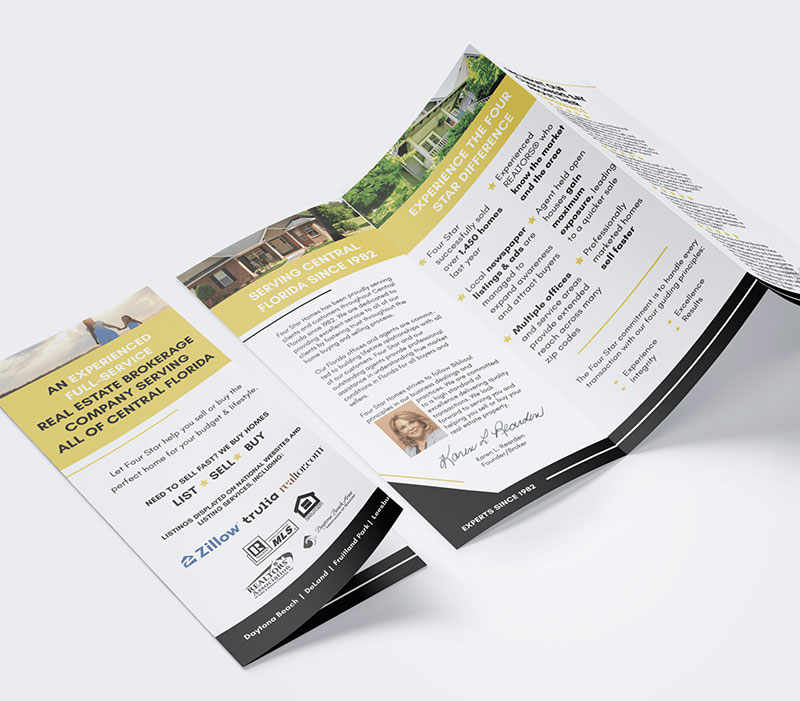
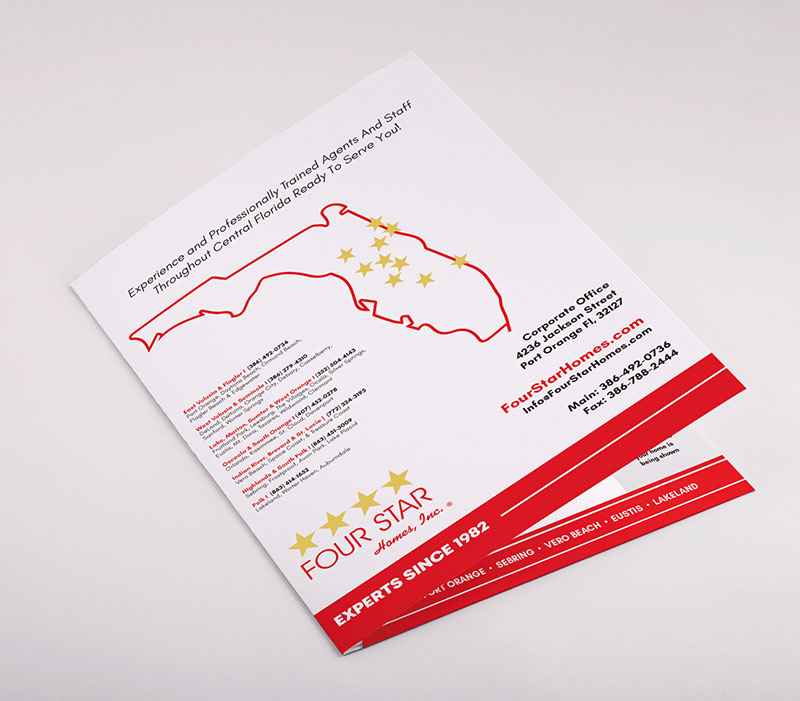
Four Star Homes Real Estate Brochure
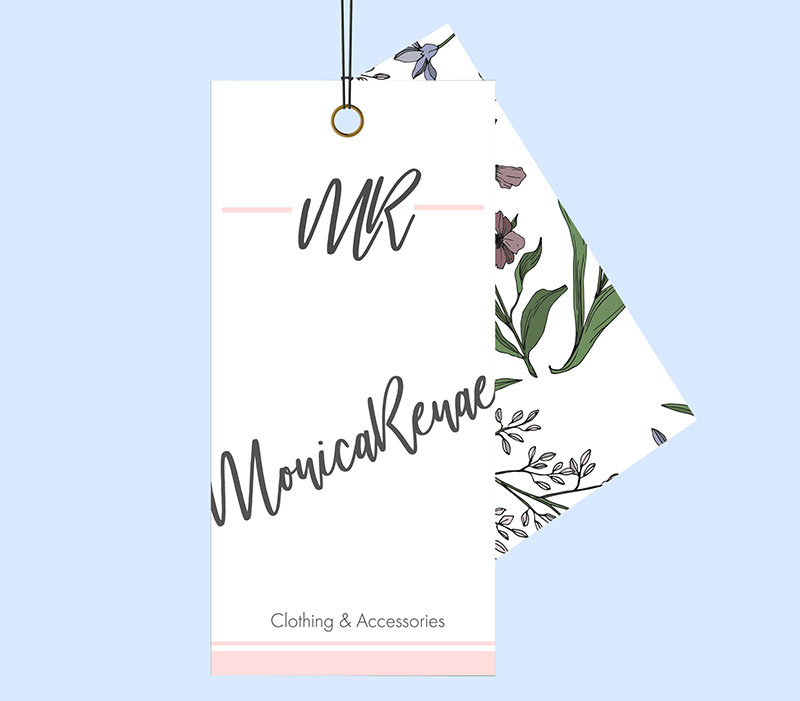
Clothing Tag
Four Star Homes Listing Folder
Brochure Mockup Design
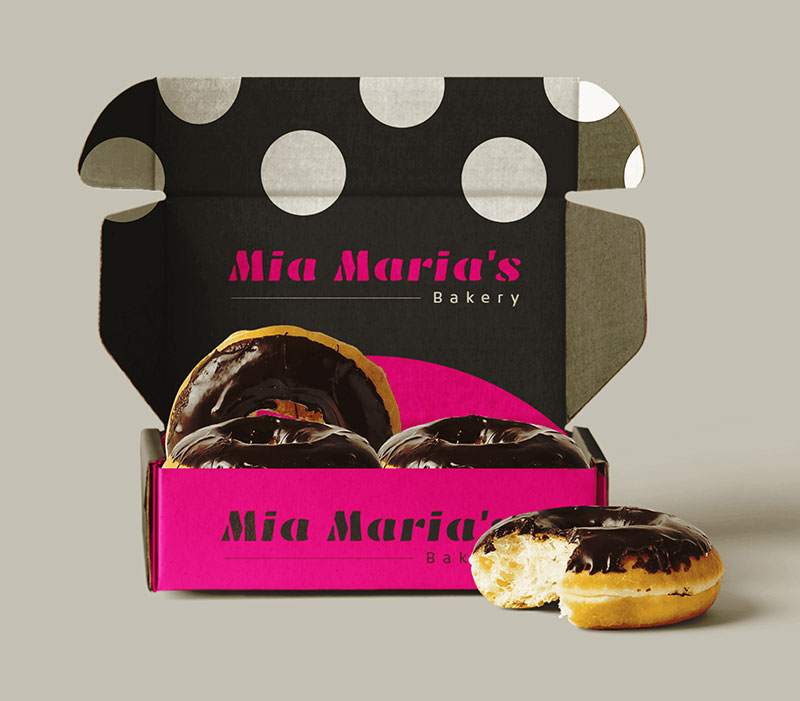
Bakery Doughnut Box Packaging
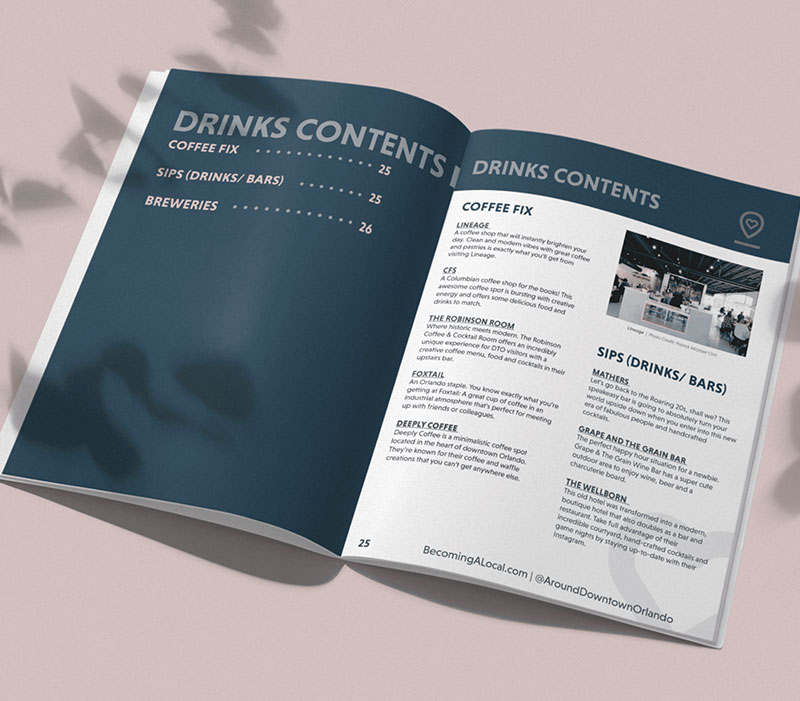
Becoming a Local Orlando Guide
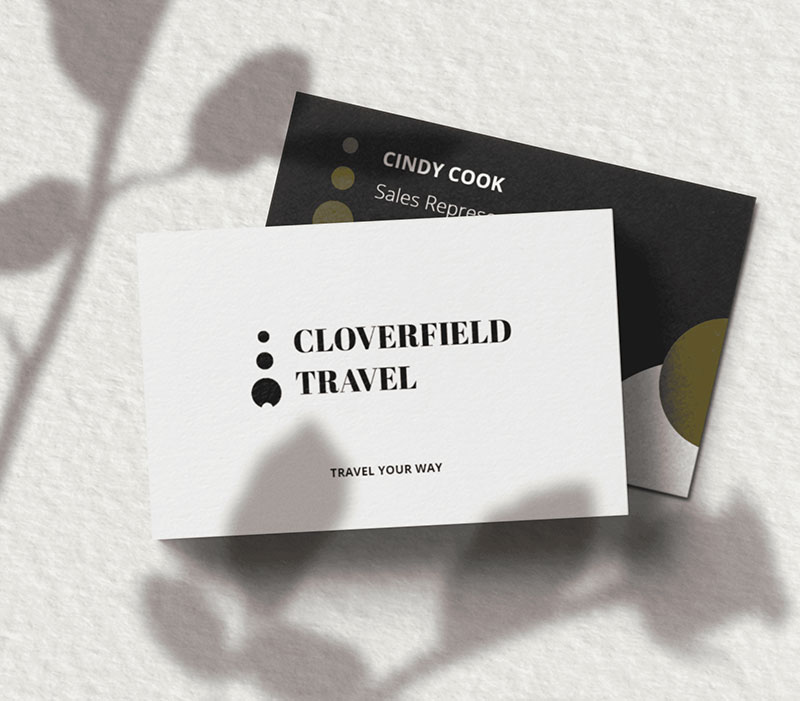
Business Card Mockup
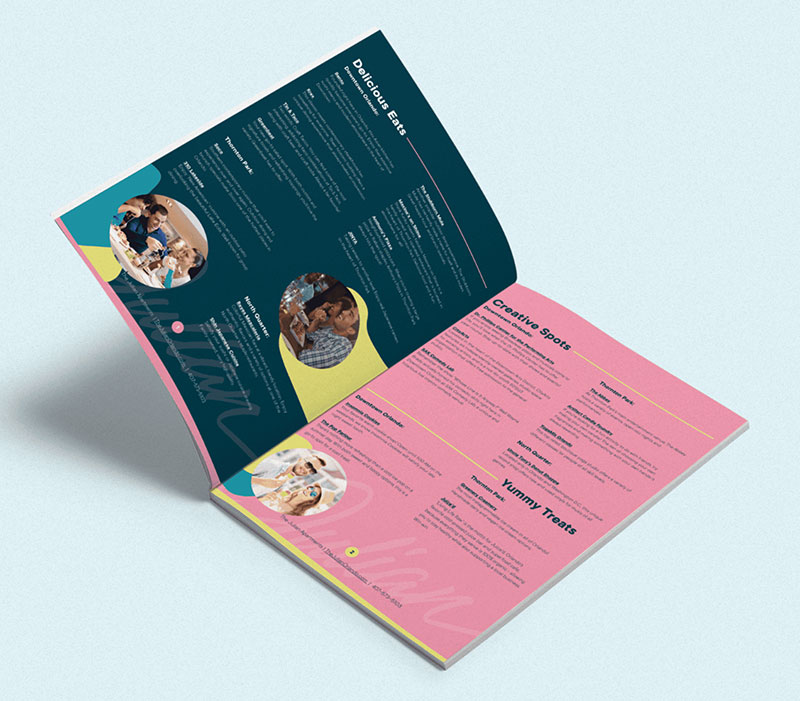
The Julian Whitepaper Mockup
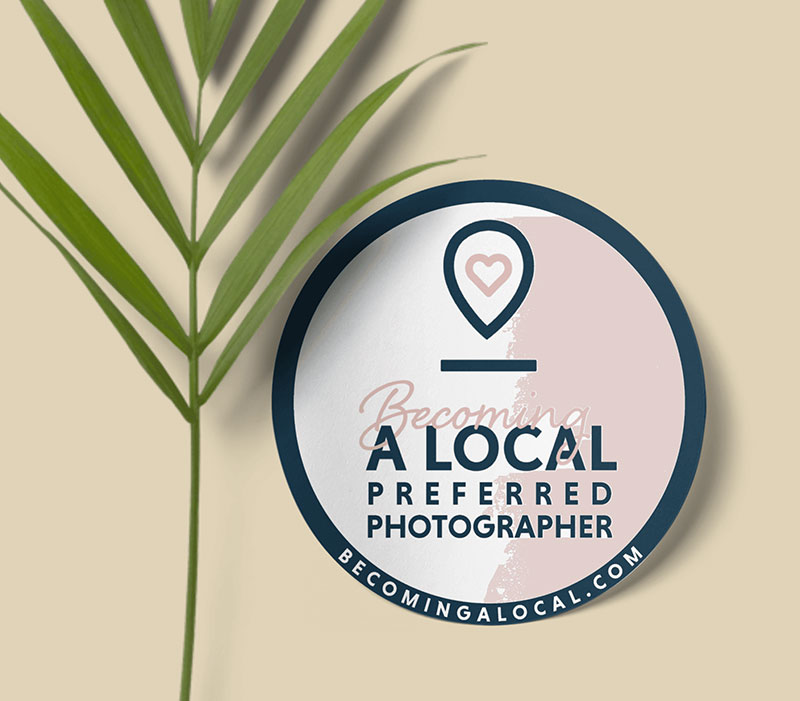
Becoming a Local Window Decal
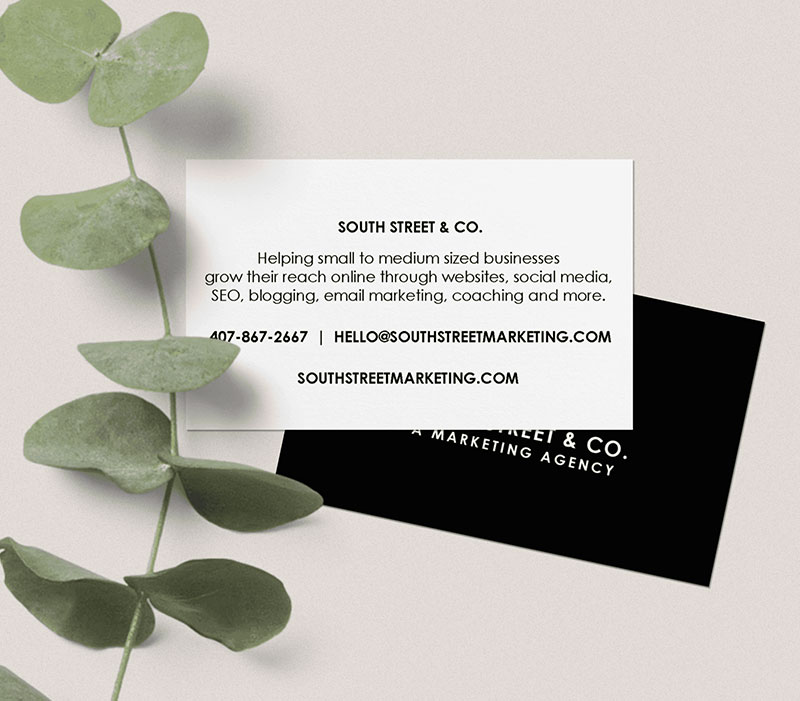
South Street & Co. Business Card Mockup
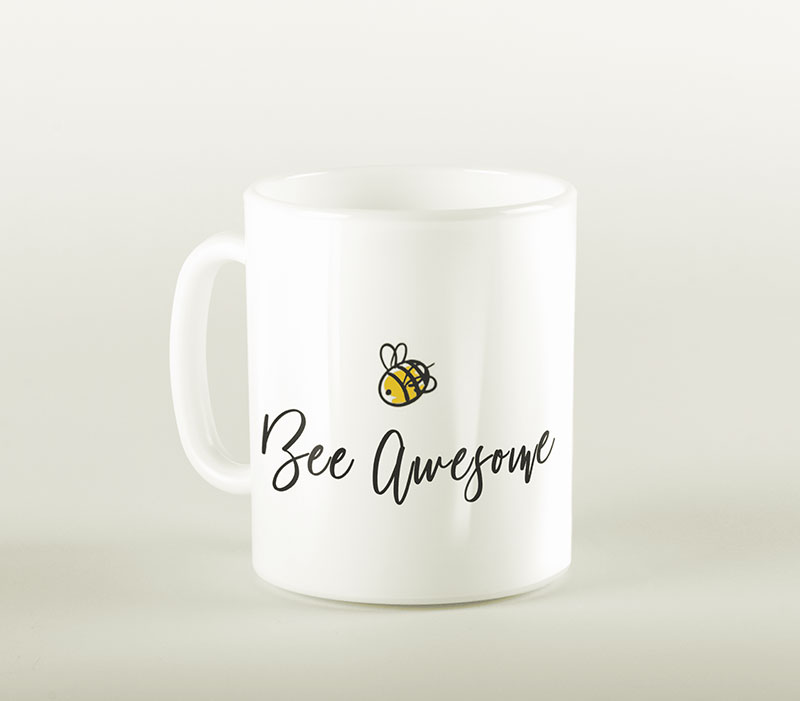
Mug Mockup
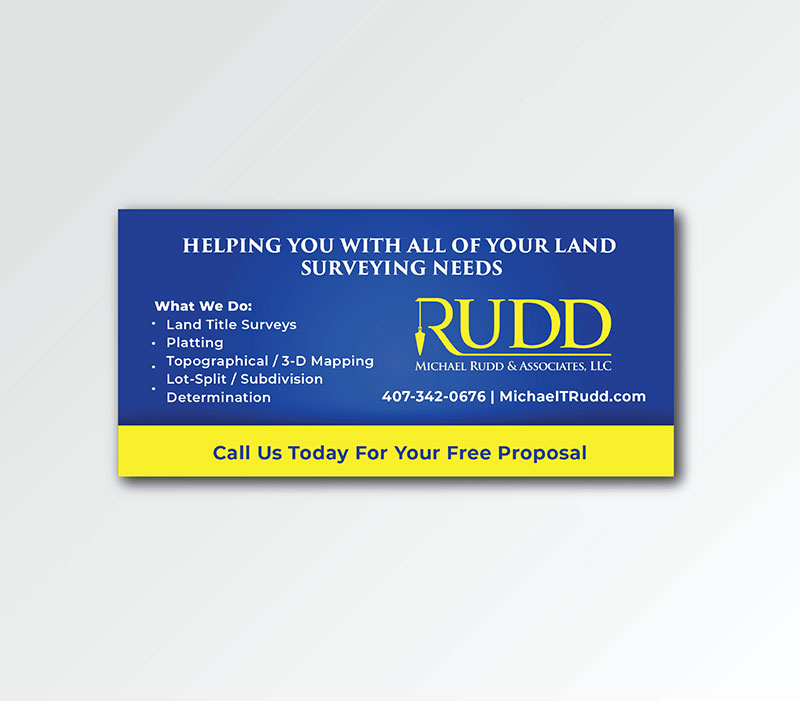
Michal Rudd AD
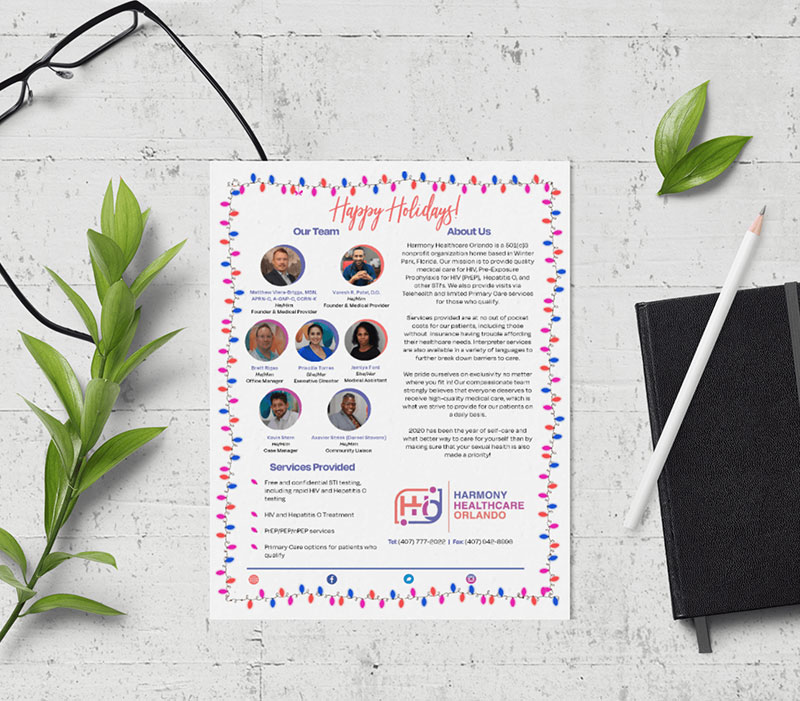
Harmony Healthcare Newsletter AD
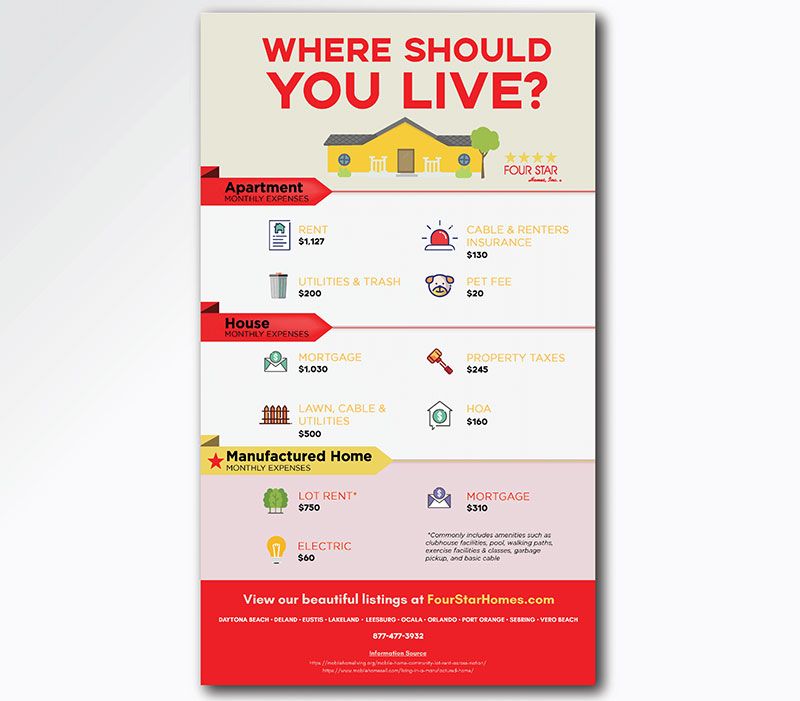
Four Star Homes Infographic
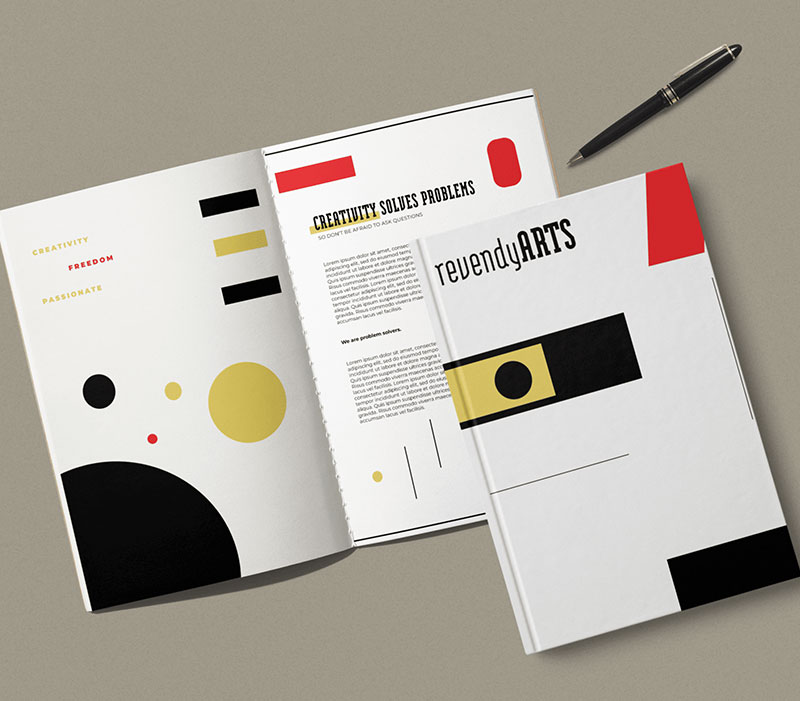
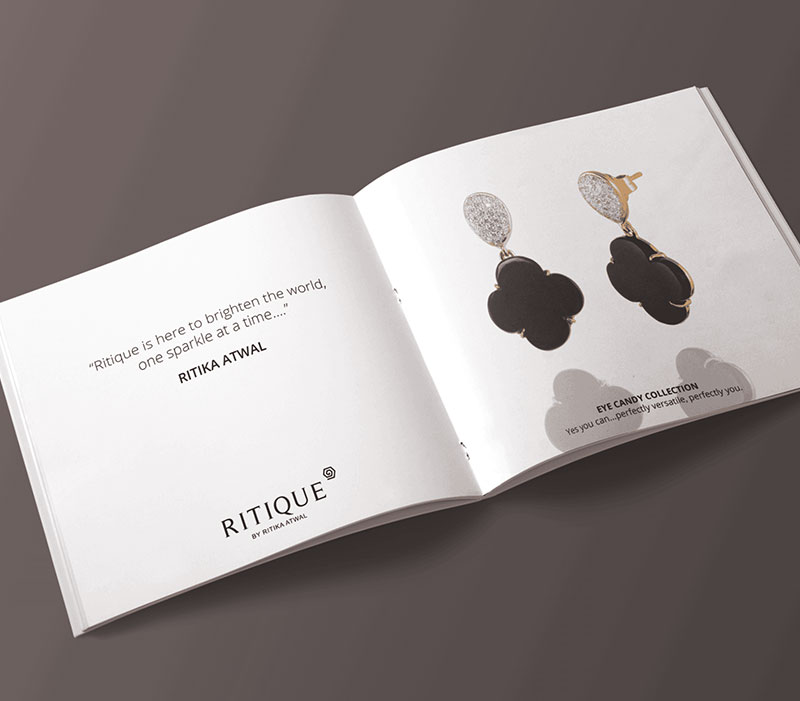
Ritique Look Book
Website Design
DynaFire
Office Assets, LLC
Website Design Services Portfolio MockUp for Office Assets, LLC
Elizabeth Morse Genius Foundation
Creative Environmental Solutions
Website Design Services Portfolio MockUp for Creative Environmental Solutions
Airport Lights
Website Design Services Portfolio MockUp for Airport Lights
Florida Eye Surgeons And Associates
Website Design Services Portfolio MockUp for Florida Eye Surgeons And Associates
Load & Go Dumpsters
Website Design Services Portfolio MockUp for Load & Go Dumpsters
Meinhart Homes
Website Design Services Portfolio MockUp for Meinhart Homes
Venue Construction Group
Atlantic Care Services
Website Design Services Portfolio MockUp for Atlantic Care Services
M. Lahr Homes
Website Design Services Portfolio MockUp for M. Lahr Homes
Bright Future Electric Panhandle
Website Design Services Portfolio MockUp for Bright Future Electric Panhandle
Schwenn Services
Website Design Services Portfolio MockUp for Schwenn Services
Advantage Roofing
Website Design Services Portfolio MockUp for Advantage Roofing
Anne Rogers Realty Group
Website Design Services Portfolio MockUp for Anne Rogers Realty Group
CJL Disability
Website Design Services Portfolio MockUp for CJL Disability
Herbert M. Hill
Website Design Services Portfolio MockUp for Herbert M. Hill
Casais & Prias PLLC
Website Design Services Portfolio MockUp for Casais & Prias PLLC
Acme Environmental Services
Website Design Services Portfolio MockUp for Acme Environmental Services
Kymberly Group
Website Design Services Portfolio MockUp for Kymberly Group
Harmony Healthcare
Website Design Services Portfolio MockUp for Harmony Healthcare
Quality Cable Contractors Inc.
Website Design Services Portfolio MockUp for Quality Cable Contractors Inc.
The College Map
Website Design Services Portfolio MockUp for The College Map
Ortho Biometrix
Website Design Services Portfolio MockUp for Ortho Biometrix
Jager Investigations
Website Design Services Portfolio MockUp for Jager Investigations
Encore Plumbing Inc
Website Design Services Portfolio MockUp for Encore Plumbing Inc
NOLA Dermatology at Mississippi
Website Design Services Portfolio MockUp for NOLA Dermatology at Mississippi
Go Intrigue
Website Design Services Portfolio MockUp for Go Intrigue
Hype Dance
Website Design Services Portfolio MockUp for Hype Dance
Dytech
Website Design Services Portfolio MockUp for Dytech
Axivend
Website Design Services Portfolio MockUp for Axivend
Bynx
Website Design Services Portfolio MockUp for Bynx
Central Florida Diaper Bank
Website Design Services Portfolio MockUp for Central Florida Diaper Bank
Chameleon Pilates
Website Design Services Portfolio MockUp for Chameleon Pilates
Citrus Dermatology
Website Design Services Portfolio MockUp for Citrus Dermatology
Sasso Law
Website Design Services Portfolio MockUp for Sasso Law
ABC Brokerage
Website Design Services Portfolio MockUp for ABC Brokerage
Breedlove, Dennis & Associates, Inc.
Logo Design
Sauceman Plumbing
Next Level Roofers
Elizabeth Morse Genius Foundation
AGI Construction Services Inc.
CJL Disability
Avennture
CareSeek
Becoming A Local
East Orlando Houses For Sale
Florida Home Team Realty
Boone’s Best
Desire Diesel Repair
Florida Eye Surgeons And Associates
Feel Peace Now
Certified Diesel
Kaleidoscope Interior
Ellison Pools
Eleven Events
Hyser.
Farrah’s Fancies
LEA3 Consulting
All Hands On Language
Match Made In Real Estate
Sandra L. Woodall
PJ Hargreaves
Lindsey Brooke
Florida’s Favorite
Pamela Ball Realtor
Israoui Law
MammoAid
Kann Advisory Group
Roseus
Sunline
RT Photography
SkyView HD
The Tiny Orchid Co.
The Klein Practice
The Travel Guys
Unsell
Uptown Stitch Design Studio
Winter Park Meditation & Mindfulness
Design Work
Bambuu Asian Eatery Flyer Design
Roseus Vacations Postcard Design
Hello Pool Side Line Sheet
Becoming a Local Connect Cards
Blake Howard Greeting Card
Blake Howard Business Cards
Print Design
American Heart Association Flyer
Bogo Poster
Engineering Rack Card Front & Back
Speaker Sheet
SPEAKER SHEET
Rack Card Front & Back
Poster
Business Card Front & Back
Business Card Front & Back
Business Card
Business Card
Postcard
Postcard
Postcard
Postcard Front & Back
Postcard Front & Back
Postcard Front
Business Card
Brochure
Company One Sheet
Flyer
Magic & Napw Event
Medical Trifold
Print Flyer
Product Promotion
Print AD
Print AD
Print Flyer
Print Flyer
Postcard
Print Flyer
South Street & CO. Beer Label Mockup
South Street & Co. Coffee Label Mockup
Computer Screen Investigators Print Ad
Folder Design
Howey Mansion Signage
Business Cards
Hand Lotion Packaging Design
Wine Bottle Design & Mockup
Candle Design
Nail Polish Design
Lotion Design
Craft Soda
In Bloom Florist Corporate Brochure
Pillow Design
Brochure
Flyer Design
Business Card Design
Sticker Design
Jewelry Brochure Design
Business Card Design
Face Lotion Design
Four Star Homes Real Estate Brochure
Clothing Tag
Four Star Homes Listing Folder
Brochure Mockup Design
Bakery Doughnut Box Packaging
Becoming a Local Orlando Guide
Business Card Mockup
The Julian Whitepaper Mockup
Becoming a Local Window Decal
South Street & Co. Business Card Mockup
Mug Mockup
Michal Rudd AD
Harmony Healthcare Newsletter AD
Four Star Homes Infographic
Ritique Look Book
